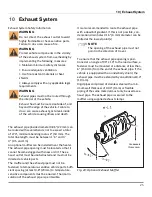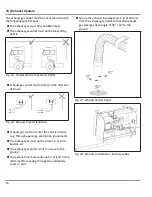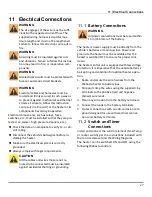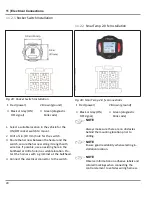
8 | Fuel Supply
18
8
Fuel Supply
8.1
Extracting Fuel from a Fuel
Tank
This separate fuel pickup precludes any effect of
pressure.
Where available, a spare NPT threaded port can be
used for the standpipe. If a spare port is not present,
follow the instructions.
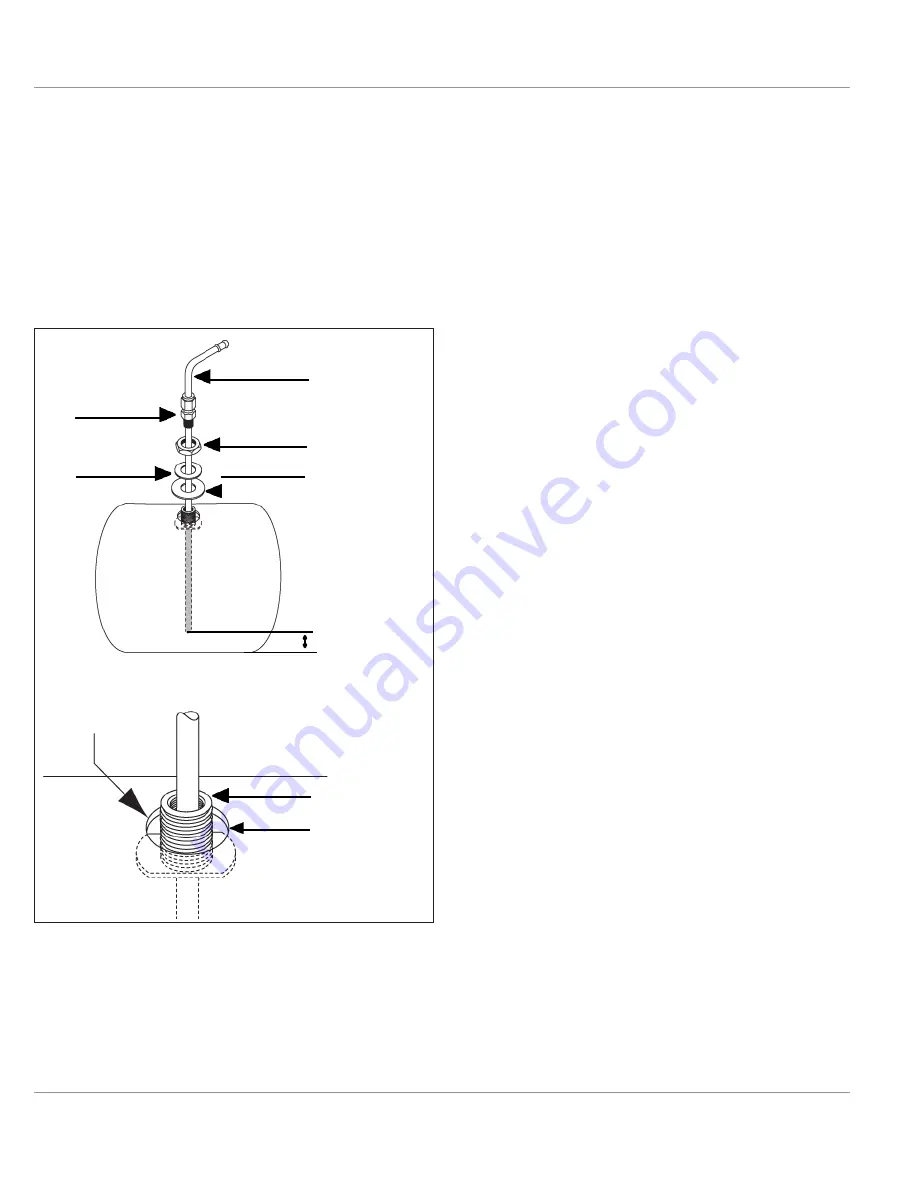
Fig. 14: Fuel Standpipe
Separate Fuel Tank
A plastic or metal fuel tank may be installed. If the
use of a separate fuel tank is required, the fuel filler
cannot be installed in the passenger compartment
and must have a filler cap to prevent fuel spillage.
Follow the proceeding section for fuel extraction in-
stallation.
Install an appropriate tank extracting device based
on the fuel tank material.
All Fuel Tanks
The fuel system will build positive pressure in high-
ambient-temperature conditions. Relieve pressure by
removing the fuel filler cap or waiting for the fuel
tank to cool down.
Only drill a hole in the top of the fuel tank if in-
stalling a fuel standpipe.
After any drilling or cutting is performed, clean
and deburr the hole to eliminate potential leak
paths.
Clean the installation surface of the tank extract-
ing device.
In installed position, maintain a minimum dis-
tance of 1 in (25 mm) between the standpipe
and base of the fuel tank / fuel delivery unit.
Position the tank extracting device vertically.
Use the specific tank extracting device
(standpipe) approved by the manufacturer.
Make sure that the standpipe of the tank ex-
tracting device does not impair the operation of
the vehicle’s fuel delivery unit or fuel gauge in
any operating mode.
8.2
Fuel Standpipe Installation
The fuel pickup is carried out by use of a fuel stand-
pipe. The standpipe is designed to fit a 0.25 in
(6mm) fitting, available on some fuel tanks. If no fit-
ting is available drill a 1 in (25mm) hole and install
the fittings as shown in Fuel Standpipe on page Fig.
14].
6
7
Ø 1" (25mm)
1" (25mm)
Fuel Tank
3
5
2
4
1
1 Fuel standpipe
5
Rubber washer
2 Compression fitting
6
Tank boss (1/4” NPT)
3 Hex nut
7
1” (25mm) hole
4 Metal washer
Содержание thermo top evo
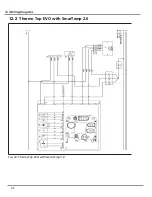
Страница 32: ...32 12 WiringDiagrams 12 2 Thermo Top EVO with SmarTemp 2 0 Fig 34 ThermoTop EVO with SmarTemp 2 0 ...
Страница 46: ...15 NOTES NOTES ...
Страница 47: ......


