Page 13
√
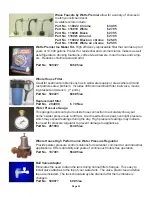
One 10” sediment filter
√
Two 10” carbon filters
√
Bucket to catch water from filter housings.
√
Wrench to loosen filter bowls. (Watts Premier also sells a double sided wrench).
Clean all filter housings (bowls) with a mild soap solution and rinse with
water. Check O-rings and lubricate with water soluble lubricant. KY Jelly
®
and other water based lubricants can be used, but petroleum based
lubricants (such as Vaseline
®
) must not be used.
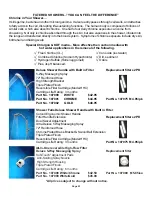
For more leverage, leave RO module attached to wall of cabinet. If you are
unable to access the module you may remove it to change filters. Starting
with the closest housing, remove and empty water, then discard filters.
Continue on to the 2
nd
and/or 3
rd
Bowls.
The sediment filter has a cloth like appearance. It must be in the 1
st
Housing on the left (where the water inlet connects).
6 Month System Maintenance
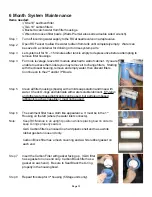
Turn off incoming water supply to the RO at needle valve on adapta valve.
Step 1
Step 3
Step 4
Step 5
Step 6
Let system sit for 10 – 15 minutes after tank is empty to depressurize before attempting to
remove filter housings.
Open RO Faucet to allow the water to drain from tank until completely empty. Water can
be saved in a container for drinking or to rinse system parts.
Items needed:
GAC Carbon filter is encased in a hard plastic shell and has a white
rubber gasket on one end only.
Carbon Block filter has a mesh covering and a white rubber gasket on
each end.
Keep RO Module in an upright position while replacing bowl in order to
keep O-rings properly seated.
Note:
Insert the Carbon Filter with gasket facing up. (GAC filter
has a gasket on one end only. Carbon Block filter has a
gasket on each end). Be sure to Seat Black the O-ring
properly in the housing bowl.
Step 7
Step 8
Repeat this step for 3
rd
housing (5 Stage units only).
Step 2
Содержание 5 SV DELUXE
Страница 19: ...Page 19 California Certification...
Страница 24: ...Page 24...


