NVR Quick Start Guide - Version: NVR-Q320
6
3. NVR and Camera Configuration
3.1 First Boot and Startup Wizard
After successful connection and boot of your NVR, you will be taken through first-time setup for your surveillance
system. Here you will configure system security and begin customising your NVR, including setting camera encoding
options, record scheduling, network setup and remote view configuration.
USB keyboards are supported, but not
required
; an on-screen keyboard will appear when needed.
NOTE:
Each setting shown in the Startup Wizard can be modified later via the NVR Main Menu. See the Menu Quick
Guide in Section 6 or see the full user manual for more information.
Following the prompts, complete each section in the Startup Wizard, as detailed below:
3.1.2 Securing your NVR
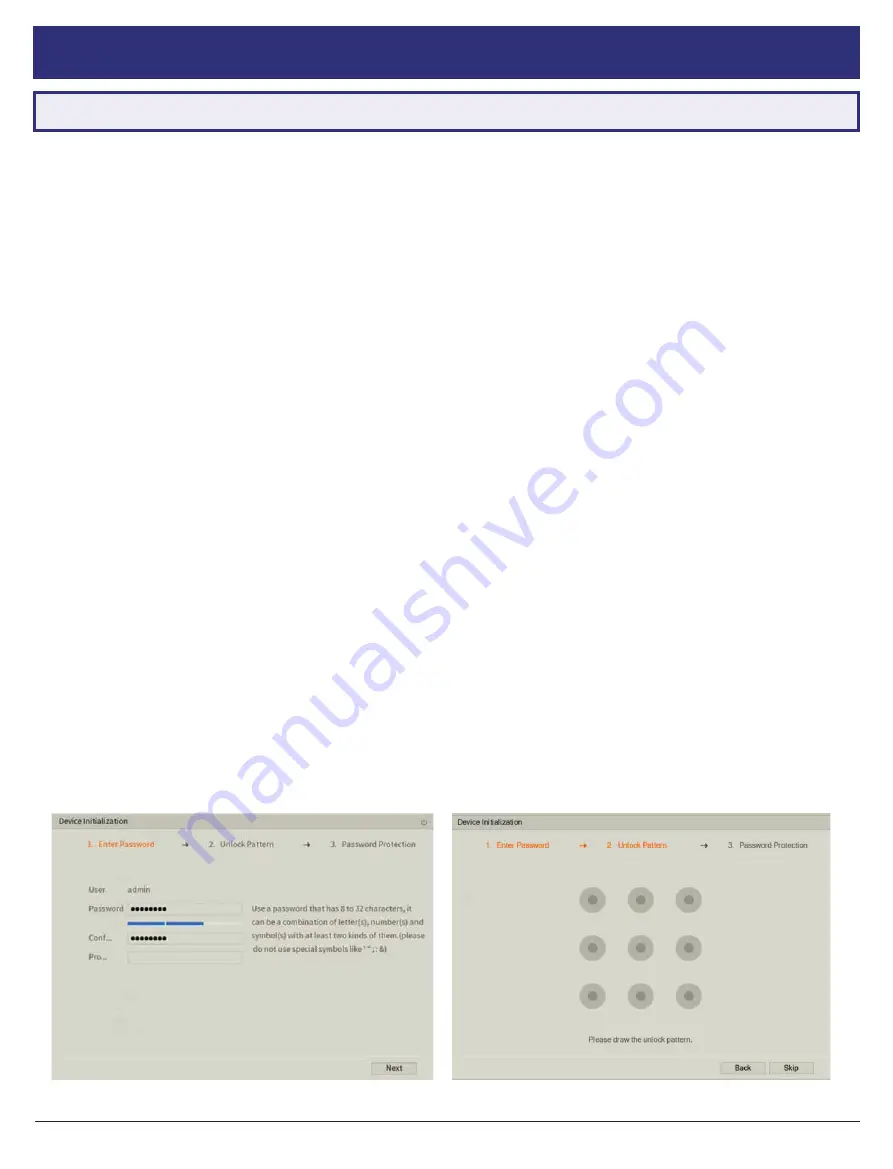
In the Startup Wizard, you will be prompted to change the
admin
user password. This is to prevent unauthorised
remote access via the Internet to your NVR.
1. Enter a strong
admin
user password, using letters, numbers & symbols. Confirm this password.
2.
(Recommended)
Enter a
Prompt Question
(password hint).
3. (Optional)
Draw an
Unlock Pattern
for quick unlocking.
4.
(Recommended)
Enter an email address to be used for password resets.
5.
(Recommended)
Enter security questions/answers to be used if the admin password is forgotten. Note that answers
are
case-sensitive
.
3.1.1 Startup Wizard
When the NVR is powered up for the first time or the NVR is restored to factory settings, the Startup Wizard will be
displayed. Users can set common NVR functions by following the procedures step-by-step
NOTE:
Email address password resets require a mobile phone with the DMSS app. This can be downloaded for free from
the App Store / Google Play.
NOTE:
We
strongly recommend
setting up email password reset and security questions. If the password is forgotten
and no recovery method is set up, the recorder will need to be sent back to the supplier for a system reset, which will
incur a fee even if the system is still within the warranty period.
Fig. 3.1:
Enter Password screen.
Fig. 3.2:
Password Protection screen.


