BioDoc-It
2
Imaging System
13
81-0358-01 Rev E
main TS screen. Or, press the
“X”
button to go back to the main TS screen without saving changes.
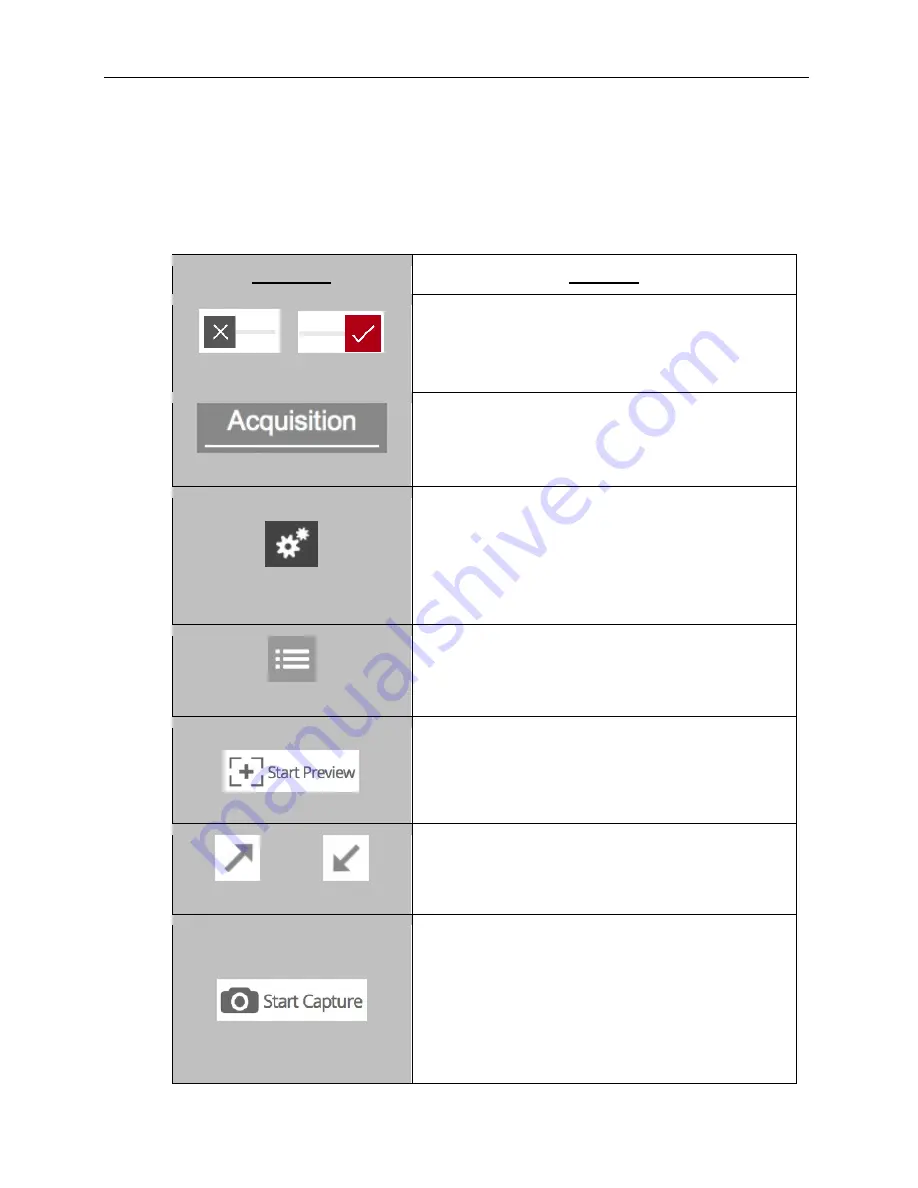
Identifying the Touch Screen Buttons and Functions
Using the BioDoc-It
2
’s built-in touch screen allows for convenient selection of all system functions, including
image capture, save and print. Following is a list of buttons on the touch screen and their individual
functions.
TS Button
Function
“Off”
and
“On”
Sliders
Throughout the TS interface, the
“Off” and “On” Sliders
are used to
turn settings either off or on. To toggle
between off and on, tap the Slider; the Slider will
autmatically move between the “X” (off) and the checkmark
(on).
“Acquisition” Tab
To access system acquisition settings, press to select the
Acquisition
tab.
Settings
Access user preferences by pressing the
Settings
button
in the upper-right corner of the main TS screen. The
Settings
screen allows the user to select settings which
are normally chosen once and rarely changed, such as
interface language and image save format.
See the
Setting User Preferences
section of this manual
for further information.
Templates
Press the
Templates
button to access the list of templates.
Press again to close the list of templates.
For more information on templates, see the
Using
Templates
section of this manual.
To view a preview of the image prior to capturing, press
the
Start Preview
button.
This function is active when the button
’s text and pictogram
are shown in purple and read
“Stop Preview”. When active,
press the button again to deactivate live preview.
Maximize Minimize
When an image preview is open, press the
Maximize
button to show the image in full-screen mode.
Press the
Minimize
button to close full-screen.
To capture an image with user-defined settings, press the
Start Capture
button. For longer exposures, the amount of
time remaining for the capture to complete will appear to
the right of the “Start Capture” button.
This function is active when the button reads “Stop
Capture” in purple lettering.
NOTE
: When using the Start Capture button, if the
Auto
Save After Capture
function is enabled in Preferences,
the image will automatically be saved to the preset location


