ULEAD VIDEOSTUDIO USER GUIDE
35
To switch to different tracks:
• Click a
Step button
in the
Step Panel
that corresponds to the track.
• Click the
Track buttons
.
• Double-click the desired track, or click a clip on the track.
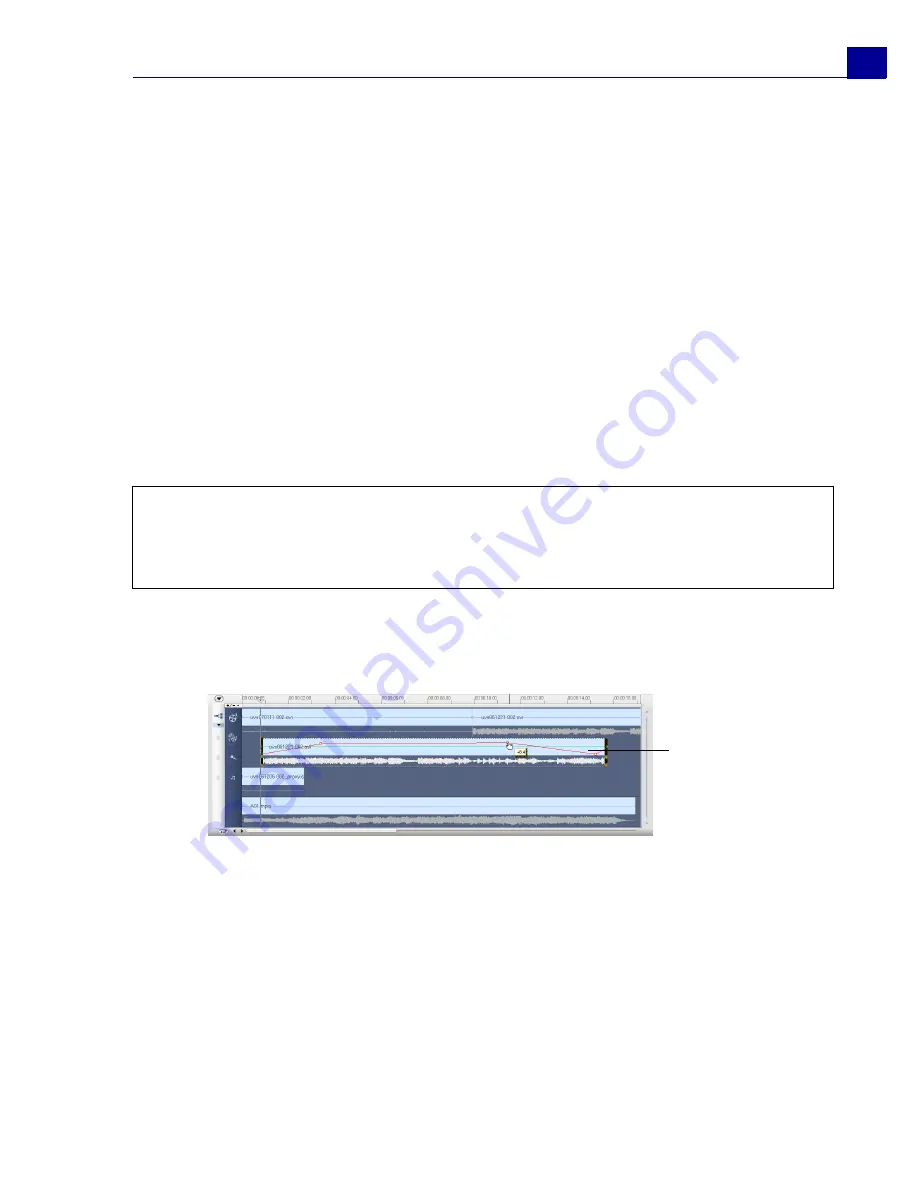
Audio View
Audio View allows you to visually adjust the volume levels of video, voice and
music clips.
Clips that contain audio are displayed with a
volume rubber band
that you can
click and drag to adjust their volume.
The Options Panel
The
Options Panel
changes depending on the program's mode and the step or
track you are working on. The Options Panel may contain one or two tabs. The
controls and options in each tab vary, depending on the selected clip.
7 Timeline ruler
Displays the project’s timecode
increments in hours:
minutes:seconds.frames, which helps
you determine clip and project length.
8 Video Track
Contains video/image/color clips and
transitions.
9 Overlay Tracks
Contains overlay clips, which can be
video, image or color clips.
10 Title Track
Contains title clips.
11 Voice Track
Contains voiceover clips.
12 Music Track
Contains music clips from audio files.
Tips:
• The wheel mouse can be used to scroll through the Timeline.
• When the pointer is over the
Zoom Controls
or
Timeline ruler
,
you can use the
wheel to zoom in and out of the Timeline.
Volume rubber
band


