TRUST 740C POWERC@M ZOOM
10 Use of the menu and the LCD screen.
First read sections 5 to 9 before continuing.
10.1 Main
menu
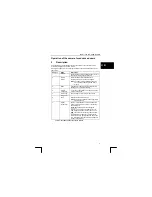
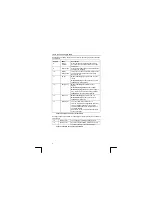
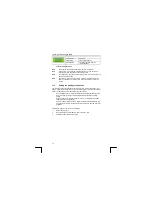
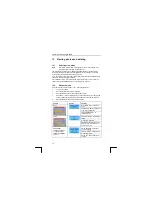
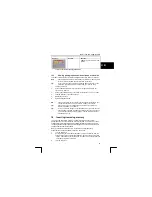
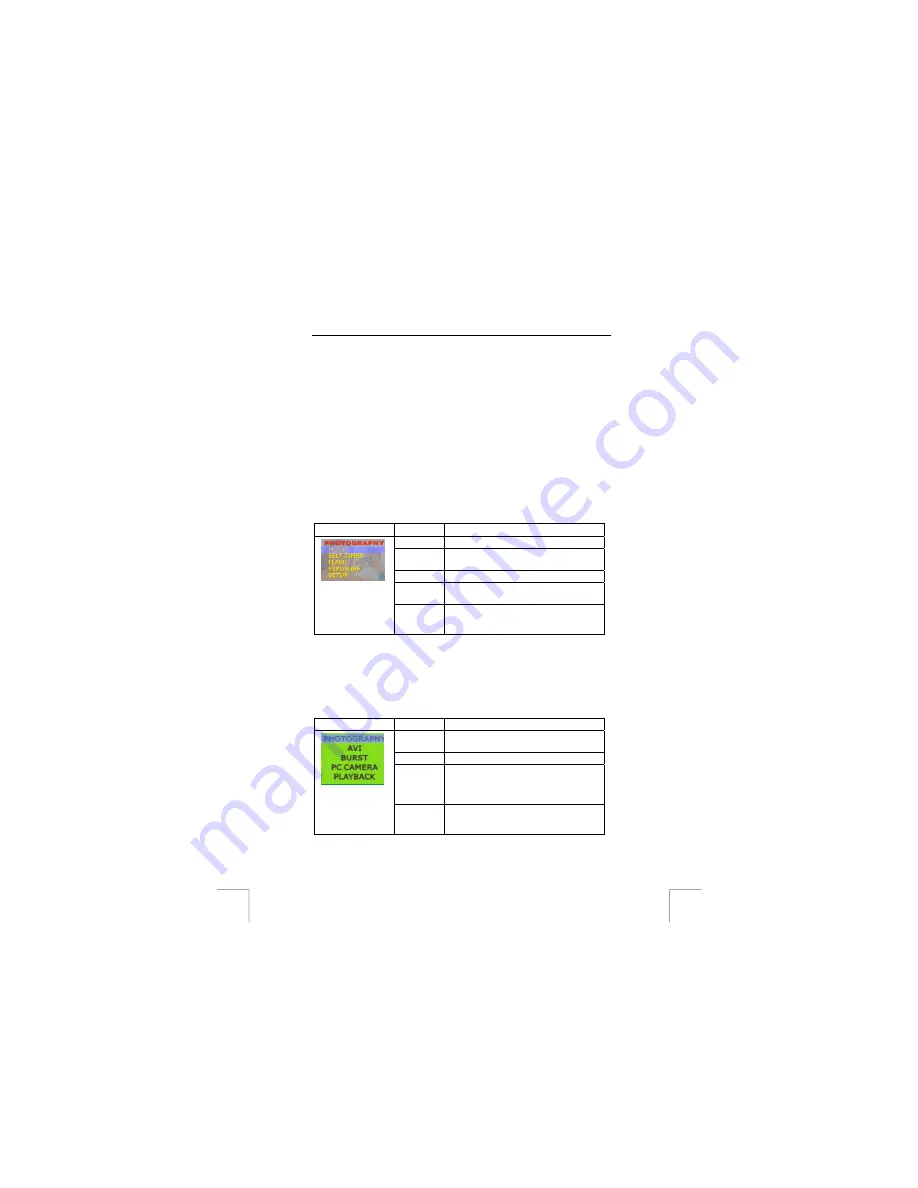
All the camera settings are made via the main menu. Table 6 shows the main
functions of this; see Figure 2 also.
Displaying the menu
Press the MENU key (9).
Browsing
Press the up or down key (11 or 13).
To confirm a selection
Press the ENTER key (12).
Leaving the menu
Press the menu button again.
All examples use the English language menu Other tasks give other texts but the
order is always the same. Most settings are saved even when the camera is switched
off.
Main menu
Function
Description
Mode
Switch recording mode, see section 10.2.
Self timer
Automatic self timer on/off. See section
11.4.
Flash
Flash on/off. See section 10.2.
Exposure
Change the lighting to make the photo
darker or lighter. 11.5
Setup
Settings for the photo quality and the
camera settings. See sections 11.3 and
11.6.
Table 6: main menu for taking photos
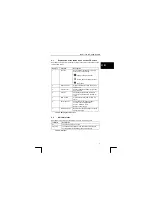
10.2
Selecting another recording mode (modes menu)
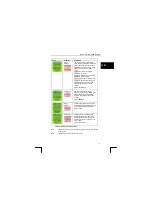
Open the menu and select the Mode option. See section 10.1 and Table 7 for the
possibilities available.
Mode menu
Function
Description
PHOTO-
GRAPHY
Normal photos. This is the default mode
after the camera is switched on.
AVI
Video mode To record video clips.
BURST
Action photo. To take 5 photos in short
succession. For sport etc. The resolution
on the photos is reduced in order to save
room.
PC-
CAMERA
Switches the camera to PC camera to
serve as a web cam in combination with a
computer.
8


