TRUST 740C POWERC@M ZOOM
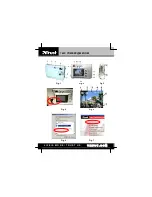
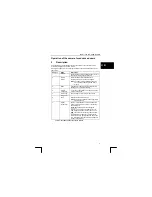
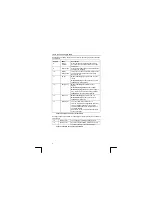
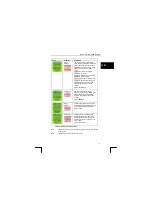
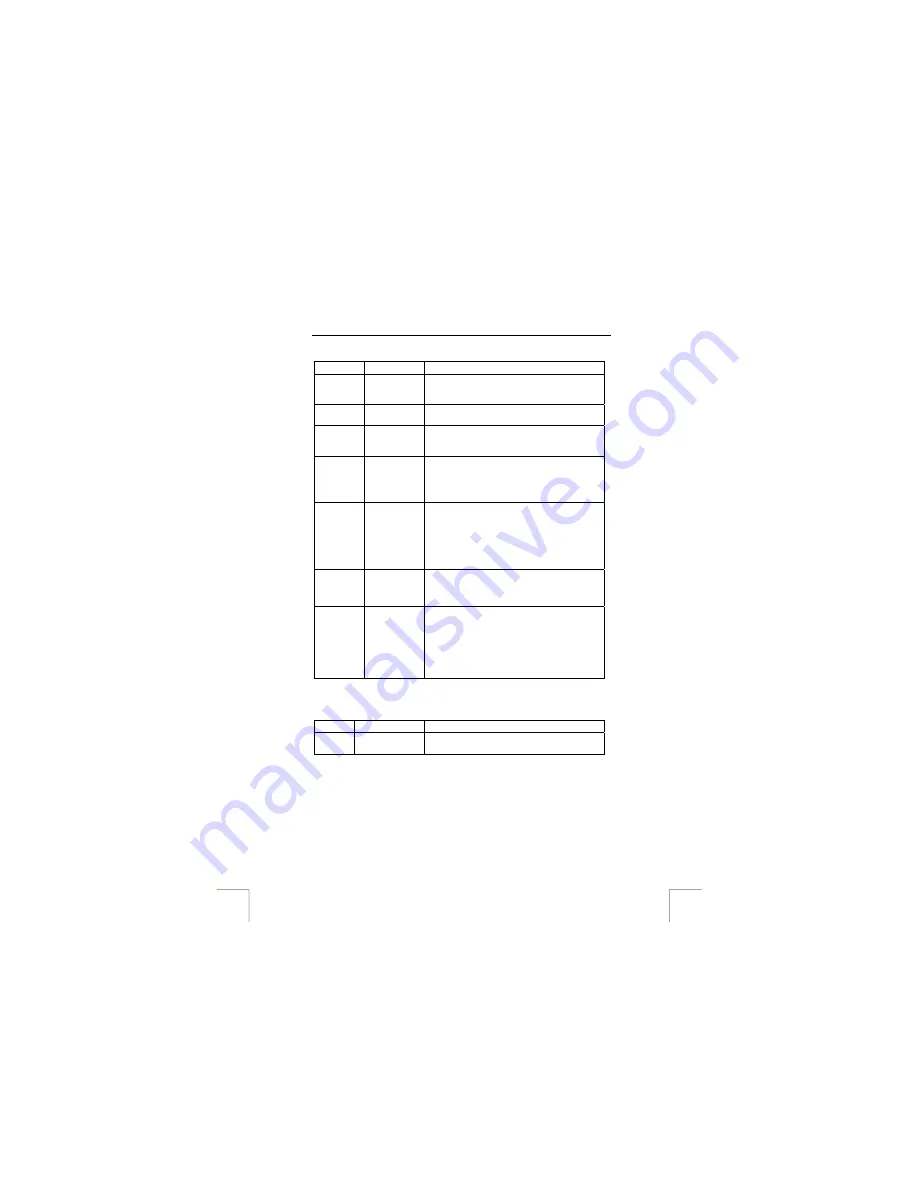
See figure 2 and Table 2 below for a description of the various functions at the back
of the camera.
Subject
Name
Description
8 Status
indicator
When the indicator is flashing, the camera is
busy and cannot be used at that moment. See
section 9.2.
9
Menu button
Pressing this shows the menu which allows the
settings to be changed.
10 Display
mode button
This button can be used to select which options
you wish to have visible on the LCD screen.
See section 10.3.
11 Up
key
When recording:
press this to zoom in on the
image.
When displaying:
shows the previous picture.
In the menu:
step upwards.
12 ENTER
key
When recording:
press this
to switch to
display.
When displaying photo:
switch to display.
When displaying video:
press briefly: begin to
play. Press for a longer time: switch to display.
In the menu:
Save the setting selected.
13 Down
key
When recording:
press this
to zoom out.
When displaying:
shows the next picture.
In the menu:
step down.
14
LCD display
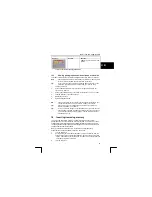
The (TFT) LCD screen allows you to:
view the subject to be photographed (Preview),
view photographs and video clips, view the
camera settings and call up the camera menu
and make settings.
See section 9.1 for a more detailed description
of the LCD screen.
Table 2: Functions at the rear of the camera
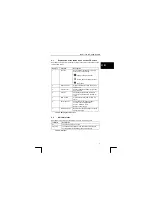
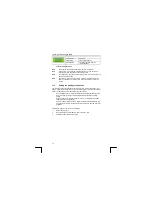
See Figure 3 and Table 3 below for a description of the various functions at the back
of the camera.
15
Battery cover
The batteries are located behind this cover.
16
Memory slot
Position for optional MMC or SD memory card
in order to be able to save more pictures.
Table 3: functions on the side of the camera
6


