


6.4.6
DEFINING THE AUDIO CLOCK
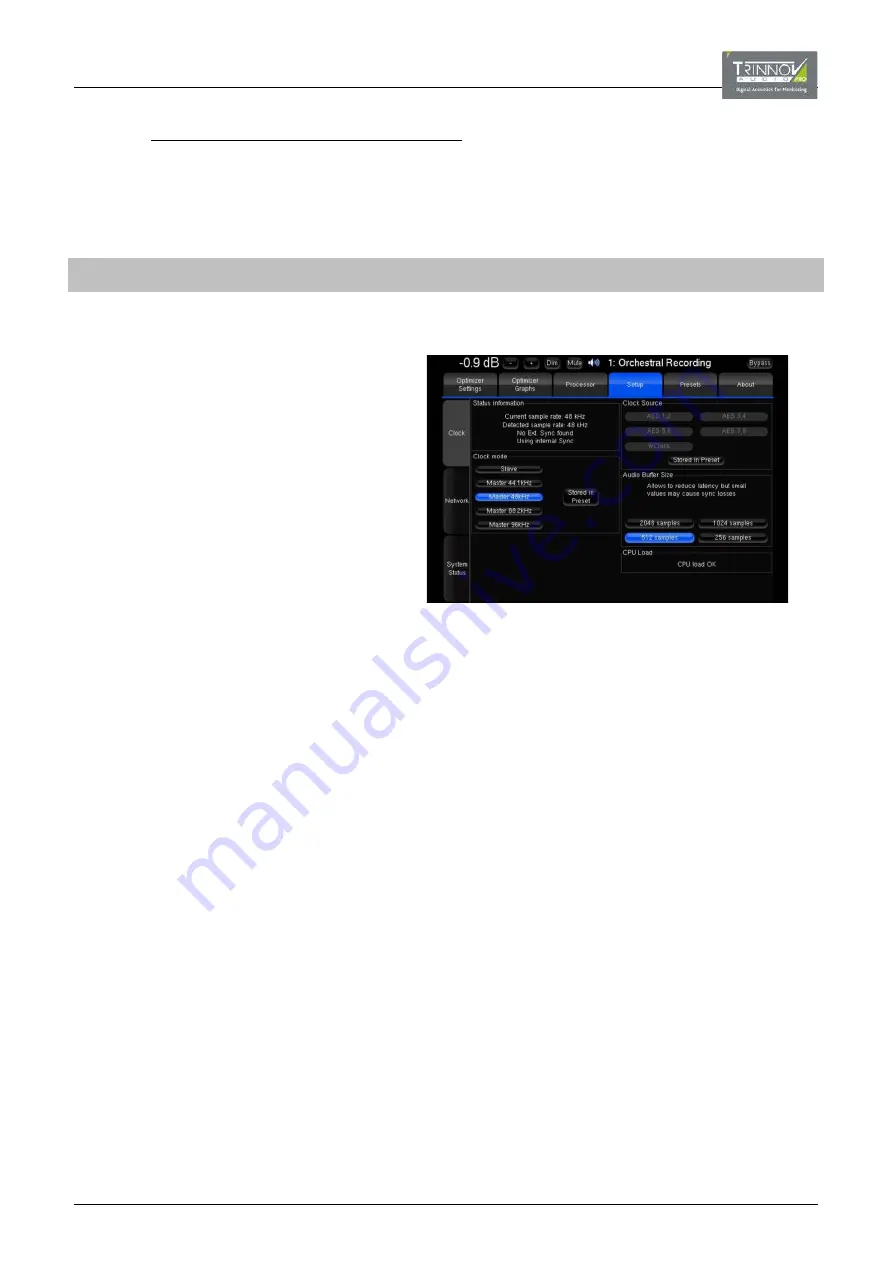
The audio clock source must be defined in the OPCP GUI using the “Setup” page and “Clock” tab.
Note that the clock settings and status can also be checked (but not adjusted) from the
D-Mon Control Panel
GUI, see
To change the audio clock source:
Step
Instructions
Comments
1
Open the OPCP GUI by clicking on the D-Mon
processor model number from the DMCP.
See
6.4.1: Working with the DMCP & OPCP
2
Select the “Setup” page followed by the “Clock”
sidebar tab.
3
To define an external clock source:
Select
Slave
as the “Clock mode”.
Then choose one of the “Clock Source”
options – either an AES input or
Wordclock.
The “Status information” updates and should
show that a valid clock source is being
received. If not, check both the clock source
and its connections.
Alternatively, you can use the processor’s
internal clock by selecting one of the master
“Clock Mode” options (e.g.
Master 48kHz
).
4
Select
Store in Preset
if you wish the
“Clock mode” and/or “Clock source” to be
saved and recalled by presets.
Use the “Audio Buffer Size” options to
adjust the latency of the processor. Note
that too small a latency can result in
syncing issues.


