


– 38 –
– 39 –
EN
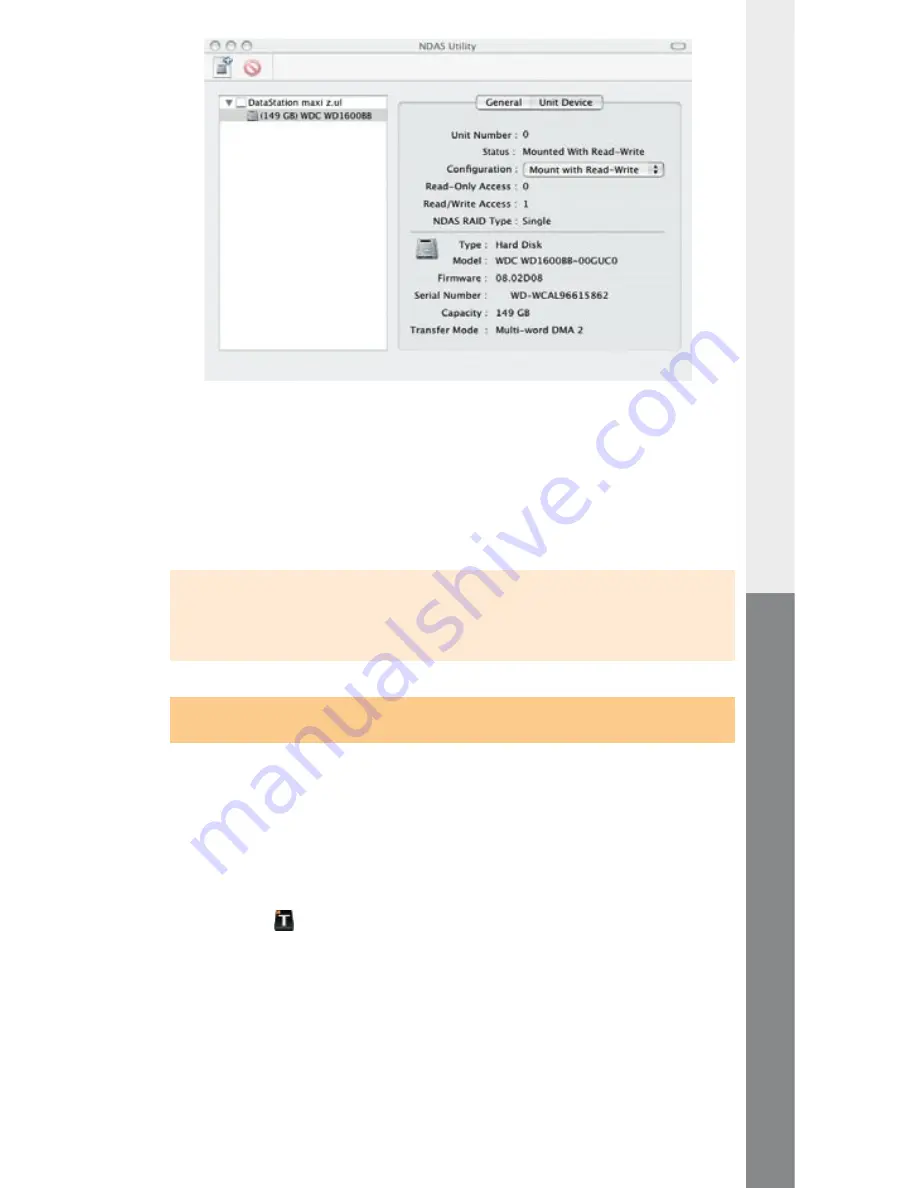
• Select the "
u
nit
d
eviCe
" register.
• Next, change the setting of the "
C
onfigurAtion
" from "
u
nmount
" to
"
m
ount
with
r
eAd
-w
rite
".
• The
DataStation
maxi z.ul
then appears as a new disk on
your desktop.
Note: In the network mode multiple computers can have access to the
DataStation
maxi z.ul
. However, only one computer can mount
the
DataStation
maxi z.ul
in Read / Write mode.
Other computers can only mount it in Read mode.
3.2) Functions and options of the TrekStor NDAS Device
Management
In the network mode multiple computers can have access to the
DataStation
maxi z.ul
. However, only one computer can
mount the
DataStation
maxi z.ul
in Read / Write mode. Other
computers can only mount it in Read mode.
Functions of the TrekStor NDaS Device Management
A menu opens if you right-click on the symbol for the "
t
rek
s
tor
ndAs d
eviCe
m
AnAgement
"- in the Info area of the task bar. There you can obtain
information about the status of the integrated devices. You also have the
option to integrate new devices and call up the general software options.
Options of the TrekStor NDaS Device Management
The general settings for the program can be set under the "
o
Ptions
" menu
item. Some of the most important functions are setting the language of the user
interface and activating or deactivating the "
r
egistrAtion
A
ssistAnt
" (Wizard).


