23
Chapter 5
TP-Link Cloud Service
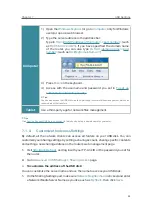
• Add/remove other TP-Link IDs to/from the router.
5. 3. 1.
Add TP-Link ID to Manage the Router
1. Visit
http://tplinkwifi.net
, and log in with your TP-Link ID.
2. Go to
Basic
>
TP-Link Cloud
, and focus on the
Bound Accounts
section.
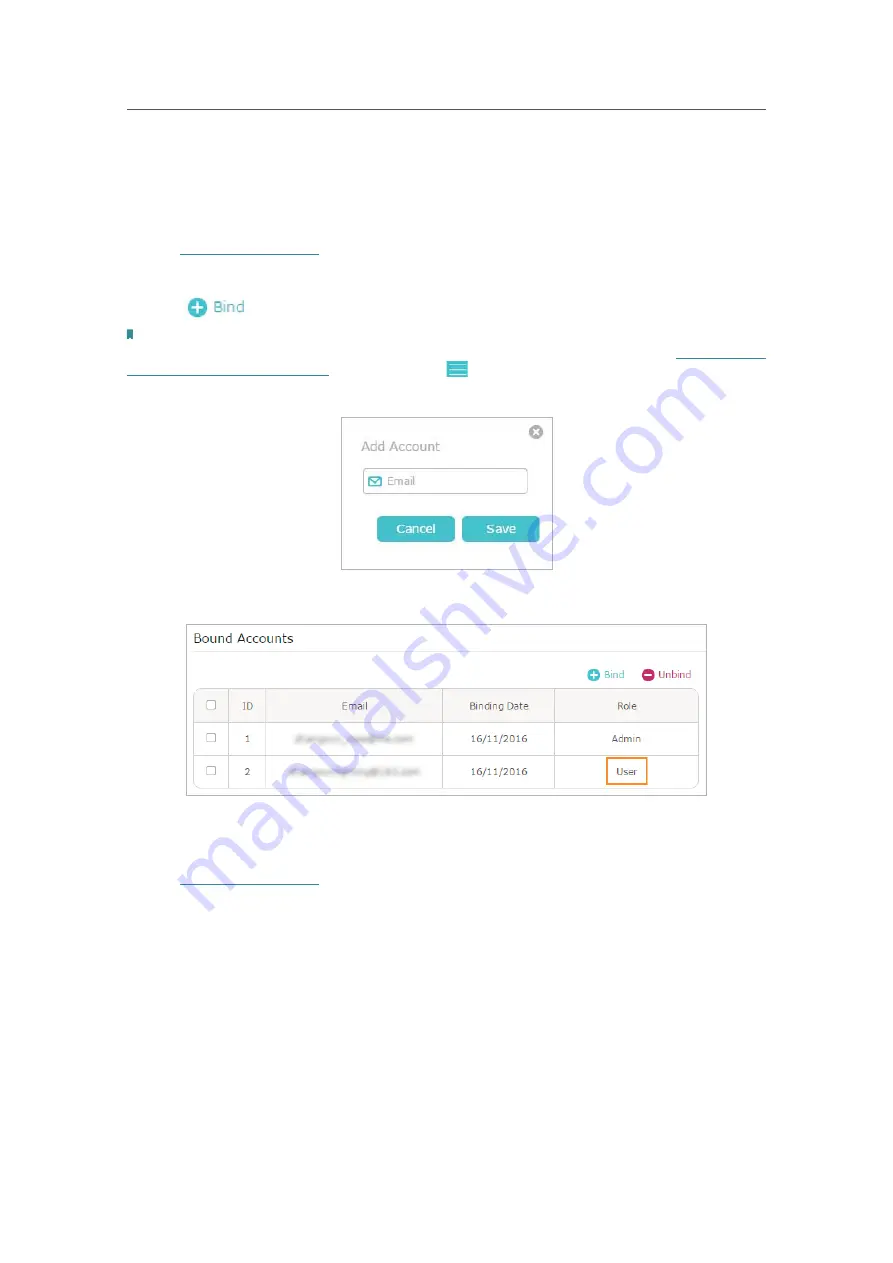
3. Click
, enter another TP-Link ID as needed and click
Save
.
Note:
If you need another TP-Link ID, please register a new one via the Tether app. Install Tether referring to
Install the Tether
App on Your Smartphones or Tablets
. Launch the app, tap
in the top-left corner of the screen and tap
Login
, and
then click
New User
to register a new one.
4. The new TP-Link ID will be displayed in the Bound Accounts table as a
User
.
5. 3. 2.
Remove TP-Link ID(s) from Managing the Router
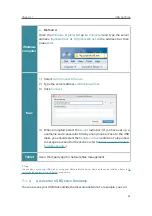
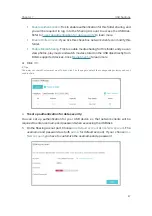
1. Visit
http://tplinkwifi.net
, and log in with your TP-Link ID.
2. Go to
Basic
>
TP-Link Cloud
, and focus on the
Bound Accounts
section.
3. Tick the checkbox(es) of the TP-Link ID(s) you want to remove and click
Unbind
.
Содержание ARCHER C1200
Страница 1: ...REV2 0 0 1910012083 User Guide AC1200 Wireless Dual Band Gigabit Router Archer C1200 ...
Страница 14: ...Chapter 3 Log In to Your Router ...
Страница 51: ...46 Chapter 8 Parental Controls Now you can control your children s internet access as needed Done ...
Страница 74: ...69 Chapter 13 VPN Server 7 The PPTP VPN connection is created and ready to use ...

