


86
2.HOW TO MAKE COPIES
3.Bypass Copying (Cont.)
2
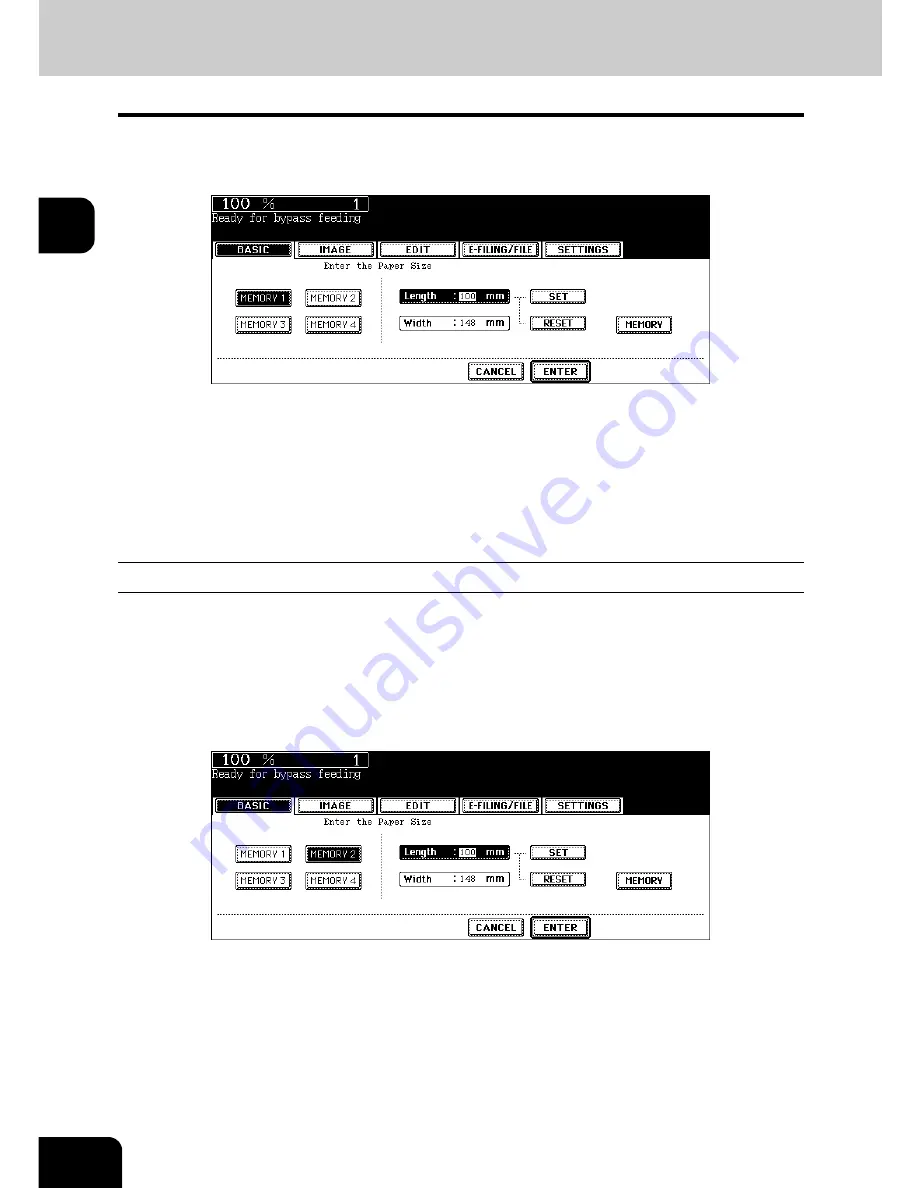
Recalling dimensions registered in the memory
Press the desired memory number button from [MEMORY 1] to [MEMORY 4] to recall the dimension
data registered previously, and then press the [ENTER] button.
• Paper size that can be set is as follows:
Length: 100 mm to 297 mm
Width: 148 mm to 432 mm
• To register the dimension data in the memory, see
P.86 “Registering non-standard size in the memory”.
• Set other copy modes as required.
5
Press the [START] button on the control panel.
Registering non-standard size in the memory
1
Follow steps 1 to 3 on “Bypass copying on non-standard size paper”
(
P.84).
2
Press the memory number button (from [MEMORY 1] to [MEMORY 4])
you want to register the dimension.
Содержание E-STUDIO 232
Страница 1: ...MULTIFUNCTIONAL DIGITAL SYSTEMS Operator s Manual for Basic Function ...
Страница 2: ......
Страница 6: ...4 CONTENTS Cont ...
Страница 10: ...8 Toshiba Quality is Second to None Cont For e STUDIO233 283 ...
Страница 24: ...22 Environmental Information Cont ...
Страница 92: ...90 2 HOW TO MAKE COPIES 4 Proof Copy Cont 2 ...
Страница 107: ...105 3 Names of each Inner Finisher optional 1 Trays 2 Paper stopper MJ 5004 MJ 5005 1 2 1 ...
Страница 109: ...107 3 4 Press the SORT or GROUP button Set other copy modes as required 5 Press the START button ...
Страница 130: ...128 3 SETTING OF BASIC COPY MODES 6 Copy Density Adjustment Cont 3 ...
Страница 131: ...129 4 4 IMAGE ADJUSTMENT 1 Background Adjustment 130 2 Sharpness 131 ...
Страница 134: ...132 4 IMAGE ADJUSTMENT 2 Sharpness Cont 4 ...
Страница 139: ...137 5 6 Press the ENTER button Select other copy modes as required 7 Press the START button ...
Страница 141: ...139 5 4 Press the ENTER button Set Book type original 2 sided copy P 121 in duplex copying as well ...
Страница 175: ...173 5 5 Press the ENTER button Select other copy modes as required 6 Press the START button ...
Страница 180: ...178 5 USING THE EDITING FUNCTIONS 16 ADF SADF Cont 5 ...
Страница 188: ...186 6 e FILING 3 Changing Data of User Boxes Cont 6 7 Press the ENTER button The box settings are updated ...
Страница 206: ...204 6 e FILING 8 Appendix Cont 6 ...
Страница 276: ...274 8 JOB STATUS 6 Error Code Cont 8 ...
Страница 285: ...283 9 13Close the front cover ...
Страница 304: ...302 9 BLINKING GRAPHIC SYMBOLS 5 Call Service Symbol Cont 9 ...
Страница 328: ...326 10 WHEN THIS MESSAGE APPEARS 8 Reboot the machine Cont 10 ...
Страница 329: ...327 11 11 MAINTENANCE 1 Daily Inspection 328 2 Simple Troubleshooting 330 ...
Страница 336: ...334 11 MAINTENANCE 2 Simple Troubleshooting Cont 11 ...
Страница 352: ...350 INDEX Cont W Warning 12 Windows Domain Authentication 38 39 X XY ZOOM 156 Z Zoom buttons 101 ...
Страница 353: ...DP 2340 2840 OME050120E0 ...


