


63
2
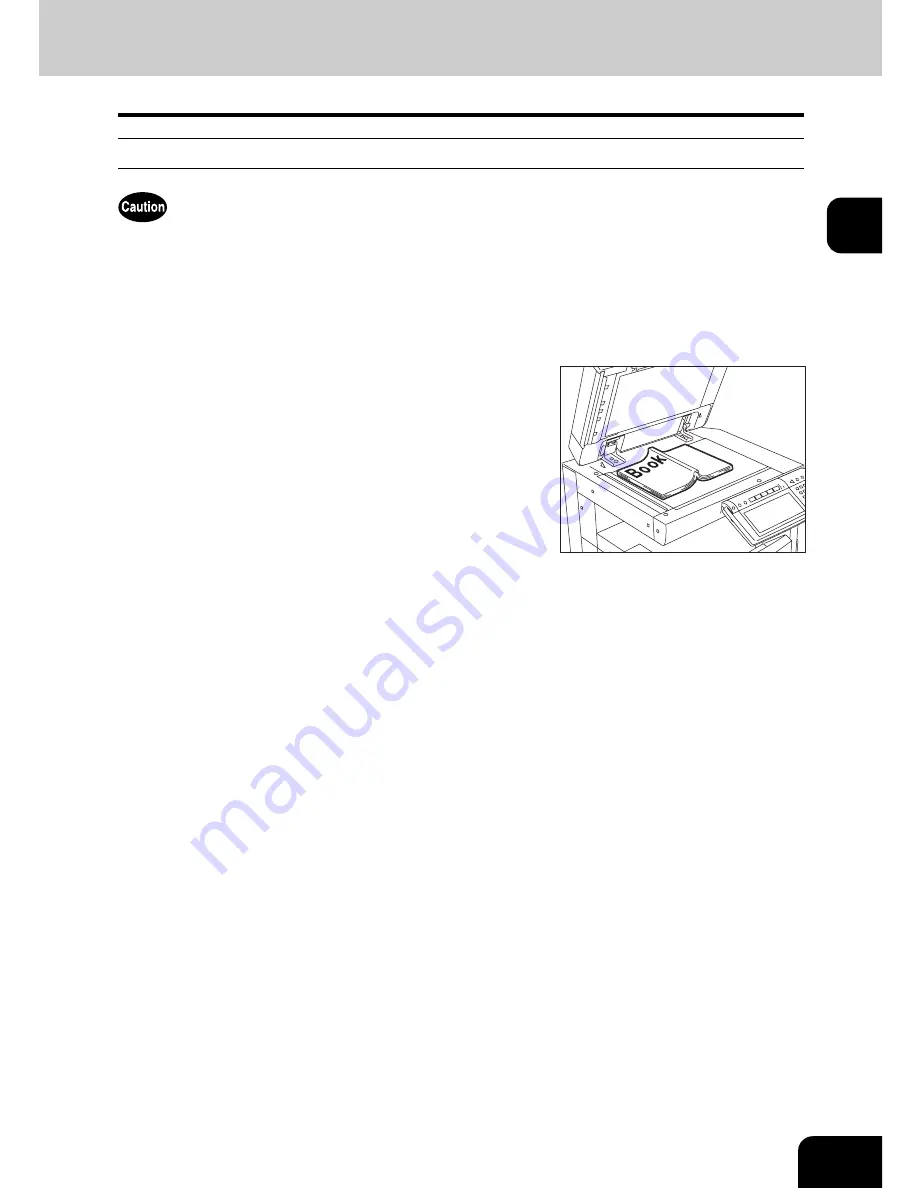
Book-type originals
Do not place heavy objects (4 kg or more) on the original glass and do not press on it with force. Breaking
the glass could injure you.
1
Raise the original cover or Reversing Automatic Document Feeder
(optional).
3
Lower the original cover or Reversing Automatic Document Feeder
(optional) carefully.
• Do not lower the Reversing Automatic Document Feeder forcibly when the original is very thick. There will be
no problem in copying even if the Reversing Automatic Document Feeder is not fully lowered.
• Do not look fully at the original glass because intensive light may leak out during copying.
2
Open the desired page of the original and
place it face down. Align it against the
left rear corner of the glass.
• When you want to use the 2-sided copying function or the dual-
page function on the book-type originals, align the centre of the
original on the yellow indicator line of the glass.
(
P.121 “Book-type original -> 2-sided copy”)
(
P.144 “4.DUAL PAGE”)
Содержание E-STUDIO 232
Страница 1: ...MULTIFUNCTIONAL DIGITAL SYSTEMS Operator s Manual for Basic Function ...
Страница 2: ......
Страница 6: ...4 CONTENTS Cont ...
Страница 10: ...8 Toshiba Quality is Second to None Cont For e STUDIO233 283 ...
Страница 24: ...22 Environmental Information Cont ...
Страница 92: ...90 2 HOW TO MAKE COPIES 4 Proof Copy Cont 2 ...
Страница 107: ...105 3 Names of each Inner Finisher optional 1 Trays 2 Paper stopper MJ 5004 MJ 5005 1 2 1 ...
Страница 109: ...107 3 4 Press the SORT or GROUP button Set other copy modes as required 5 Press the START button ...
Страница 130: ...128 3 SETTING OF BASIC COPY MODES 6 Copy Density Adjustment Cont 3 ...
Страница 131: ...129 4 4 IMAGE ADJUSTMENT 1 Background Adjustment 130 2 Sharpness 131 ...
Страница 134: ...132 4 IMAGE ADJUSTMENT 2 Sharpness Cont 4 ...
Страница 139: ...137 5 6 Press the ENTER button Select other copy modes as required 7 Press the START button ...
Страница 141: ...139 5 4 Press the ENTER button Set Book type original 2 sided copy P 121 in duplex copying as well ...
Страница 175: ...173 5 5 Press the ENTER button Select other copy modes as required 6 Press the START button ...
Страница 180: ...178 5 USING THE EDITING FUNCTIONS 16 ADF SADF Cont 5 ...
Страница 188: ...186 6 e FILING 3 Changing Data of User Boxes Cont 6 7 Press the ENTER button The box settings are updated ...
Страница 206: ...204 6 e FILING 8 Appendix Cont 6 ...
Страница 276: ...274 8 JOB STATUS 6 Error Code Cont 8 ...
Страница 285: ...283 9 13Close the front cover ...
Страница 304: ...302 9 BLINKING GRAPHIC SYMBOLS 5 Call Service Symbol Cont 9 ...
Страница 328: ...326 10 WHEN THIS MESSAGE APPEARS 8 Reboot the machine Cont 10 ...
Страница 329: ...327 11 11 MAINTENANCE 1 Daily Inspection 328 2 Simple Troubleshooting 330 ...
Страница 336: ...334 11 MAINTENANCE 2 Simple Troubleshooting Cont 11 ...
Страница 352: ...350 INDEX Cont W Warning 12 Windows Domain Authentication 38 39 X XY ZOOM 156 Z Zoom buttons 101 ...
Страница 353: ...DP 2340 2840 OME050120E0 ...


