


56
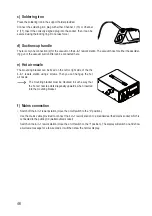
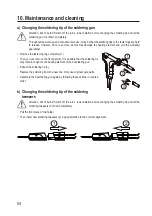
d) Cleaning the desoldering gun
Attention, risk of burns! Switch off the 4-in-1 rework station before cleaning the desoldering gun and let the
soldering gun cool down completely.
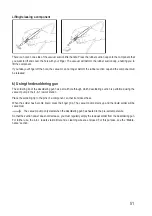
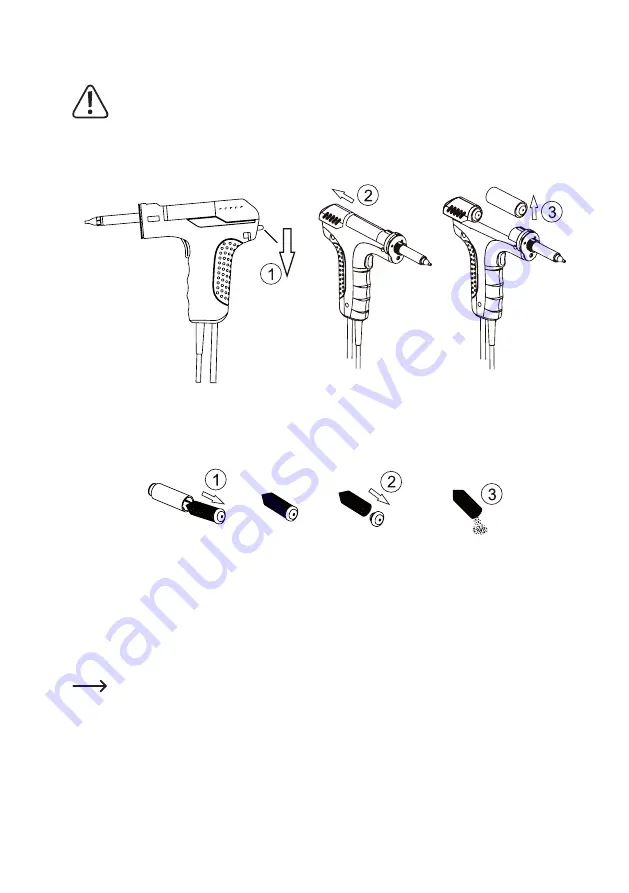
• Push the release button downwards (1).
• Then move the top of the upper housing part backwards (2).
• Remove the collection container at the bottom (3).
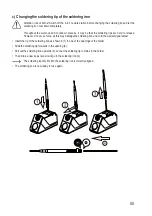
• Disassemble the collection container by pushing the metal spring with the rubber cap to pull out (1).
• Remove the rubber cap from the metal spring (2).
• The inside of the metal spring has accumulated the extracted solder, empty it (3) and dispose of it in an environ-
mentally-friendly manner. This is particularly important for lead solder!
•
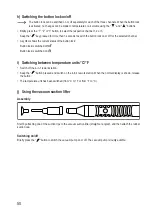
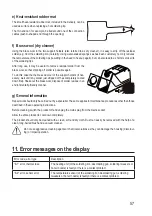
At the other end of the collection container at the bottom, there is a built-in filter. This can be removed and should
be cleaned carefully. After multiple desoldering uses, the filter will be clogged with the finest solder dust and must
be replaced, so that desoldering can be carried out correctly. For this, a selection of replacement filters (14.5 x 3
mm) are included in the delivery.
• Using the cleaning wire provided (approx. 10 cm long, with spring at one end), the nozzle of the desoldering gun
can be cleaned. The cleaning wire can be used even in the hot desoldering gun, to clean a blocked nozzle (caution,
risk of burns!).
• Assemble the desoldering gun again by following these actions in reverse order.
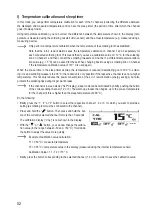
In the hose between the desoldering gun and the 4-in-1 rework station, there is a micro filter. This retains
the smallest particles, so that these do not enter the vacuum pump.
Depending on the number of desoldering uses, you should replace the filter with a new one at the latest
once per year (multiple replacement filters are included in the delivery, 18 x 3 mm).


