


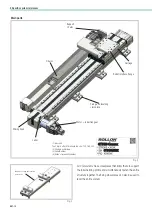


UM-13
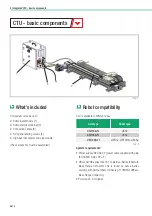
Cobot Transfer Unit
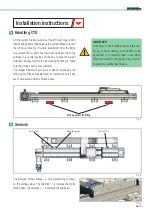
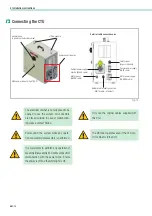
Power down the system while any operation
of assembly/disassembly is performed.
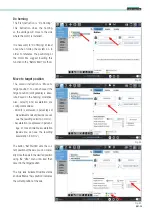
Proceed with the installation of the robot in working position.
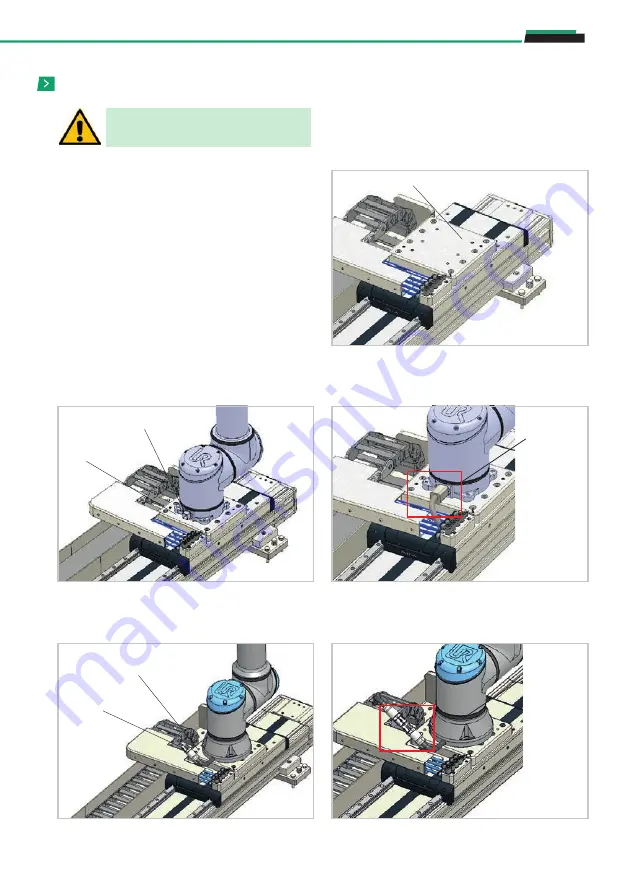
The axis carriage is supplied with an adaptation counter plate
for fixing the robot. This flange is custom made to be compat-
ible with the robot base, and it is in turn anchored to the axis
carriage. To anchor the robot to the interface flange, follow
the instructions shown in the robot manual.
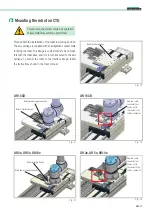
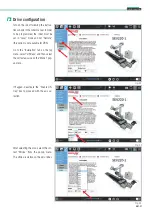
Mounting the robot on CTU
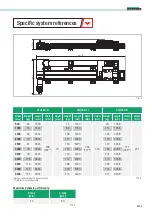
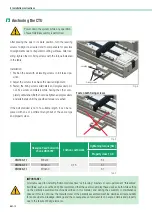
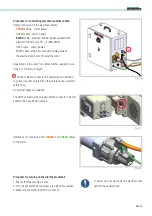
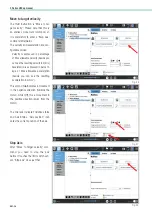
Fig. 11
Fig. 13
Robot power supply connector
Robot power supply connector
Robot interface flange
Robot interface flange
Fig. 12
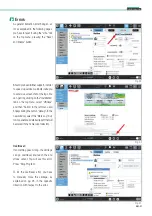
Fig. 14
Fig. 10
Plug the cable
connector that
comes out of
the chains to the
robot’s connector.
Robot interface flange
UR 10CB
UR 3e, UR 5e, UR10e
UR 10CB
UR 3e, UR 5e, UR10e
Plug the cable
connector that
comes out of
the chains to the
robot’s connector.
Содержание ROLLON CTU 220-1I
Страница 2: ......
Страница 44: ...UM 42 Notes Notes...
Страница 45: ...UM 43 Cobot Transfer Unit Notes...
Страница 46: ...UM 44 Notes Notes...
Страница 47: ......