


ITC222 Geometry & Convergence Procedures
30
C
ONVERGENCE
A
DJUSTMENT
R
AILS
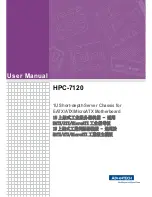
At some point if geometry is not quite correct or the convergence amplifiers are working too hard
for other reasons, convergence may seem to run out of movement. Since the vertical amplifiers do
not work as hard as the horizontal amps, yet have the same capability it is rare they will rail. But
in either case, horizontal or vertical adjustment railing, the solution is not simple. One of several
things may be occurring.
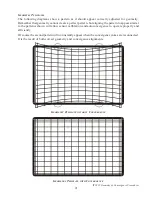
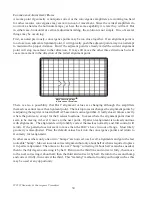
First, as noted previously, convergence points may be too close together. If an alignment point is
too close to an adjacent alignment point, it will typically push the adjacent point away in an attempt
to maintain the proper distance. But if the adjacent point is already railed the current alignment
point will stop movement in that direction. It may still move the other three directions but will
cease movement in the direction of the railed alignment point.
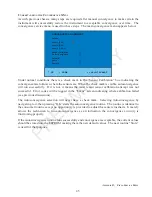
Move Centering Rings
in Direction of Distortion
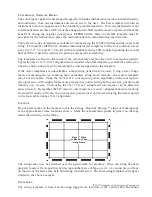
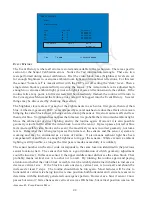
There is also a possibility that DAC alignment values are changing although the amplifiers
themselves cannot move the alignment point. The microprocessor changes the alignment points by
readjusting the register values in the DAC based on its own algorithm. It really doesn’t know exactly
where the points are, except for the 8 sensor locations. In cases where the alignment point doesn’t
seem to be moving in Level 2, move to the next point. If pattern realignment is noticed continue
with alignments. The alignments will probably correct themselves normally and full control will
return. If the pattern does not seem to move then the DAC’s have run out of range. Most likely
geometry is misadjusted. Place the default values back into the convergence points and return to
Geometry for realignment.
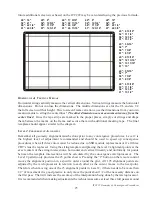
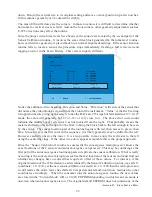
In other cases where only one or two “humps” are noticed, use Level 3 alignments and go to the last
noticable “hump”. Move it towards correct alignment but only about half of what is required to place
it in perfect alignment. Then move to the next “hump” correcting it about half as much as needed,
then to the third again correcting it by half. Return to the third line and correct it fully, then move
to the next correcting it about half, then the third and correct it by half. Return to the second hump
and correct it fully, then correct the third. This “walking” method of ironing out humps such as this
may be used at any opportunity.