409-32048
Rev A
11
of 64
Select your name from the list displayed (if your name does not appear on the list you must see the system
manager to add it). See Figure 8A and 8B.
Figure 8
4.3.
Selecting the Board
P
ress the “SELECT BOARD” button on the
lower left area of the screen. Now select the board from the list
presented. Use the up and down arrow keys as needed to change pages. See Figure 9.
Figure 9
4.4.
Running the Board
Double click the “RUN” icon or press the “START/PAUSE” green pushbutton on the front
left or right of the
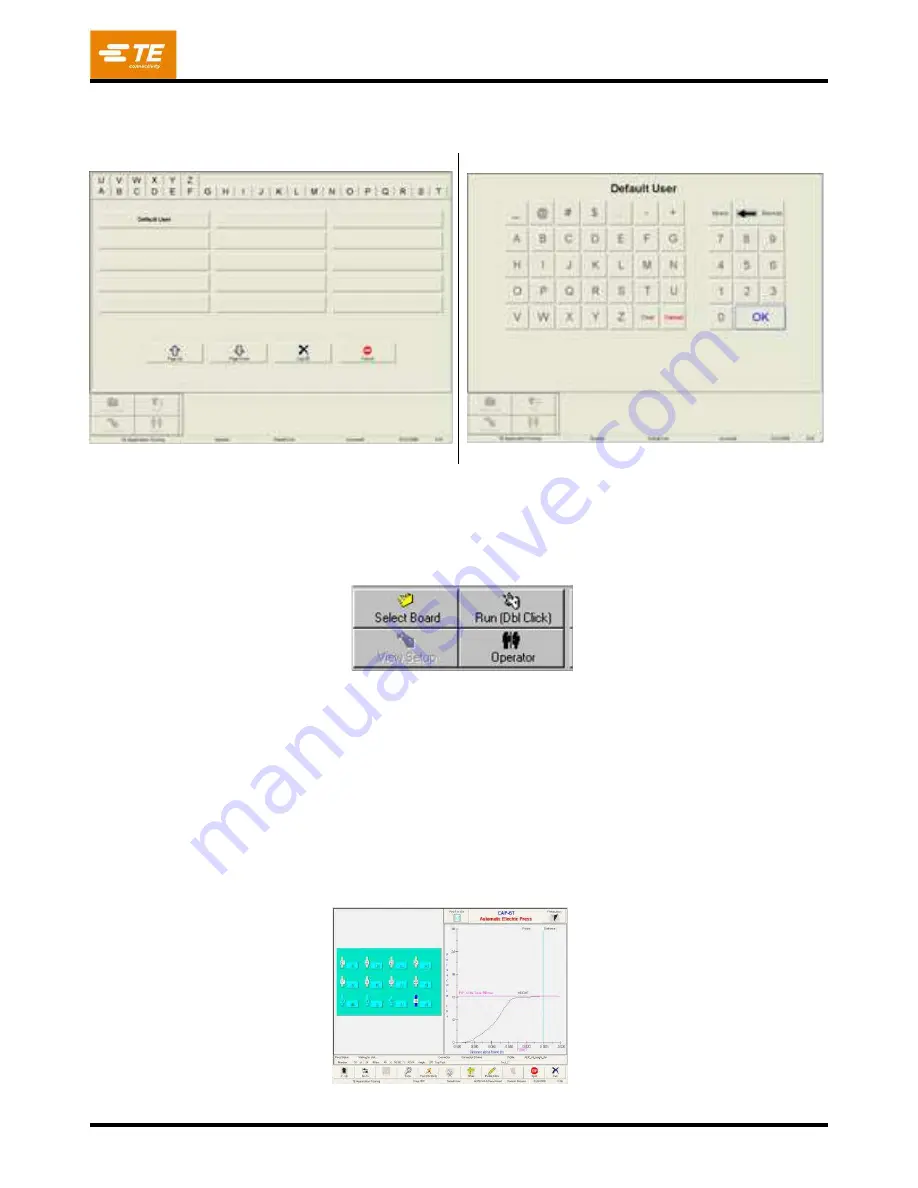
machine to start the pressing process. The run screen will display showing a rendering of the PCB based on
the input data on the left, a blank graph for the pressing force and distance data on the right, and a series of
buttons along the bottom. If an error message regarding missing data is displayed, you must return to the
editors to correct the problem.
The rendering will be shown with the next connector to be pressed highlighted in blue. This will be connector
#1 unless the board be
ing run was aborted before completion. To run the board, double click the “RUN” button
on the screen or press the green “START/PAUSE” button mounted on the front left or right of the machine. The
automatic cycle will continue until the board is complete or an error condition is encountered. See Figure 10.
Figure 10
8A
8B
Password Entry Screen
Operator Log-On Screen
(Enter Your Password and Press “OK”
Run Screen Buttons
(Run Screen for Press Operations)


