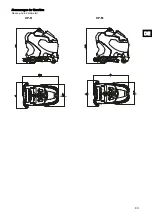
101
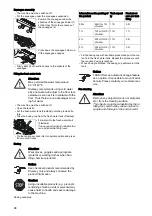
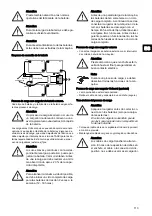
Replenishing cleaning solvent
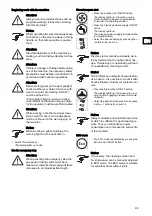
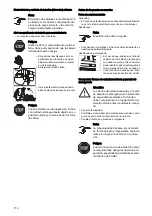
Draining dirty water
Recovery tank full display:
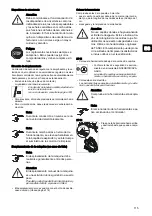
End of operation
Manual process
Automatic process
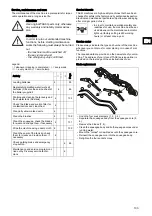
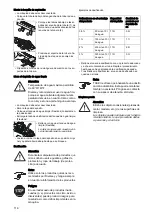
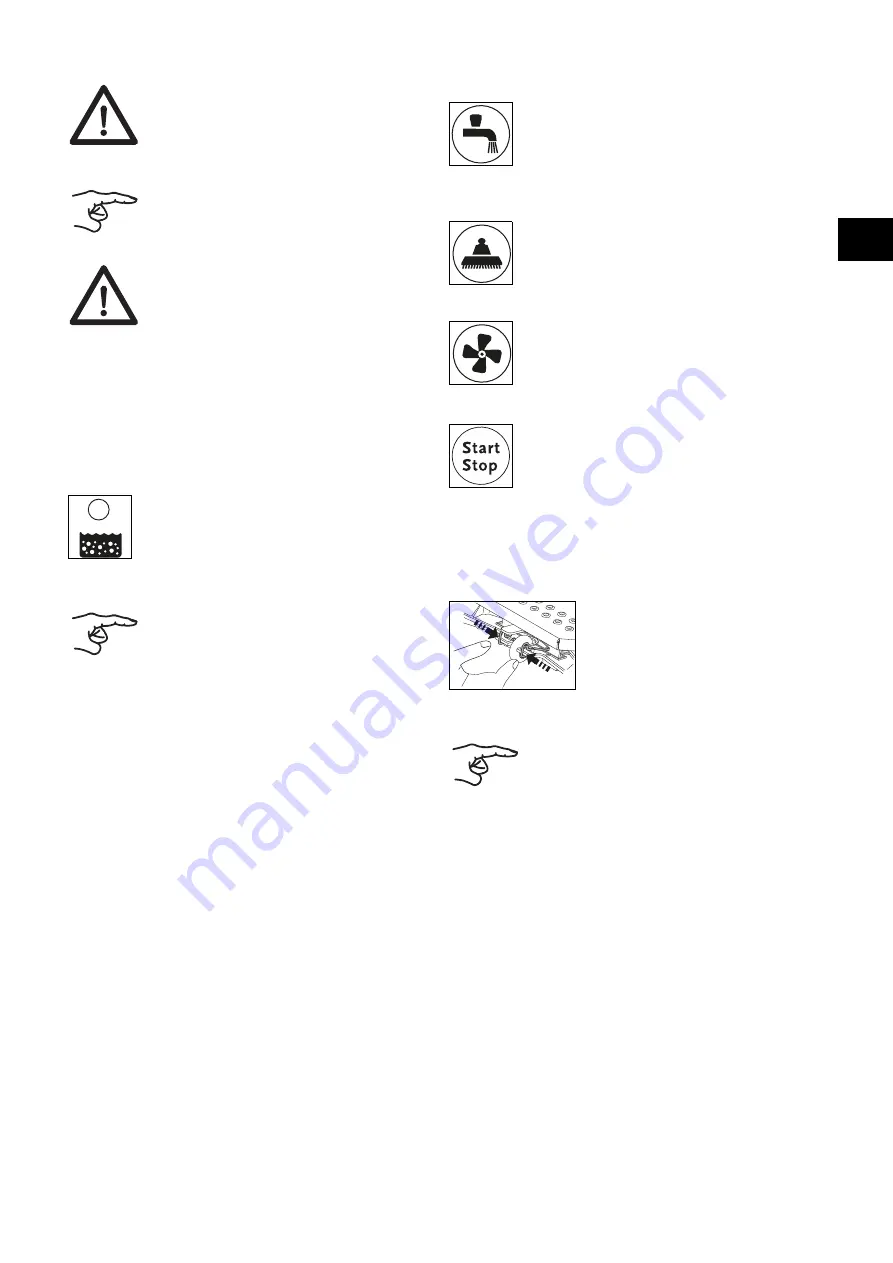
Removing and cleaning the squeegee
Attention:
The flooring may be damaged when work
-
ing without cleaning solution.
Notice:
A rattling noise from the pump indicates an
empty fresh water tank (Flextank).
Attention:
The pump must never run dry for an ex
-
tended period.
• The machine must be switched off.
• Open the tank lid.
• Fill water into the fresh water tank (Flextank), see page 98.
• Add the cleaning product using the dosing cup.
• Tip the tank cover back into its original position and press
it down until it locks.
• If the Recovery tank display lights up, the
cleaning program is interrupted, the squee
-
gee is lifted and the suction unit is switched
off.
• Drain the recovery tank, see page 102.
Notice:
In case of frothing in the tank, the recovery
tank display also lights up.
• Drain the recovery tank, see page 102.
• Press the Brush drive ON/OFF button.
The cleaning solution supply is stopped.
• Drive on for a few meters so that the brushes keep on ro
-
tating for a short time to avoid dripping.
Very important for TASKI contact pads!
• Press the Brush drive ON/OFF button.
The display lights up and the brush unit is
stopped and lifted.
• Drive on for a few meters in order to absorb the remaining
drain water.
• Press the Suction unit ON/OFF button.
The display lights up and the squeegee is
automatically lifted.
The suction motor is still on for 15 seconds.
• Press the Program start/stop button.
The cleaning solution supply is stopped.
The brush unit is stopped and lifted.
After 30 seconds, the squeegee is lifted.
The suction motor is still on for 15 seconds
until it is automatically switched off.
• The machine must be switched off.
• Remove both suction hoses from the squeegee nozzles.
• Compress the position locks. The
squeegee is released and can be re
-
moved from the squeegee holder.
• Clean the squeegee under running water using a brush.
Notice:
Only cleaned and intact blades ensure op
-
timal suction results!
EN
Содержание swingo XP-M
Страница 2: ......
Страница 3: ......
Страница 19: ...17 اﻟﺠﻬﺎز ﺣﺠﻢ ﺑﺎﻟﺴﻢ ﻫﻲ اﻟﻤﺴﺎﺣﺔ 130 130 95 79 7 131 79 7 95 131 XP R XP M AR ...
Страница 73: ...71 Maskinens mål Målene er alle angivet i centimeter 130 130 95 79 7 131 79 7 95 131 XP R XP M DA ...
Страница 91: ...89 Abmessungen der Maschine Masse sind in Zentimeter 130 130 95 79 7 131 79 7 95 131 XP R XP M DE ...
Страница 109: ...107 Machine dimensions The dimensions are in centimeters 130 130 95 79 7 131 79 7 95 131 XP R XP M EN ...
Страница 144: ...142 Masina mõõtmed Mõõtmed on sentimeetrites 130 130 95 79 7 131 79 7 95 131 XP R XP M ...
Страница 162: ...160 Koneen mitat Mitat ovat senttimetreinä 130 130 95 79 7 131 79 7 95 131 XP R XP M ...
Страница 216: ...214 Dimenzije stroja Mjere su izražene u centimetrima 130 130 95 79 7 131 79 7 95 131 XP R XP M ...
Страница 252: ...250 Dimensioni della macchina Le dimensioni sono espresse in centimetri 130 130 95 79 7 131 79 7 95 131 XP R XP M ...
Страница 287: ...285 Mašīnas izmēri Izmēri norādīti centimetros 130 130 95 79 7 131 79 7 95 131 XP R XP M LV ...
Страница 321: ...319 Maskinens mål Målene er i centimeter 130 130 95 79 7 131 79 7 95 131 XP R XP M NO ...
Страница 339: ...337 Wymiary urządzenia Wymiary podano w centymetrach 130 130 95 79 7 131 79 7 95 131 XP R XP M PL ...
Страница 375: ...373 Dimensiunile maşinii Cotele sunt în centimetri 130 130 95 79 7 131 79 7 95 131 XP R XP M RO ...
Страница 444: ...442 Maskindimensioner Måtten är i centimeter 130 130 95 79 7 131 79 7 95 131 XP R XP M ...
Страница 461: ...459 Makinenin boyutları Ölçüler santimetre cinsindedir 130 130 95 79 7 131 79 7 95 131 XP R XP M TR ...
Страница 476: ...474 设备尺寸 尺寸单位为厘米 130 130 95 79 7 131 79 7 95 131 XP R XP M ...


