Section XII
MIDI Implementation
Section XII, page 1
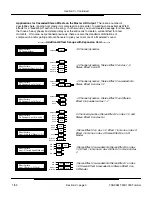
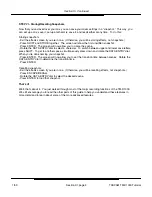
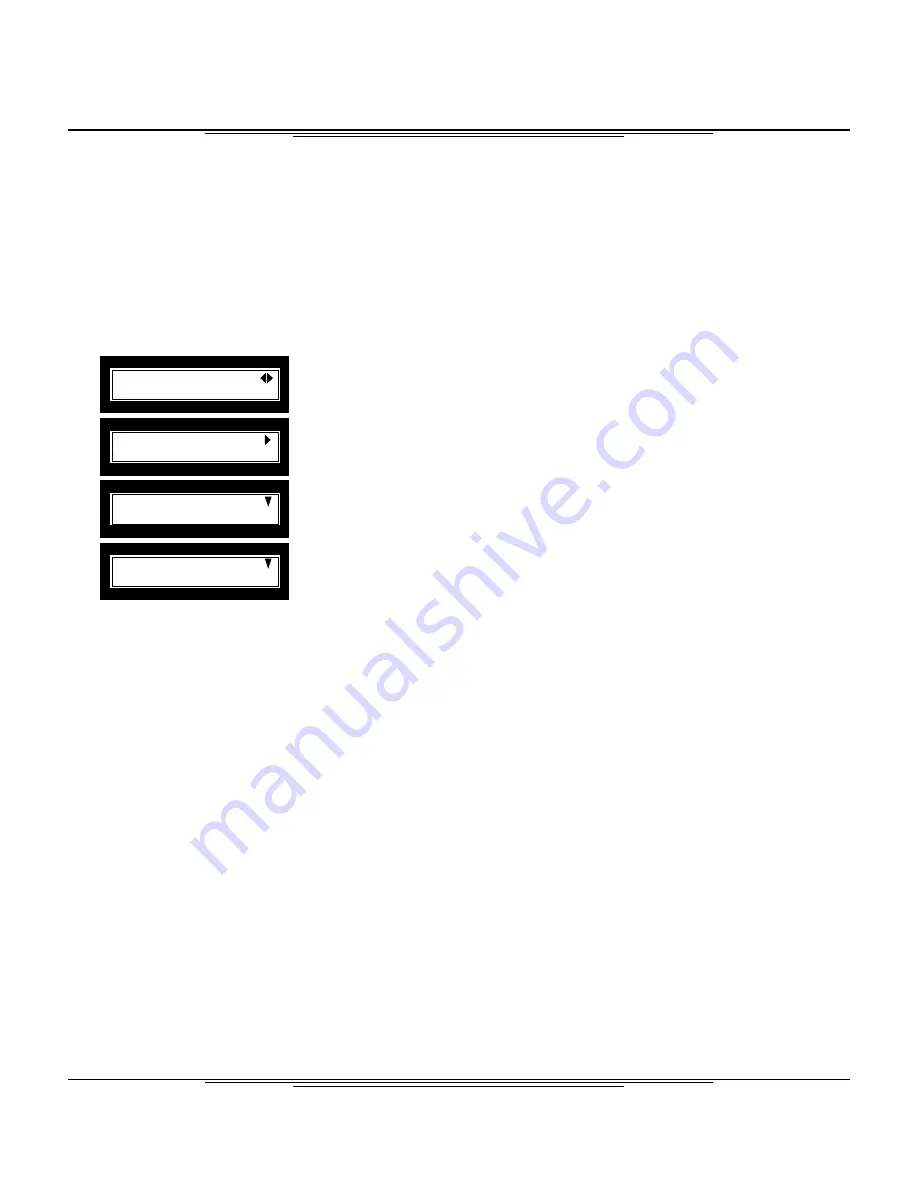
MIDI Ch Select
Mixer Ch:1
MIDI Ch Select
Effect1 Ch:2
Option
MIDI
?
MIDI
MIDI Ch Select
?
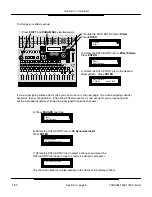
- Press SHIFT and PARAM SEL simultaneously. The top line of the screen
should read Option. If it doesn’t, press ESCAPE until it does.
- Rotate the DATA ENTRY dial to MIDI. Press ENTER.
- Rotate the DATA ENTRY dial to MIDI Ch Select. Press ENTER.
- Rotate the DATA ENTRY dial to select the MIDI channel you wish to use.
Press ENTER.
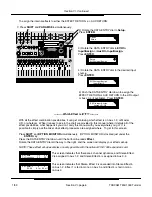
As a side note, you can also recall each effect processing program separately.
From the same screen you were in on the previous instruction:
- Press the DATA ENTRY dial down to access the processors’ MIDI
assignment.
- Rotate the DATA ENTRY dial to select the MIDI channel you wish to use.
Press ENTER.
---------- Automation ----------
From project to pro, MIDI has become a standard part of studios everywhere. On the back of the TM-
D1000 is a pair of MIDI jacks, extending the functionality of the mixer.
Saved scenes can be recalled with a standard program change message, just like changing patches on a
synthesizer. The crossfade transition time associated with that scene will engage, just as if you had
manually recalled the scene from the board.
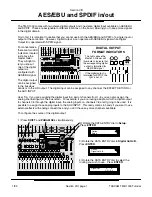
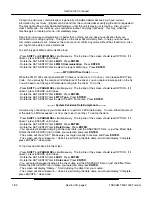
To set the channel your mixer will receive the program change on:
For more in-depth automation, all of the mixer functions have been assigned a MIDI parameter. Parameter
change information is sent whenever you change something on the mixer. (i.e. move a fader, sweep an EQ,
change the delay from multi-tap to stereo, etc.) Simply have your sequencer recording when you change
the parameter. Be aware however that the mixer sends and receives information across all 16 MIDI
channels, so you will want to use a sequencer and MIDI interface capable of cabilization (using more than
16 channels.) Consult your sequencer manual for more information on that. Also, you may want to make
sure your sequencer can record from more than one MIDI channel at a time without merging the signals to
one channel.
MMC (MIDI Machine Control) --------------
The TM-D1000 can act as a remote control for multitracks, sequencers, etc. The bussing function buttons,
CH SEL buttons and MUTE buttons can double as MIDI Machine Control buttons. Simply press SHIFT, and
the buss function keys become basic transport controls: play, stop, fast forward, rewind, and record. The
CH SEL buttons double to give you 16 locate points!!! Plus, the MUTE buttons double as track record
arming/disarming. (The SHIFT functions are listed in blue by the buttons.)
When you are in the heat of mixing, chances are you won’t need to get to your bussing or EQ in/out
switches. So, you can “lock” the shift key for those buttons. Just double click the shift key, and the LOCK
light will turn on, indicating that the top row is locked as standard transport functions. To undo this, double
click the shift key again and the light will go out.
One thing you will need to determine is whether you have an “Open Loop” or “Closed Loop” for MIDI
Machine Control. All that means is whether or not the communication between the mixer and controlled
units is one-way or two-way.
TASCAM TM-D1000 Tutorial
1/99


