TASCAM DR-44WL
25
4 – Recording
Recording automatically (AUTO REC)
(4 CH mode only)
When the auto record function is on, the unit can start and
pause recording and create new files automatically in response
to input sound levels.
1. Press the MENU button to open the
MENU
screen.
2. Using the wheel, select (highlight)
AUTO
FUNCTION
and press the ENTER/MARK or
/
button.
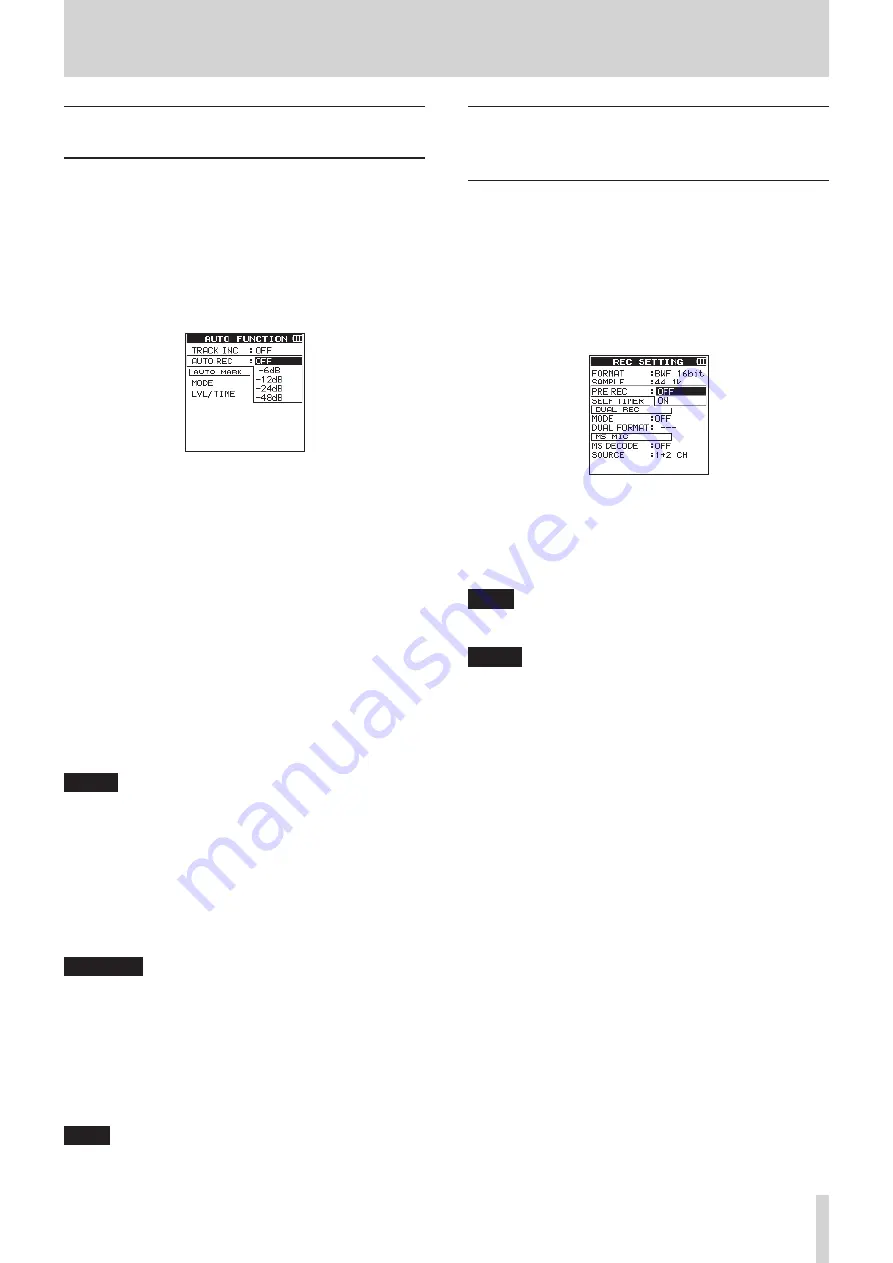
AUTO
FUNCTION
screen is displayed.
3. Using the wheel, select (highlight)
AUTO
REC
and press
the ENTER/MARK or
/
button.
4. Use the wheel to select a start level that activates the AUTO
REC function (a level that recognizes incoming signals).
Options:
OFF
(default value),
-6dB
,
-12dB
,
-24dB
,
-48dB
5. Press the ENTER/MARK button to confirm the setting and
enable selection of other setting items.
6. Once the setting has been completed, press the
8
/HOME
button to return to the Home screen.
7. Press the RECORD button to set to the mode in which the
channel (track) is selected for recording.
8. Select the channel (track) you want to record by using the
TRACK/INPUT button.
At this point, for the channel (track) you want to record into
a stereo file, turn the stereo link on. A track not stereo-linked
is recorded into a mono file.
9. Press the RECORD button to set the recording standby
mode.
Recording starts automatically when the input signal
exceeds the threshold set in the
AUTO
REC
item.
NOTE
•
When in recording standby, the
RECORD
indicator flashes
faster than when recording.
•
When recording, if the input signal level falls below the level
set with the
AUTO REC
item for more than 5 seconds,
the unit pauses recording and creates a new file. When the
input signal level becomes higher than the set level again, it
starts recording to a new file.
•
When new files are created, incremental numbers are added
to the end of each file name.
10. Press the
8
/HOME button to stop recording.
CAUTION
•
When the auto record function is on the self-timer cannot
be used.
•
The maximum total number of folders and files you can
create is 5,000.
•
Files with a recording time of less than two seconds cannot
be created. Moreover, if the sampling frequency is 96 kHz,
files shorter than four seconds cannot be created.
•
When the name of a new file to be created already exists,
the number will be incremented further.
TIPS
By using this in combination with the PRE REC function, you
can record events without losing the beginnings of sounds.
Start recording a moment before
pressing RECORD (PRE REC, 4CH mode
only)
By using prerecording, when the unit is in recording standby
you can record up to two seconds of the signal input before the
RECORD button is pushed to start recording. (PRE REC)
1. Press the MENU button to open the
MENU
screen.
2. Using the wheel, select (highlight)
REC
SETTING
and
press the ENTER/MARK or
/
button.
The
REC
SETTING
screen appears.
3. Using the wheel, select (highlight)
PRE
REC
and press
the ENTER/MARK or
/
button.
4. Using the wheel, turn the
PRE REC
function on or off.
Options:
OFF
(default value),
ON
5. Press the ENTER/MARK button to confirm the setting and
enable selection of other setting items.
6. Once the setting has been completed, press the
8
/HOME
button to return to the Home screen.
TIPS
By combining PRE REC with the AUTO REC function, you will
not miss an opportunity to start recording.
NOTE
If you start recording within two seconds from when the
record standby mode is turned ON, recording will begin
from the record standby mode.


