


14
TASCAM DR-44WL
3 – Preparation
Shutting down (standby mode)
When the unit is turned on, slide the HOLD/
switch of the
left side panel in the
direction, and when the
TASCAM
DR
-
44WL
shutting
down
appears, release the switch.
The power turns off after the unit completes its shutdown
process.
CAUTION
Always use the
HOLD/
switch to turn the power off.
Do not remove the batteries or disconnect the power cable
(AC adapter GPE053B included with the unit or USB cable)
accidentally while the unit is operating. If you do so, the unit
cannot shut down properly and all recordings, settings and
other data will be lost. Any lost data and/or settings cannot
be restored.
Resume function
The DR-44WL is equipped with a resume function to locate the
previous position (or time) when the power was turned off.
Turn the power on and press the
7
/
9
button to play back
from the previous file position (time) when the power was
turned off.
NOTE
The position is recorded in the SD card. The resume function
does not work if the SD card is replaced or formatted.
Setting the date/time
The DR-44WL uses its internal clock to record the date and time
to the recorded files.
1. Press the MENU button to open the
MENU
screen.
2. Using the wheel, select (highlight)
SYSTEM
menu item
and press the ENTER/MARK or
/
button.
The
SYSTEM
screen is displayed.
3. Use the wheel to select
DATE/TIME
and press the
ENTER/MARK or
/
button.
Exec
appears selected for the
DATE/TIME
item.
4. Press the ENTER/MARK button to open the
DATE/
TIME
screen.
5. Press the
.
button or
/
button to move the cursor
(highlighted area), and use the wheel to change values.
6. Press the ENTER/MARK button to confirm the change and
return to the
SYSTEM
screen.
NOTE
The file name will include the set date/time. (See “Setting
the file name type” on page 56.)
CAUTION
The date and time setting can only be maintained for a few
minutes if the battery power becomes low or the unit is not
powered by the dedicated AC adapter (GPE053B) included
with the unit or USB cable.
When using batteries, we recommend to replace them
before they are completely drained.
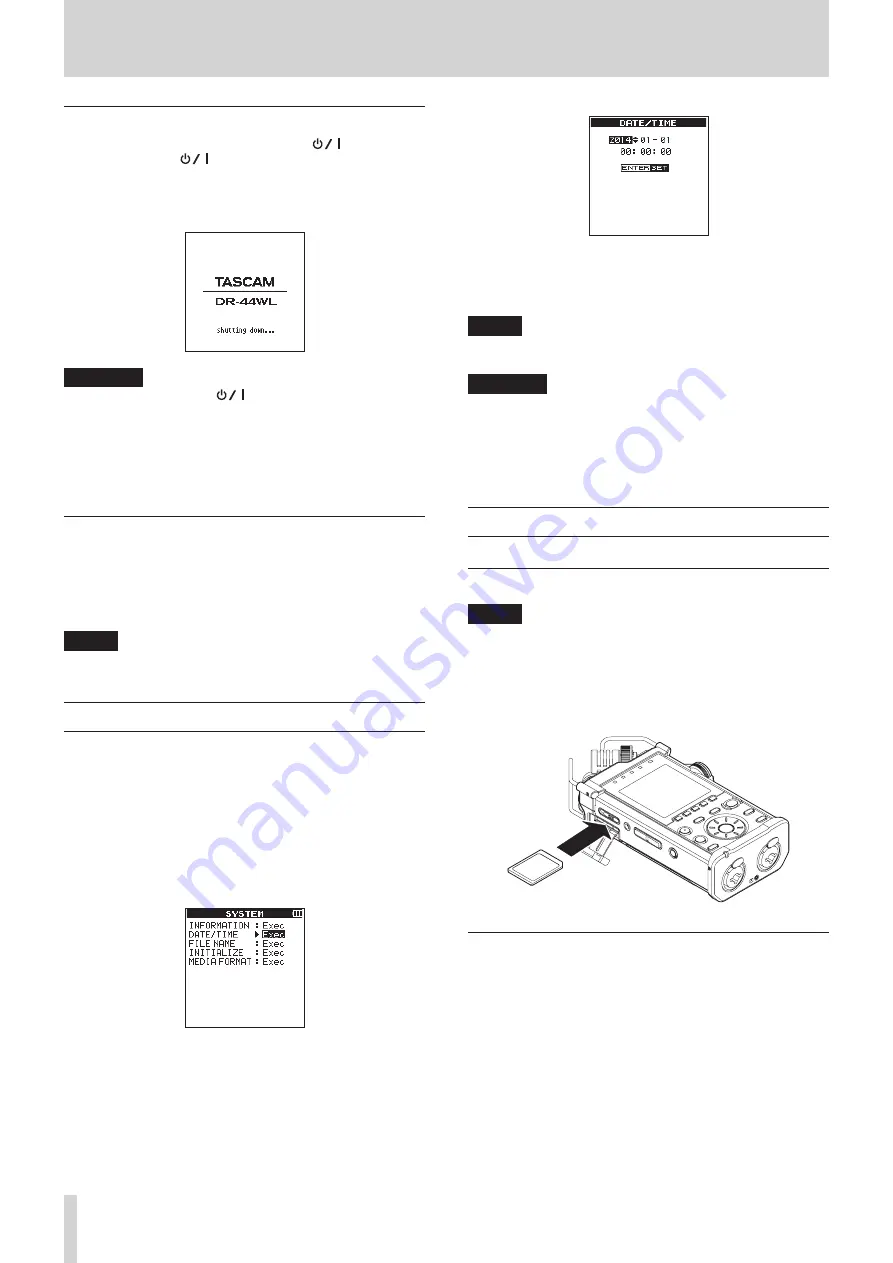
Inserting and removing SD cards
Inserting the SD card
NOTE
When the product is purchased, the SD card slot has an SD
card already installed. If you want to use this SD card to
record and play tracks, there is no need to reinstall it.
1. Open the SD card slot cover on the left side panel.
2. Insert the SD card into the slot as shown in the following
illustration until it clicks into place.
Removing the card
1. Open the SD card slot cover.
2. Press the SD card in gently and then release it to allow it to
come out.


