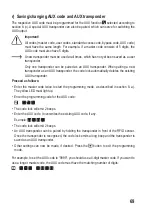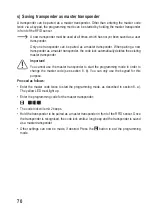
e) Pairing transponder
Up to 600 different transponders can be paired with the code lock.
When the access mode has been set to “2” as described in section 8. c), each transponder can
be assigned a separate user code (see section 8. f).
Proceed as follows:
•
Enter the master code twice to start the programming mode, as described in section 8. a).
The yellow LED must light up.
•
Press the key.
•
Enter a 3-digit code of the memory cell, for example, from to .
• Once the LED flashes yellow and green alternately, the pairing mode is enabled.
•
Hold a transponder in front of the RFID sensor. Once a new transponder is recognised, the
code lock emits a long beep and the new transponder is saved.
When transponder pairing is complete, the code lock emits three brief beeps. The
same transponder cannot be paired more than once.
When the memory cell is occupied, the code lock emits three brief beeps. Accidental
overwriting of a memory cell is thus excluded (the corresponding memory cell must
first be cleared in order to pair a new transponder on the same memory cell).
Other than holding the transponder in front of the RFID sensor, you can enter a 10-
digit transponder number (it is usually indicated on one side of a transponder card).
•
If desired, other transponders can be paired by holding them in front of the RFID sensor. The
memory cell number is automatically increased by one.
To choose the memory cell number manually, use the button to initiate transponder
pairing as above.
•
Press the
button to finish the pairing process. The programming mode is exited and the
code lock goes back to standby mode.
We recommend that you create a table and fill in all access data, including user name,
memory cell number, transponder number, user code.
This is how you can keep track of who accessed the code lock and used a specific
memory cell.
It is also easier to delete a single user or a lost transponder.
55

