7
Installation: Software
1. Insert the included CD-ROM into your computer’s optical drive.
2. If the software does not run automatically, open your optical drive,
locate and run the file named “setup.exe”.
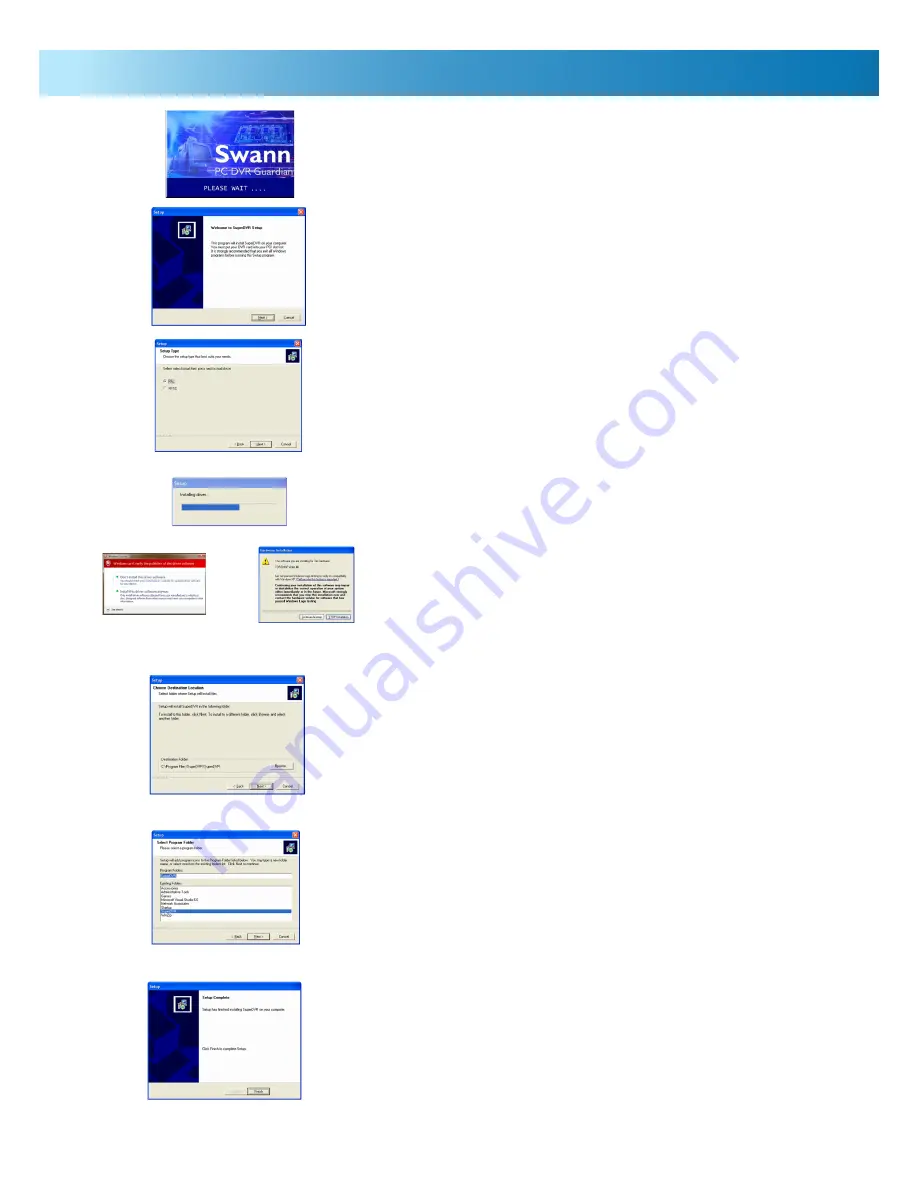
3. Wait a moment whilst the software is loaded from the CD-ROM.You
will see the following window appear: Simply choose “Next”.
4. You will be asked to select your video standard. The correct option to
choose depends on your location. For countries such as the United
States and Japan use NTSC, whilst Western Europe, the UK and
Australia use PAL.
5. Wait whilst the device drivers are installed. You will see a progress
meter showing the progress of this step.
6. You may be presented with a window similar to the following:
Choose “Install this driver software anyway” or “Continue Anyway”
(depending on the options displayed by your operating system).
7. You will be asked to nominate the folder you want the software
installed to. Unless you have a specific reason to change this, use the
suggested location. Choose “Next”.
8. You will also be asked to choose the folder in your Start Menu where
you’d like the program shortcut to be located. Again, unless you have
a specific place in mind, use the default location. Choose “Next”.
9. The installation should now be complete. You’ll see one final window.
Click “Finish” to end the installation procedure.
10. You may need to restart your computer.
Step 6 as it appears in
Microsoft Windows
®
Vista
.
Step 6 as it appears in
Microsoft Windows
®
XP.


