


Users Manual Area Scan Cameras SVSGigE
Page 18
Users Manual –svs11002 and svs16000
© SVS-VISTEK GmbH
After selecting the multicast camera in the camera list of the discovery dialog the OK
button can be clicked or the camera entry can be double clicked in order to connect to
the already running image data stream.
Since the listening application does not have control access, all controls in the ‘SVCam
Settings’ dialog will be disabled except the Close button.
4 Windows x64 support
The SVGigE SDK supports x64 natively by providing a SVGigE driver along with DLLs
and a sample application which are compiled for x64 platforms.
Although the SVCapture.exe program is a Win32 application, it can be used with some
limitations also on Windows x64 PCs using the win32 compatibility mode.
When running SVCapture on x64 platforms in the compatibility mode the SVGigE
driver will not be available because a win32 application is not capable of handling the
64 Bit image buffer addresses which are provided by the driver. Nevertheless
SVCapture can use Winsock for both, communicating to a camera as well as streaming
image data from the camera to the application.
NOTE:
Though a Winsock connection to a camera can be established properly also on
x64 platforms, there exist the same limitation for image streams regarding transport
reliability also on that platform. Usually a certain amount of network packets gets lost
when working over Winsock. Though the GigE Vision standard allows for resending
lost packets it might be that under certain circumstances visible failures in images can
result from loosing network packets dependent on the system load.
Therefore the recommended and most reliable way for streaming image data from a
camera to a PC is by using the filter driver. The SVGigE_ExampleVC8.x64.exe allows
for running a connection with both, filter driver as well as Winsock and for comparing
those modes and their main characteristics against each other.
4.1.1
Displaying live images
Connect a SVS-GigE-Camera with a network cable to your PC or network switch.
Plug in the RJ 45 Camera connector and then plug in the AC/DC power supply.
Wait 15 seconds until the green LED at the RJ45 connector of the Camera blinks
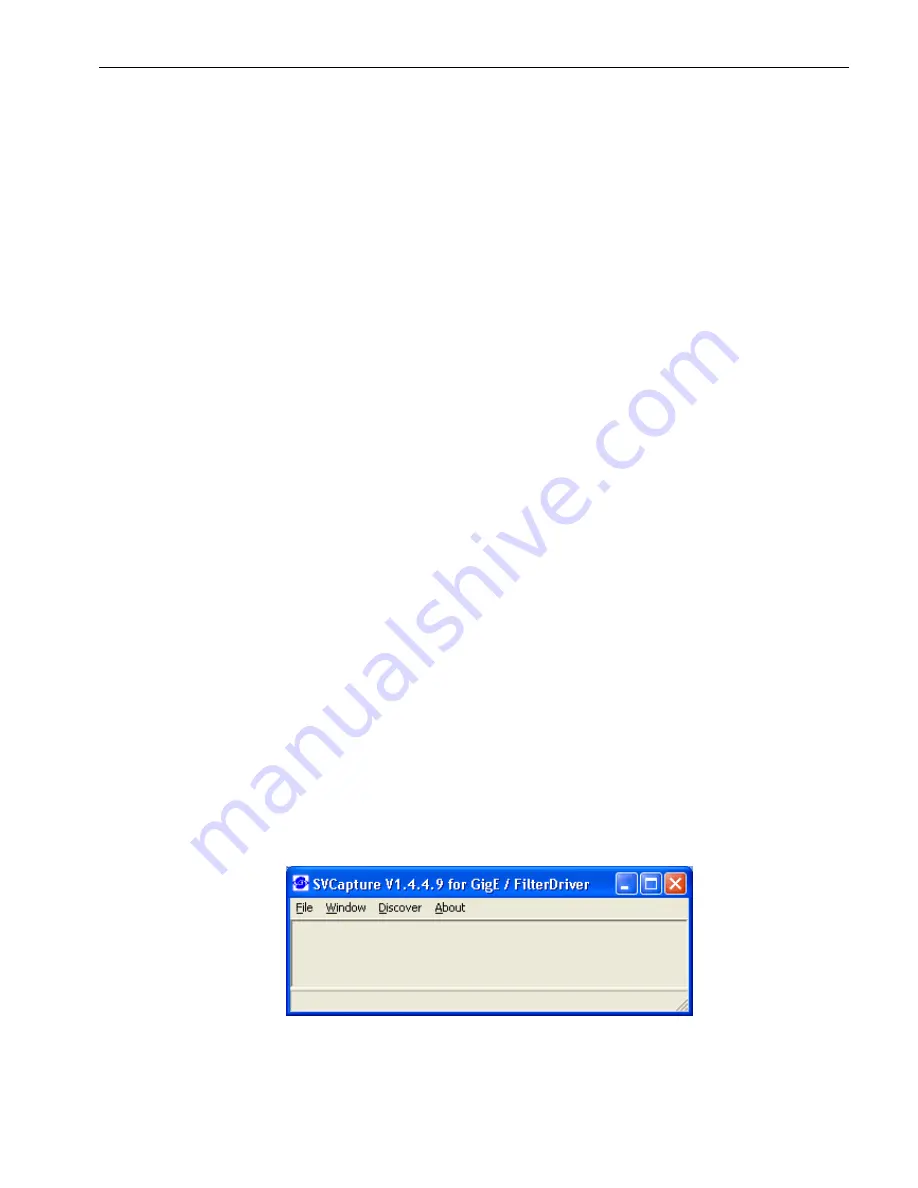
sometimes. Then start “SVCapture.exe”.
After start of “SVCapture.exe”
Содержание CameraLink svs16000
Страница 61: ...Users Manual Area Scan Cameras SVSGigE Page 61 Users Manual svs11002 and svs16000 SVS VISTEK GmbH ...
Страница 62: ...Users Manual Area Scan Cameras SVSGigE Page 62 Users Manual svs11002 and svs16000 SVS VISTEK GmbH ...
Страница 63: ...Users Manual Area Scan Cameras SVSGigE Page 63 Users Manual svs11002 and svs16000 SVS VISTEK GmbH ...
Страница 90: ...Users Manual SVS11002 and SVS16000 SVS VISTEK GmbH Press OK You are done ...


