10-16
Sun Ultra 1 Series Service Manual—November 1995
10
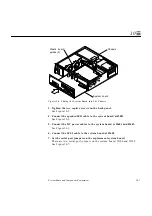
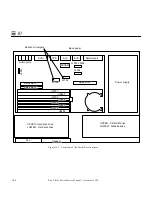
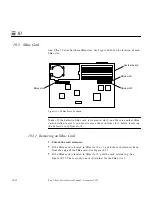
Figure 10-14 Replacing the SBus Card
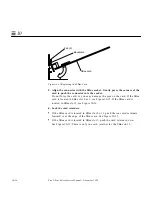
5. Align the connector with the SBus socket. Gently press the corners of the
card to push the connector into the socket.
Do not force the card, or you may damage the pins on the card. If the SBus
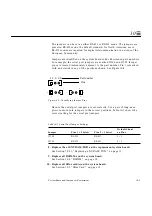
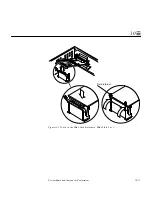
card is located in SBus slot 0 or 1, see Figure 10-15. If the SBus card is
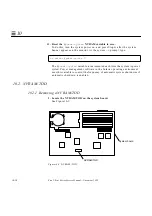
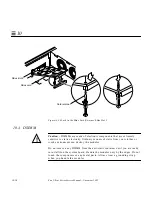
located in SBus slot 2, see Figure 10-16.
6. Lock the card retainers.
•
If the SBus card is located in SBus slot 0 or 1, push the rear card retainers
forward over the edge of the SBus card. See Figure 10-15.
•
If the SBus card is located in SBus slot 2, push the card retainer down.
See Figure 10-16. There is only one card retainer for the SBus slot 2.
SBus card
Backplate
Tab (2)
Содержание Ultra 1 140
Страница 6: ......
Страница 8: ...Sun Ultra 1 Series Service Manual November 1995...
Страница 12: ...x Sun Ultra 1 Series Service Manual November 1995 Glossary Glossary 1 Index Index 1...
Страница 23: ...Part1 SystemInformation Product Description page 1 1...
Страница 24: ......
Страница 28: ...1 4 Sun Ultra 1 Series Service Manual November 1995 1...
Страница 30: ......
Страница 46: ...3 14 Sun Ultra 1 Series Service Manual November 1995 3...
Страница 62: ...4 16 Sun Ultra 1 Series Service Manual November 1995 4...
Страница 63: ...Part3 PreparingforService Safety and Tool Requirements page 5 1 Power On and Off page 6 1...
Страница 64: ......
Страница 68: ...5 4 Electron Service Manual November 1995 5...
Страница 72: ......
Страница 108: ...8 32 Sun Ultra 1 Series Service Manual November 1995 8...
Страница 121: ...Part5 SystemBoard System Board and Component Replacement page 10 1...
Страница 122: ......
Страница 147: ...Part6 IllustratedPartsBreakdown Replacement Parts page 11 1...
Страница 148: ......
Страница 152: ......
Страница 166: ...C 4 Sun Ultra 1 Series Service Manual November 1995 C...
Страница 170: ...Glossary 4 Sun Ultra 1 Series Service Manual November 1995...
Страница 174: ...Index 4 Sun Ultra 1 Series Service Manual November 1995...

