27
FR
GB
DE
Reglage / Settings / Einstellungen
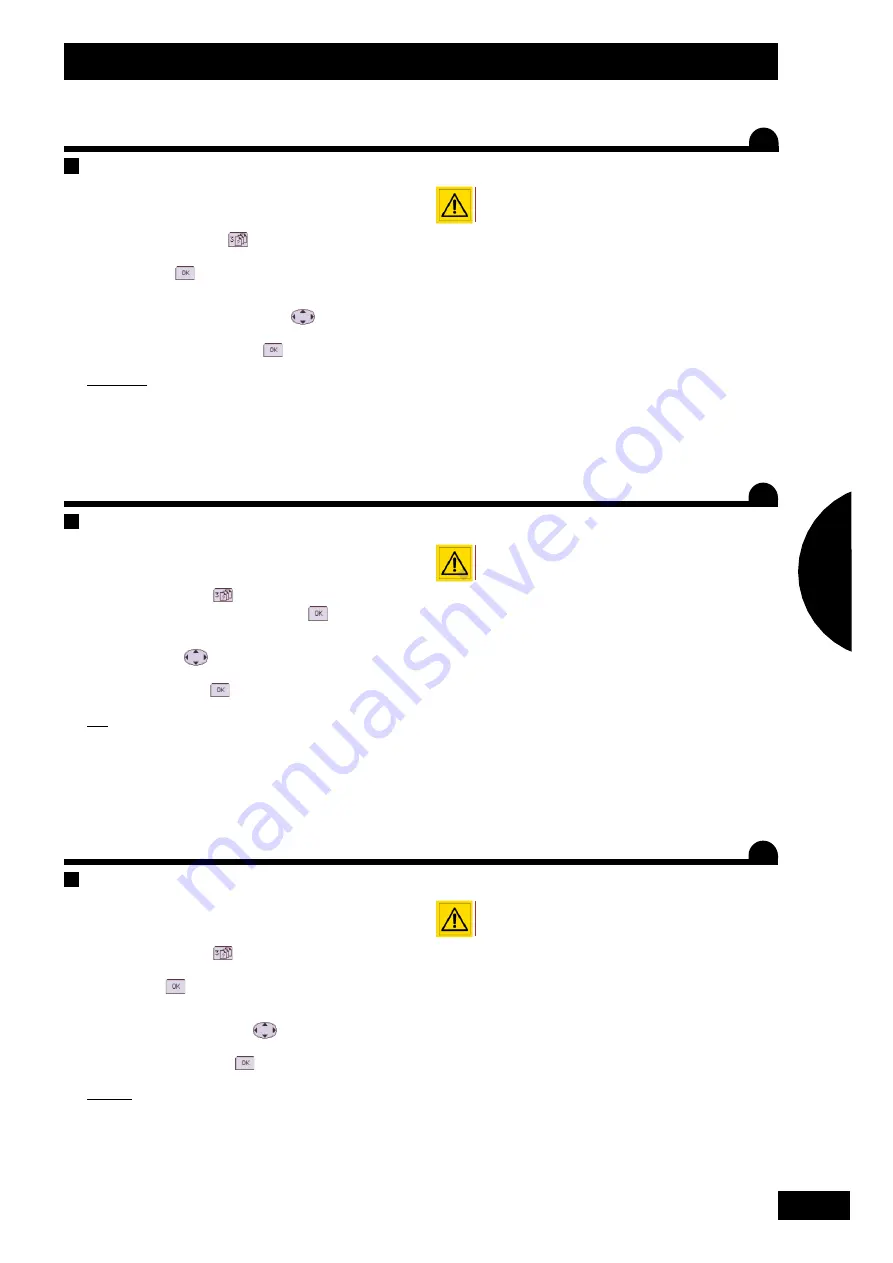
Einstellung der Breite
Zur Eingabe der Arbeitsbreite der Sämaschine in das
Pilot–Konsole gehen Sie wie folgt vor:
- Im Menü Einstellung
die Reihe für die
Einstellung der Arbeitsbreite auswählen und durch
drücken auf
bestätigen.
- Anschließend, wenn nötig, den angezeigten Wert
mittels der Richtungstasten
ändern.
- Dann durch drücken auf
bestätigen.
H
INWEIS
:
Dieser Vorgang bleibt gespeichert. Er muss daher
nicht bei jeder Verwendung der Konsole wiederholt
werden.
Es ist wichtig, diesen Vorgang vor dem
Aussaatmengentest durchzuführen.
Réglage de la largeur
Vous devez indiquer à la console Pilot, la largeur de
travail de votre semoir, pour ceci:
- Dans le menu réglage
, sélectionnez la ligne
de réglage de la largeur de travail, puis valider en
appuyant sur
.
- Modifier ensuite le valeur affichée si nécessaire à
l’aide des touches directionnelles
.
- Puis valider en appuyant sur
.
R
EMARQUE
:
Cette opération reste en mémoire, il n’est donc pas
nécessaire de l’effectuer à chaque utilisation de la
console.
Il est important de réaliser cette opération
avant l’essai de débit.
Setting the working width
You need to enter the working width of your seed drill
in the Pilot console. To do this:
- In the settings menu
, select the “working width
setting” line, then confirm by pressing
.
- Then modify the value displayed if necessary using
the arrow keys
.
- Confirm by pressing
.
NB:
This figure remains in the memory; it is therefore not
necessary to enter it each time you use the console.
It is important to carry out this operation prior to
the calibration test.
C
C
C
1
2
Содержание Sulky-Pilot
Страница 8: ...8 Présentation Presentation Beschreibung B 54 mm 135 mm 128 mm ...
Страница 10: ...10 Présentation Presentation Beschreibung C 7 7 3 3 5 5 4 4 6 6 2 2 1 1 ...
Страница 12: ...12 Présentation Presentation Beschreibung D ...
Страница 16: ...16 Présentation Presentation Beschreibung D b 5 5 6 6 2 2 7 7 8 8 9 9 1 1 4 4 3 3 ...
Страница 18: ...18 Présentation Presentation Beschreibung D c 6 6 7 7 9 9 2 2 3 3 4 4 5 5 1 1 8 8 10 10 ...
Страница 20: ...20 Présentation Presentation Beschreibung D d 3 3 4 4 6 6 2 2 1 1 5 5 ...
Страница 22: ...22 Reglage Settings Einstellungen A 2 2 1 1 3 3 ...
Страница 24: ...24 Reglage Settings Einstellungen B 2 2 1 1 b 2 2 1 1 c ...
Страница 26: ...26 Reglage Settings Einstellungen C 2 2 1 1 ...
Страница 28: ...28 Reglage Settings Einstellungen D b b a a c c ...
Страница 30: ...30 Reglage Settings Einstellungen D d d 1 1 ...
Страница 32: ...32 Reglage Settings Einstellungen D 2 2 1 1 3 3 4 4 5 5 6 6 ...
Страница 34: ...34 Reglage Settings Einstellungen E 1 1 2 2 a ...
Страница 36: ...36 Reglage Settings Einstellungen F 2 2 1 1 3 3 c ...
Страница 38: ...38 Reglage Settings Einstellungen G 2 2 1 1 6 6 3 3 4 4 5 5 ...
Страница 40: ...40 Information Information Informationen A 2 2 1 1 ...
Страница 42: ...42 Information Information Informationen B 2 2 1 1 3 3 c ...
Страница 44: ...44 Information Information Informationen C D ...
Страница 46: ...46 Information Information Informationen E ...
Страница 48: ...48 Information Information Informationen F 2 2 1 1 c ...
Страница 54: ...54 Information Information Informationen I 3 3 1 1 2 2 1 1 2 2 ...
Страница 56: ...56 Information Information Informationen J 2 2 1 1 ...
Страница 59: ...1 3 Notes Notes Notizen 59 ...


