STULZ CyberRow Chilled Water Series Installation, Operation & Maintenance Manual
(
Dec.
, 2013)
4-8
4.3.1 Setpoint
Adjustment
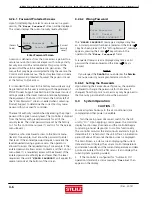
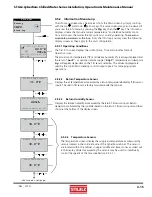
1. From the Main screen, access the Main Menu screen
by pressing the program
(
Prg
)
key.
2. Scroll through the Main Menu selections with the Up
( ) and Down
( )
arrow keys and select the Control menu
by pressing the Enter (
) key when "
CONTROL
" appears
in bold letters in the center of the screen. A password entry
screen will be displayed.
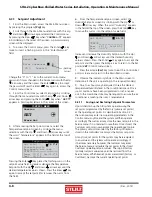
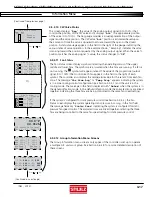
3. To access the Control menu, press the Enter (
)
key
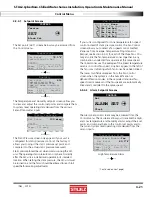
twice to insert a fl ashing cursor in the "Enter Password"
fi eld.
Reset?
No
Enter Password:
0
JD 0
Level:0
(Flashing
Cursor)
Change the "0" to "1" (or to the current Control menu
password if it was changed in the Service menu) with the Up
( ) arrow key and then press the Enter (
)
key to accept
the password. Press the Enter (
) key again to access the
Control menu screens.
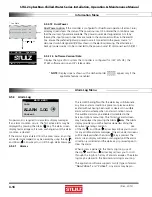
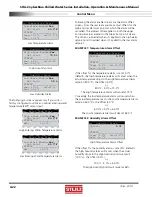
4. From the Control menu, select Set points by scrolling
through the menu selections with the Up ( ) and Down
( )
arrow keys and pressing the Enter (
) key when "
SET
"
appears in bold capital letters in the center of the screen.
CONTROL MENU
Version
SET
Alarm Set
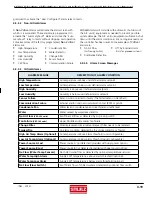
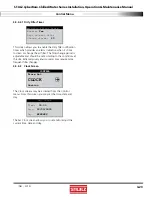
5. After entering the Set points screens, select the
Temperature setpoint screen by scrolling the menu
selections with the Up ( ) and Down
( )
arrow keys until
the word "Temperature" appears in the fi eld at the top of
the screen.
Temperature
Set Point
72.0°F
Controlling to
Avg supply air temp
STATUS---------------------
Temp: 73.0°F Set:72.0°F
Dew:
50.3°F
Pressing the Enter (
)
key places the fl ashing cursor in the
setpoint value fi eld. Increase or decrease the Temperature
Setpoint with the Up ( ) and Down
( ) arrow keys until the
desired temperature value is shown. Press the Enter (
)
key
again to accept the setpoint (this removes the cursor from
the fi eld).
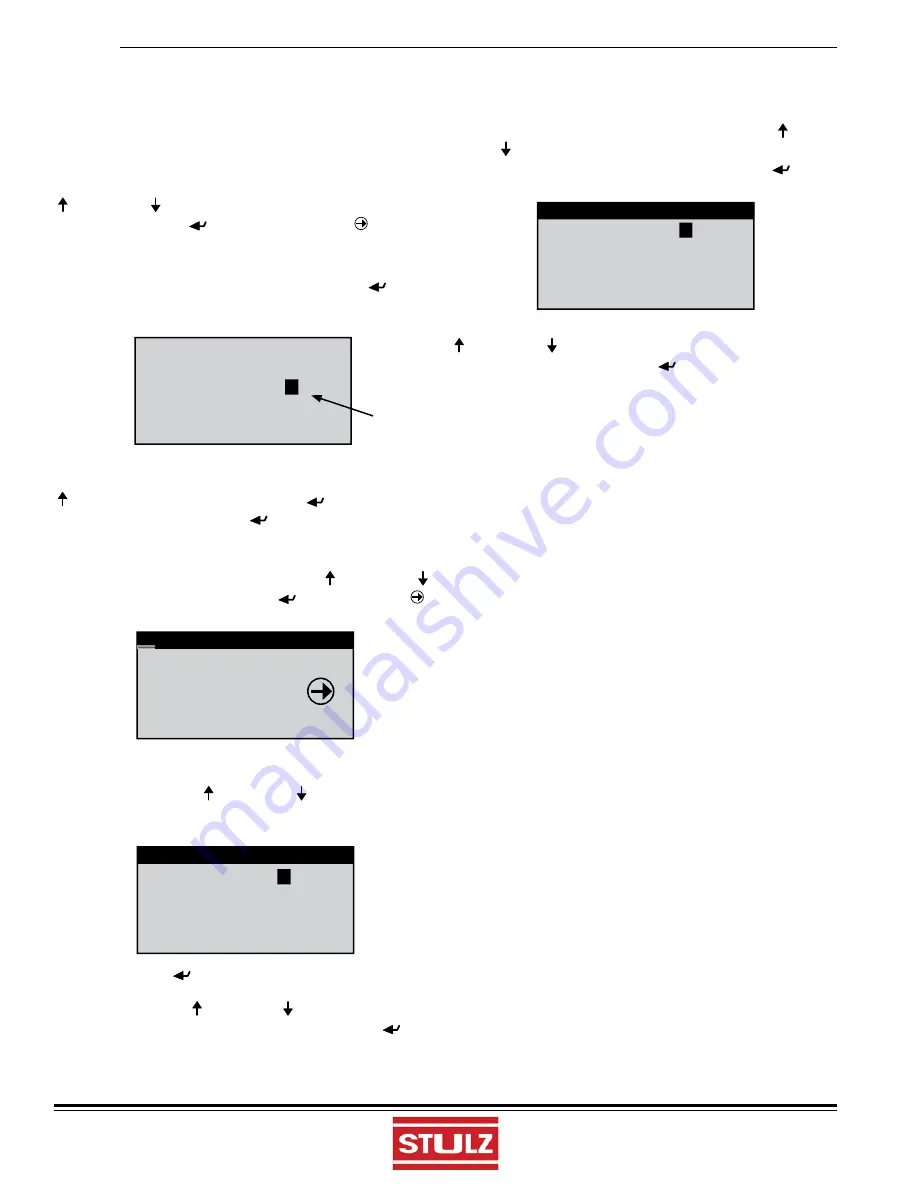
6. From the Temperature setpoint screen, select the
Humidity Setpoint screen by scrolling with the Up ( ) or
Down ( ) arrow key. When the word "Humidity" appears
in the fi eld at the top of the screen, press the Enter (
) key
to move the cursor into the setpoint value fi eld.
Humidity
Set Point
45.0%
STATUS________________
Hum: 45.7% Set:45.0%
Dew:
51.9°F
Increase or decrease the Humidity Setpoint with the Up (
) and Down ( ) arrow keys until the desired humidity
value is shown. Press the Enter (
) key again to accept the
setpoint and then press the Escape key to return to the Set
points (
SET
) Control menu screen.
7. Press the Escape
(
Esc
)
key twice to exit the Control>Set
points screens and return to the Main Menu screen.
8. Observe the indicator symbols in the Main screen to
determine if the unit is operating in the required mode(s).
9. One to six hours may be required to see the desired
temperature/humidity level in the conditioned space. Once
room conditions have been programmed or set, a repeat
visit to the conditioned site may be required to ensure the air
conditioner is meeting the room's requirements.
4.3.1.1
Saving and Restoring Setpoint Parameters
Upon initial start-up the A/C system operates using the
set points programmed by the factory (primary set points)
as the operating set points. As described in Section
4.3.1,
the customer may enter new operating parameters in the
Control menu anytime and the system will then operate
accordingly. The customer may store the new set points in the
Service menu if it is intended to save them. Once stored, the
Customer set points now become the operating set points.
The primary set points entered by the factory still remain
stored in the controllers' memory as the Factory set points.
At any time, set points for the system may be re-adjusted
to any value and the system will operate accordingly. If
it becomes necessary however, the customer may enter
the Service menu and restore the set points to the stored
Customer operating setpoint values. The original Factory
(primary) setpoint values may also be restored from the
Service menu. Whichever set points are restored (Factory or
Customer), become the current operating set points.

