4.
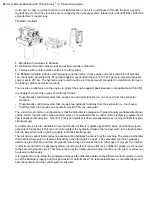
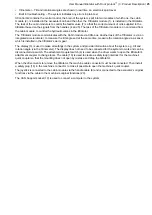
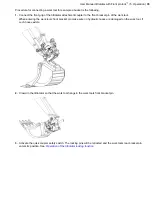
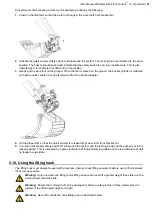
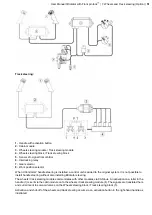
Deactivate the quick coupler safety switch and pressurize the system. The locking pins will be ejected below
the rear bracket pin. When the quick coupler is locked, this is indicated by a green indicator bar (right) protruding
at the front edge by the work tool shaft and the red indicator bar (left) is no longer visible.
5.
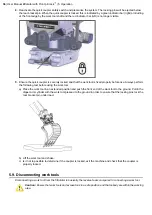
Ensure the quick coupler is securely locked and that the work tool is fixed properly before use. Always perform
the following test before using the work tool:
a) Place the work tool in an extended position and push the front end of the work tool to the ground. Pull in the
dipper arm cylinder with the work tool pressed to the ground in order to ensure that the locking pins lock the
rear bracket pin under load.
b) Lift the work tool and shake.
c) Is it not to possible to determine if the coupler is locked, exit the machine and check that the coupler is
properly locked.
5.9. Disconnecting work tools
Disconnecting a work tool from the tiltrotator is basically the reverse tasks compared to connecting a work tool.
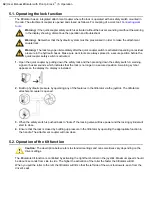
Caution: Ensure that work tools and excavator is in a safe position and that nobody are within the working
area.
36
| User Manual tiltrotator with Front pin lock
™
| 5. Operation
Содержание Tiltrotator Front pin lock X04
Страница 1: ...User Manual Tiltrotator Front pin lock X04 X06 X07 X12 X18 X20 X26 XControl G2 DocNo 700347ENA ...
Страница 2: ......
Страница 3: ...User Manual Tiltrotator Front pin lock X04 X06 X07 X12 X18 X20 X26 XControl G2 DocNo 700347ENA ...
Страница 16: ......
Страница 26: ......
Страница 48: ......
Страница 54: ......
Страница 55: ...Chapter 8 8 Environmental aspects Topics Environmental information ...
Страница 63: ......
Страница 64: ...Steelwrist AB Bäckvägen 18 192 54 Sollentuna Sweden 46 626 07 00 www steelwrist com 700347ENA ...

