32
Getting Started
Chapter 1
SR860 DSP Lock-in Amplifier
10. Touch the green scale tile {X} to display its
scale palette. Touch
to dismiss the X trace.
Touch the blue scale tile {Y} to display its scale
palette. Touch
to dismiss the Y trace.
Let’s clean up the chart by dismissing the X and
Y traces.
11. Touch the yellow scale tile {R} to display its
scale palette. Touch
to auto scale the R
trace.
Touch the orange scale tile {θ} to display its
scale palette. Touch
to repeatedly to change
the scale to 200 deg/div.
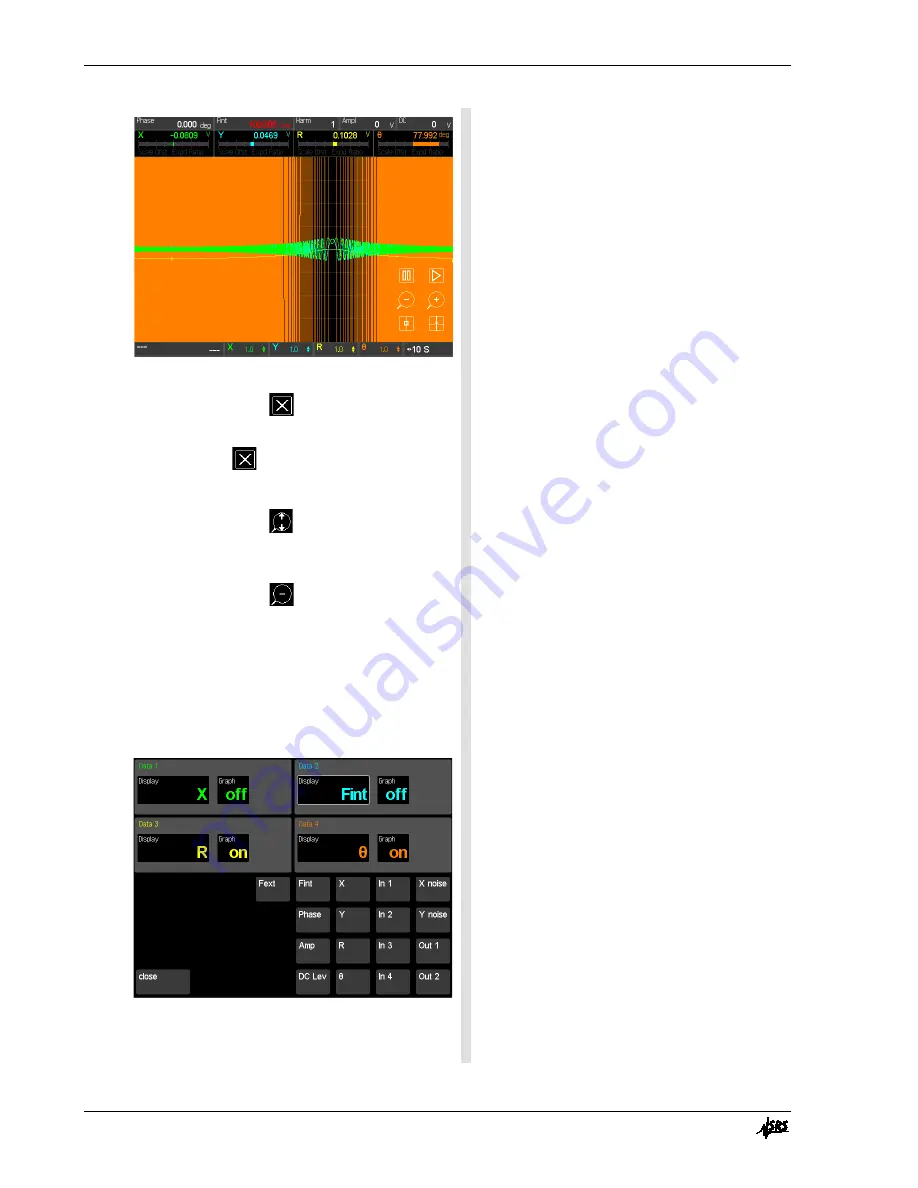
The magnitude trace (R) shows the lock-in
response as the internal frequency scans
through the signal frequency at this time
constant and filter.
Reduce the phase trace to see the resonance at
100.000 kHz.
12. Press [Config] to change the assignments of the
data channels.
Touch {Data 2 Display} (the blue display) to
highlight the channel 2 data source. Touch
{Fint} from the keypad below.
Touch {Close} to return to the strip chart.
It would be nice to show the frequency on the
graph.
The 4 data channels can be assigned to different
parameters in the Config screen.
Any data channel can be assigned any of the
sources in the keypad.
When the Config screen is closed the strip chart
does not display a blue trace. This is because
we dismissed it previously.
Содержание SR860
Страница 1: ...Revision 2 01 Operation Manual SR860 500 kHz DSP Lock in Amplifier ...
Страница 5: ...Safety and Preparation For Use iii SR860 DSP Lock in Amplifier ...
Страница 6: ...iv Safety and Preparation For Use SR860 DSP Lock in Amplifier ...
Страница 54: ...36 Getting Started Chapter 1 SR860 DSP Lock in Amplifier ...
Страница 118: ......
Страница 172: ......
Страница 186: ...168 The FFT Display Appendix B SR860 DSP Lock in Amplifier ...
Страница 192: ......
Страница 222: ...204 Circuit Description Appendix H SR860 DSP Lock in Amplifier Partial schematics follow this page ...


