19
Accessing Menu System
Press the MENU Button on the Receiver to enter MENU System. Use the
/
Buttons
to navigate UP, Down, Left or Right in the menu, and press the
OK
Button to confirm a setting.
Main Menu
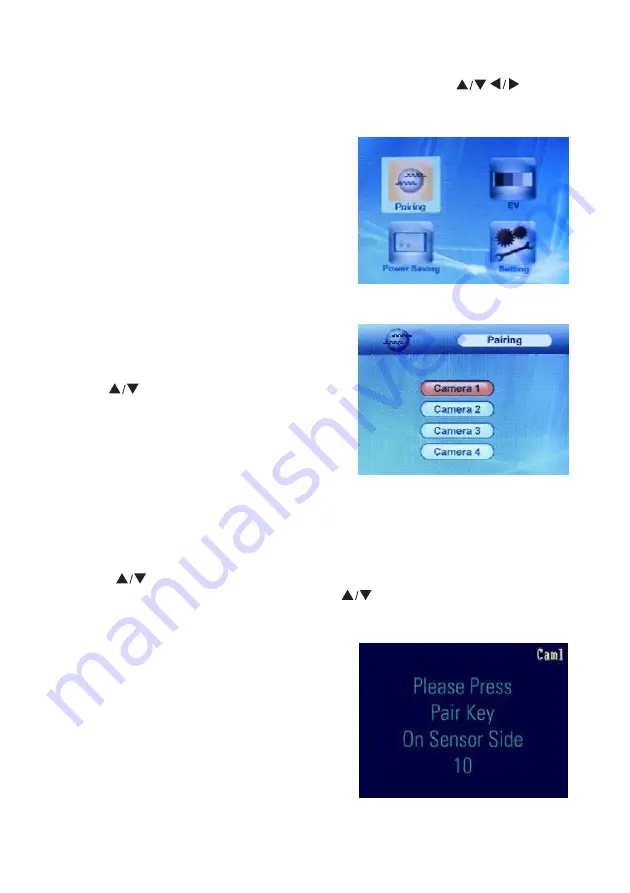
The Main Menu contains 4 submenus:
PAIRING:
Use the Pairing menu to add camera(s) to
the receiver.
EV:
Adjusts the Exposure level of the Camera
POWER SAVING:
Turns on the Receiver Power Save
mode (when no activity on the cameras is detected).
SETTING:
Sets the AV Out options, and resets the
Receiver to Factory Defaults (erases all configurations).
Pairing Menu
The System comes with a camera that has already been
paired. The Pairing Function assigns each additional
Camera to a different channel on the Wireless Receiver
(up to 4 Cameras).
Use the
keys to navigate. Select the desired
Pairing channel, and press the
OK
Button to begin the
Pairing Process with a camera.
NOTE
: It is highly recommended to pair the Cameras
to the Receiver before permanently mounting the
Cameras.
Camera Pairing
1. Power on the Camera by connecting the Power Adaptor or Battery Pack, and turning the switch
to ON. The power LED for the Camera should be ON.
2. Power on the Receiver by connecting the power adaptor to the 9V Input on the side.
3. Press the MENU button on the Receiver. Navigate to the PAIRING Menu option by pressing
using the
keys to navigate. Press the OK button to open the Pairing Menu.
4. Select a channel by pressing the UP and DOWN
arrows. Press the
OK
Button on the
receiver to accept.
5. Press the
PAIR
button located on the bottom of the Receiver (
10
) using a pen tip or paperclip.
6. A message will be displayed on the Receiver screen.
The Receiver will count down from 30~0 you must
press the
PAIR
button on the Camera (
8
) during this
time to successfully pair the Camera.
If the button on the Camera is not pressed, the Receiver
will return to the view screen, and no pairing will take
place.
7. Press the
PAIR
button on the back of the Camera.
Once the camera has been paired, it will be immediately
viewable on the Receiver Monitor.


