Ui24R User Manual
10.1.3: LAN
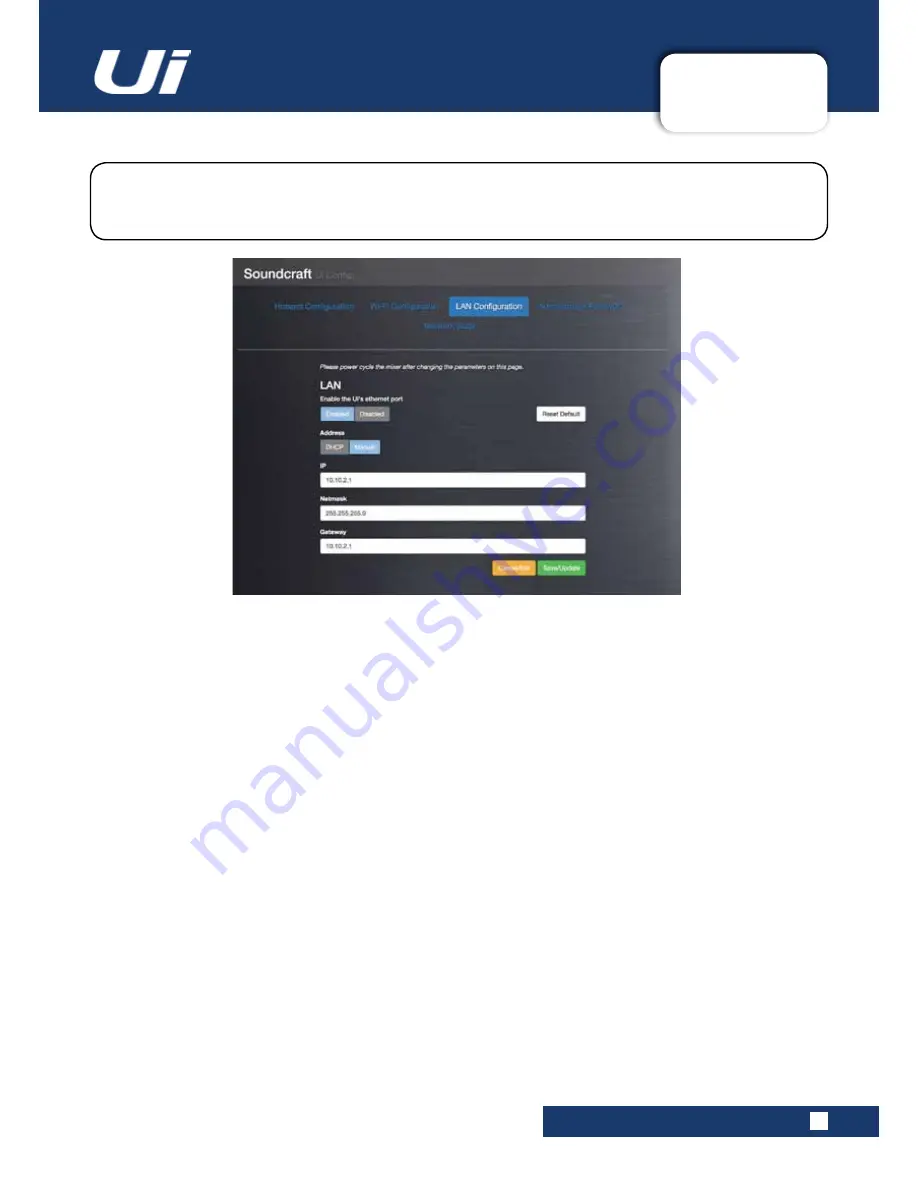
SETTINGS > NETWORK CONFIG > LAN
10.1.3: LAN SETTINGS
Use the Save/Update button to save LAN settings.
IMPORTANT: You must recycle the Ui power (turn the unit off and on) for settings to take effect.
Default Settings
LAN IP: 10.10.2.1
Subnet mask: 255.255.255.0
Direct Connection
Most computers with a GigaBit adapter will AutoNegotiate and so when connected directly to the unit (not via a
switch) there will be no need for an Ethernet crossover cable. Use a static IP for the computer, in the same range
as the unit, such as 10.10.2.5 and enter the IP address of the unit in the computer’s browser.
The Ui can connect to an existing wired LAN (Local Area Network) by connection the Ethernet port on
the side of the unit. This is the fastest, most secure method of connection to the Ui. Select the LAN
Configuration menu in Network Config to edit the LAN settings.
LAN
Enabled / Disabled
Enable or disable the Ui’s Ethernet port.
Address
DHCP / Manual
You can choose dynamic IP allocation, in which case the Ui will automatically allocate an IP, Netmask, and Gateway.
If you choose Manual IP allocation, you will need to complete these fields yourself. Please refer to your network
administrator for manual IP allocation.


