43
Settings and
Adjustments
Video Format
Selects the type of video signals output from the
HDMI OUT or COMPONENT VIDEO OUT
jacks. If the picture is not clear, natural, or to your
satisfaction, try another option that suits your TV/
projector, etc. For details, refer also to the
instruction manual supplied with the TV/
projector, etc.
b
Notes
• When you connect the S VIDEO OUT jack or VIDEO
OUT jacks to the TV, the recorder always outputs 576i
video signals.
• If your TV accepts 720p/1080i format signals, this
setting must be made.
z
Hint
You can also change this setting by pressing the yellow
button.
Audio Settings (Audio)
The “Audio” setup allows you to adjust the sound
according to the connection conditions.
When outputting through the HDMI OUT jack,
Dolby Digital signals and MPEG audio signals are
converted to PCM signals regardless of the
settings below.
1
Press SYSTEM MENU while the recorder is
in stop mode.
2
Select “SETUP,” and press ENTER.
3
Select “Audio,” and press ENTER.
The “Audio” setup appears with the following
options. The default settings are underlined.
Digital Output
Switches the method for outputting audio signals
when you connect the DIGITAL AUDIO OUT
jack to a component such as an AV amplifier
(receiver).
For connection details, see “Step 4: Connecting
the Audio Cords” on page 13.
If you connect a component that does not accept
the selected audio signal, a loud noise (or no
sound) will come out from the speakers, and may
affect your ears or cause speaker damage.
1080i
Sends 1920x1080i video signals.
720p
Sends 1280x720p video signals.
576p
Sends 720x576p video signals.
576i
Sends 720x576i video signals.
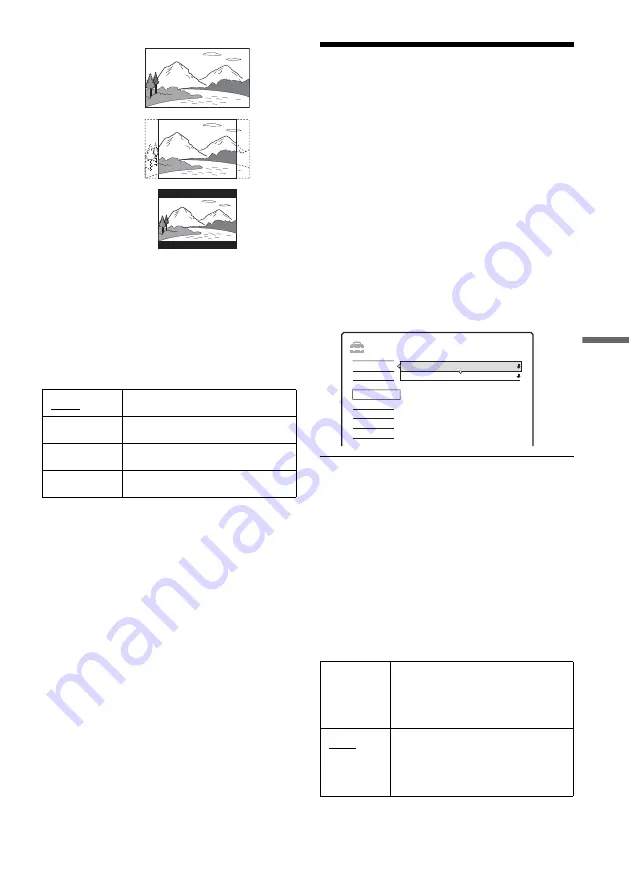
16:9
4:3 Pan Scan
4:3 Letter Box
Dolby
Digital
Select this when the recorder is
connected to an audio component
with a built-in Dolby Digital
decoder.
PCM
Select this when the recorder is
connected to an audio component
without a built-in Dolby Digital
decoder.
SETUP
Digital Output
MPEG Volume Control
PCM
+5
Settings
DTV Settings
Video
Audio
Password
Others
Easy Setup
,
continued


