17
H
o
o
kups an
d Settings
3
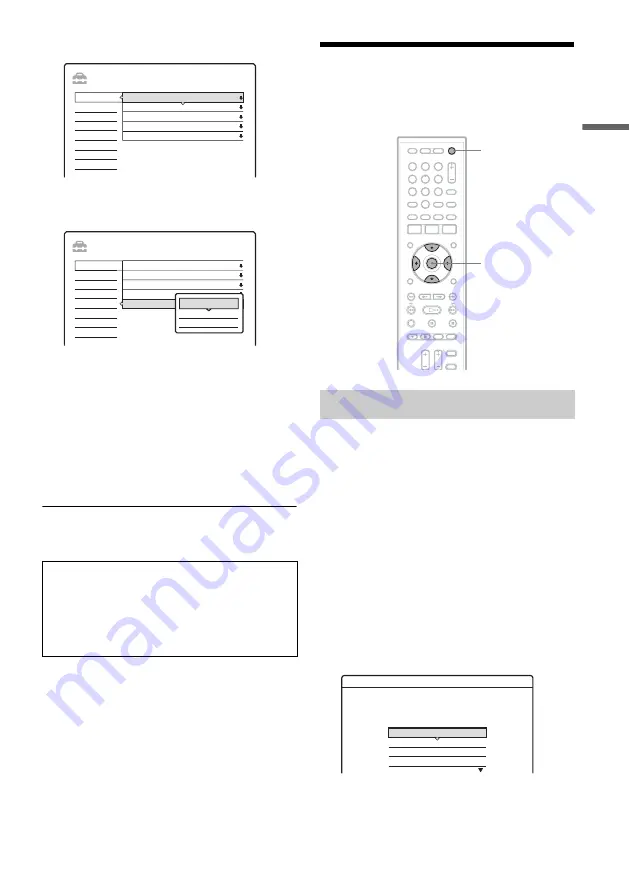
Select “Settings,” and press ENTER.
4
Select “Command Mode,” and press
ENTER.
5
Select the command mode (HDD1, HDD2,
or HDD3), and press ENTER.
6
Press ENTER and the number button (1, 2,
or 3) at the same time for more than three
seconds so it matches the mode you
selected above.
Example: Command mode is HDD2.
Press ENTER and 2 at the same time.
To return to the previous step
Press RETURN.
b
Note
In step 1, you can also use the SYSTEM MENU button
on the recorder.
Step 7: Initial Setup
Make the basic adjustments to start using this hard
disk recorder.
“Easy Setup” allows you to set the time zone and
preset the channels automatically.
1
Press
[
/
1
to turn on the recorder.
2
Turn on the TV and switch the input
selector so that the signal from the
recorder appears on the TV screen.
A message about the initial settings appears.
• If the message does not appear, select “Easy
Setup” from “SETUP” in the System Menu
to run the Easy Setup function (page 46).
3
Select “Start,” and press ENTER.
The setup display for selecting the time zone
appears.
The options are:
NSW/ACT
y
VIC
y
QLD
y
SA
y
WA
y
TAS
y
NT
Check that the command mode of the remote is
set to the default setting of HDD1 before you try
to change the command mode for the recorder. If
the command mode for the remote is changed to
HDD2 or HDD3, you may be unable to operate
this recorder.
SETUP
Time Zone
i Plate timeout
FP Display
Power Save
Command Mode
NSW/ACT
60 Sec.
Normal
Off
HDD 1
Settings
DTV Settings
Video
Audio
Password
Others
Easy Setup
SETUP
Time Zone
i Plate timeout
FP Display
Power Save
Command Mode
NSW/ACT
60 Sec.
Normal
Off
HDD 1
Settings
DTV Settings
Video
Audio
Password
Others
Easy Setup
HDD1
HDD3
HDD2
Easy Setup
6
5
4
8
9
7
0
3
2
1
[
/
1
<
/
M
/
m
/
,
,
ENTER
Easy Setup
1/3
NSW/ACT
VIC
OLD
SA
Select the time zone.
,
continued


