


Adjustment Using the Menus
63
MARKER SETTING
T/C (time code) DISPLAY SETTING
SCREEN SAVER
Sets the screen saver function on or
off.
•
ON
: If a still image is displayed
for more than 10 minutes,
the brightness of the screen
is automatically decreased to
reduce burn-in. The screen
returns to normal brightness
when you input an image to
the unit or operate the
buttons on the front panel of
the unit. While the screen
saver is activated, the LED
of the selected input select
button flashes. (To decrease
the brightness of the LED,
see “LED BRIGHTNESS”
on page 62.) This is the
factory setting.
•
OFF
: The screen saver function
is deactivated.
Submenu
Setting
MARKER ENABLE
Selects ON to display the marker
and OFF not to display.
Note
When NATIVE is selected in the
SCAN setting, the marker is not
displayed.
To display the marker, select a
setting other than NATIVE.
MARKER SELECT
Selects the aspect ratio according to
the film, when the frame of the film
is displayed on the screen.
When 16:9 aspect ratio is selected
with the button which the aspect
function is assigned
You can select from among
4:3, 15:9, 14:9, 13:9, 1.85:1,
2.35:1, 1.85:1 & 4:3 and
OFF.
When 4:3 aspect ratio is selected
with the button which the aspect
function is assigned
You can select 16:9 or OFF.
CENTER MARKER
Selects ON to display the center
mark of the picture and OFF not to
display.
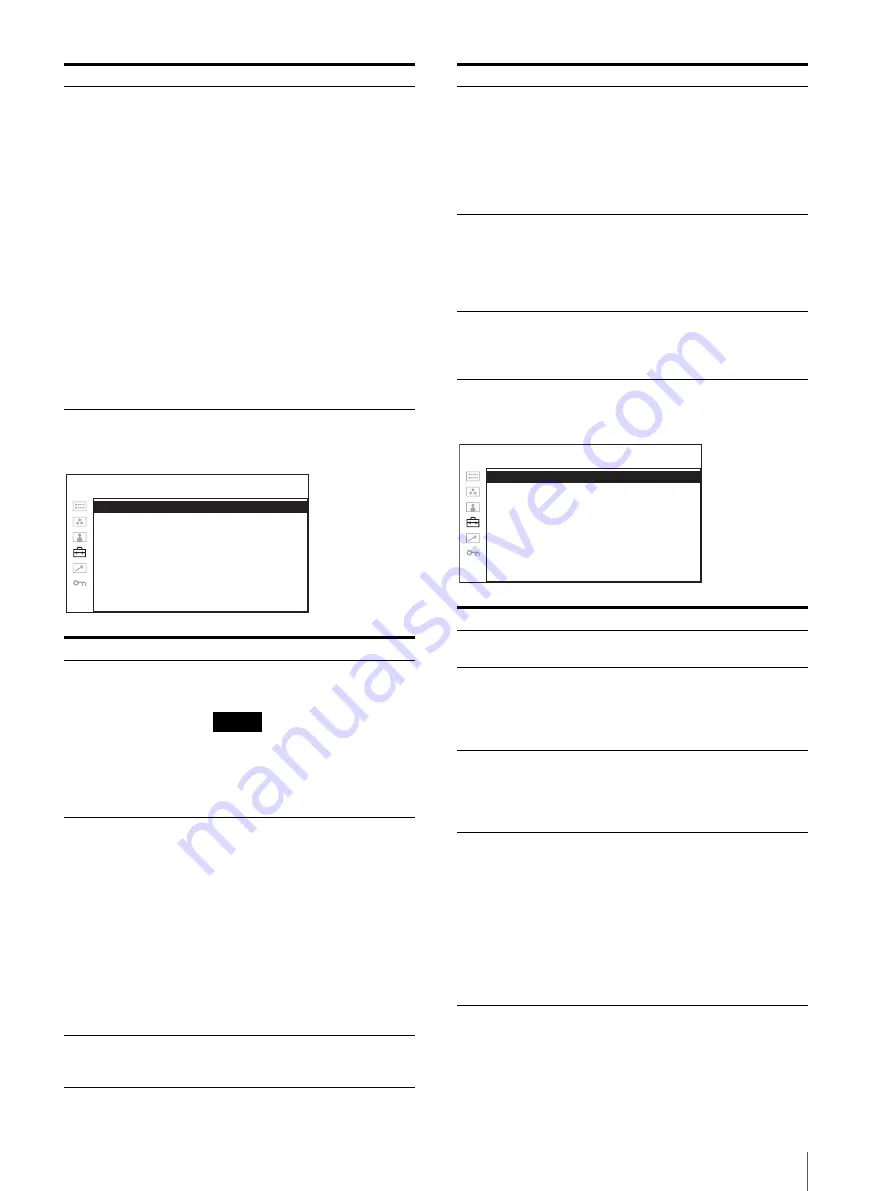
Submenu
Setting
M A R K E R E N A B L E :
xxx
M A R K E R S E L E C T :
xxx
C E N T E R M A R K E R :
xx
S A F E T Y A R E A :
xxx
M A R K E R L E V E L :
x
M A R K E R M AT :
xxx
USER CONFIG – MARKER SETTING
SAFETY AREA
Selects the safe area size for the
aspect ratio determined by the
button to which the aspect function
is assigned. You can select from
OFF, 80%, 85%, 88%, 90% and
93%.When the marker is displayed,
the safe area for the marker is
displayed.
MARKER LEVEL
Sets the luminance to display the
MARKER SELECT, CENTER
MARKER and SAFETY AREA.
You can select between 1 and 2.
When the setting is low, the marker
appears dark.
MARKER MAT
Selects whether you put mat on the
outside of the marker display.
•
OFF
: No mat is put.
•
HALF
: Gray mat is put.
Submenu
Setting
T/C
Selects ON to display the time code
display and OFF not to display.
FORMAT
Sets the time code format.
•
VITC
: To display the time code
in VITC format.
•
LTC
: To display the time code in
LTC format.
POSITION
Sets the position of the time code
display. You can select between 1
and 2.
•
1
: Top
•
2
: Bottom
TRANSPARENCY
Selects BLACK or HALF
(transparent) for the background of
T/C display.
•
BLACK
: The background
becomes black. Displayed
image is hidden behind the
background.
•
HALF
: The background becomes
transparent. Displayed
image appears under the T/C
display.
Submenu
Setting
T / C :
xxx
F O R M AT :
xxx
P O S I T I O N :
x
T R A N S PA R E N C Y:
xxxx
USER CONFIG – T/C DISPLAY SETTING


