48
Configuring Camera Operations
C
h
a
p
te
r 4
A
ppli
c
at
ion S
e
ttings
• Recording time may be limited depending on the camera
specifications.
• If the recording time available on the camera is
exceeded, recording will stop before you click [Stop].
• The shadow tour appears with a name (S-1to S-4) in the
[Tour] list on the [Camera Control] pane of the Main
screen.
Configuring Masks (Camera)
You can use the camera’s built-in mask function to
configure masks for hiding specific areas within images
monitored by the camera. The mask function works in
conjunction with the camera’s pan, tilt, and zoom
movements to constantly hide the specified areas.
The mask function (camera) can only be used with Sony
SNC-XX600 series (XX represents two letters) network
cameras that support camera masks.
• A mask area configured for a camera with pan and tilt
functions may shift when the camera is panned, tilted, or
zoomed. When configuring the mask area, allow for
approximately 10% (of the full image size) of additional
space around the object you wish to mask. In addition, be
sure to position the object you wish to mask in the center
of the monitoring screen before configuring a mask area
for a camera with pan and tilt functions.
• When configuring the mask settings from a client, be
sure to preview the settings before configuring them.
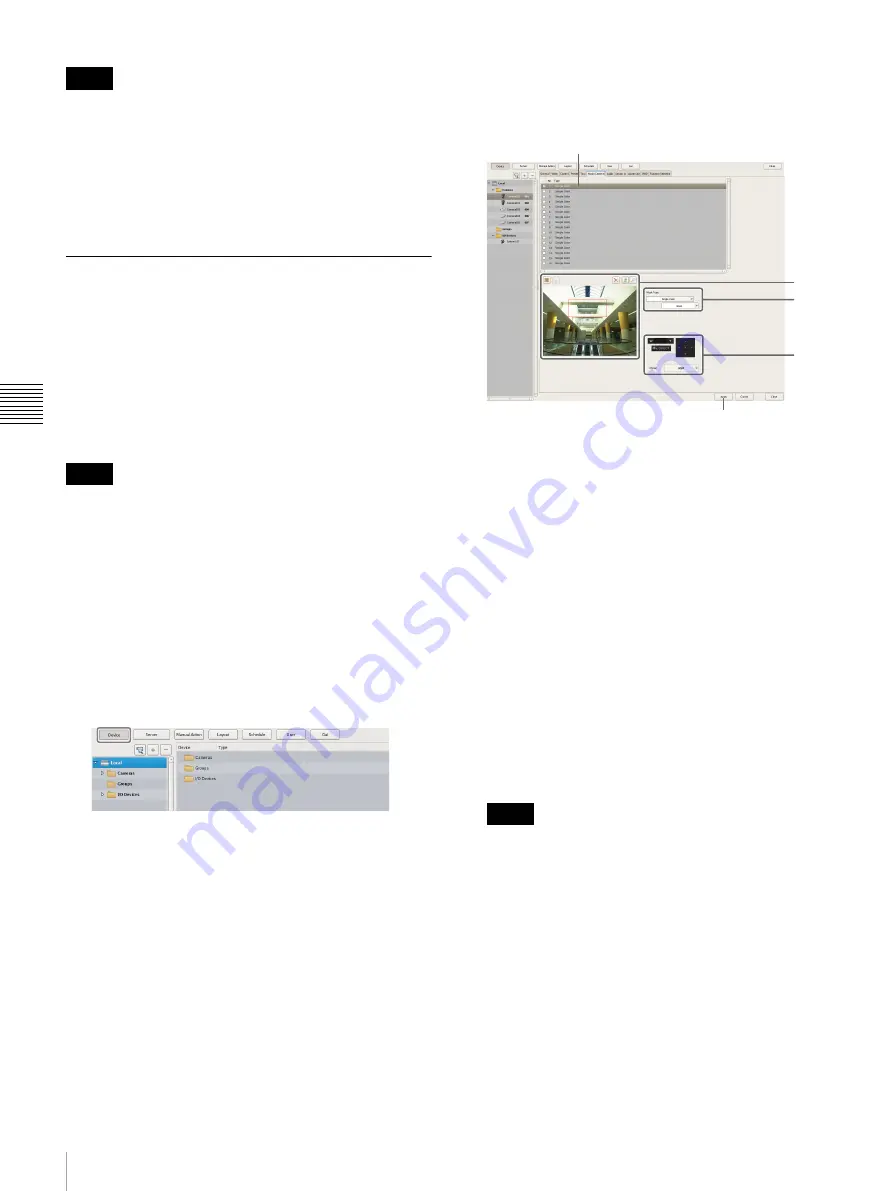
1
Click [Device] at the top of the Configuration window.
The Device Configuration screen appears.
2
Select the camera for which you want to configure the
mask, and click the [Mask] tab.
Images from the camera are displayed in the preview
area.
3
Configure each item.
For details on each of the items, refer to
of [Mask (Camera)] Tab” (page 49)
1
Enter the name of the mask.
2
Select how the mask will be displayed.
3
Use these buttons to create the mask while checking
the image in the preview area.
4
For a camera equipped with pan, tilt, and zoom
functions, use these buttons to control the pan, tilt,
and zoom of the camera, and to confirm whether the
camera moves properly so as to hide the area you
set.
You can also select a preset, and move the camera
to the preset position.
5
Click [Apply].
The mask you created is added to the list.
When creating multiple masks, repeat Steps
2
to
5
.
• Setting changes will be applied immediately after
you click [Apply].
• The number of masks that can be configured varies
depending on the camera specifications.
Notes
Notes
Notes
5
4
1
3
2
Содержание NSR-500
Страница 117: ...117 System Administration Chapter 5 Operation and Control 4 Click Close The Export screen closes ...
Страница 133: ......


