114
Switching Backgrounds
Cha
pte
r 4
B
as
ic
O
per
at
ion
s
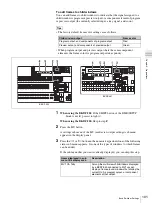
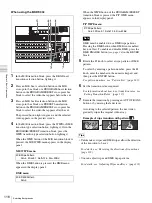
When using the BKDF-901
1
In the transition block, press the BKGD next transition
selection button, lighting it.
2
In the cross-point bus block, press a PROGRAM
selection button to select the video that appears before
the transition.
3
In the cross-point bus block, press a PRESET selection
button to select the video that appears after the
transition.
4
Select the type of transition by pressing a transition
type selection button.
MIX:
Press the MIX button, lighting it.
FAM:
Press the MIX button and the WIPE (FAM)
button at the same time, lighting both buttons.
NAM:
Press the MIX button and the DME (NAM)
button at the same time, lighting both buttons.
5
Set the transition rate as required.
For information about how to set transition rates, see
“Setting Transition Rates” (page 117).
6
Execute the transition by pressing an AUTO TRANS
button or by moving the fader lever.
The next video is gradually mixed into the original
video, and gradually replaces it.
Each time you press the AUTO TRANS button or
move the fader lever, a mix transition is executed
between the two currently selected video signals.
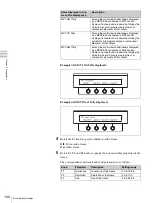
When using the BKDF-902
1
In the M/E transition block, press the BKGD next
transition selection button, lighting it.
2
Press an M/E bus A selection button in the M/E
cross-point bus block or a PROGRAM bus selection
button in the PROGRAM/PRESET cross-point bus
block to select the video that appears before the cut.
3
Press an M/E bus B selection button in the M/E
cross-point bus block or a PRESET bus selection
button in the PROGRAM/PRESET cross-point bus
block to select the video that appears after the cut.
The pressed button lights in green, and the selected
video appears in the preview screen.
4
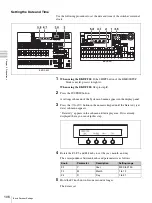
Select the type of transition by pressing a transition
type selection button.
MIX:
Press the MIX button, lighting it.
FAM:
Press the MIX button and the WIPE (FAM)
button at the same time, lighting both buttons.
NAM:
Press the MIX button and the DME (NAM)
button at the same time, lighting both buttons.
5
Set the transition rate as required.
For information about how to set transition rates, see
“Setting Transition Rates” (page 117).
6
Execute the transition by pressing an AUTO TRANS
button or by moving the fader lever.
The next video is gradually mixed into the original
video, and gradually replaces it.
Содержание DFS-900M
Страница 189: ...189 Pattern List Appendix Pattern List Wipe Basic wipe ...
Страница 190: ...190 Pattern List Appendix User wipe ...
Страница 191: ...191 Pattern List Appendix Mask ...
Страница 193: ...193 Pattern List Appendix ...
Страница 194: ...194 Pattern List Appendix 3D DME effects ...
Страница 195: ...195 Pattern List Appendix ...
Страница 196: ...196 Pattern List Appendix User effects ...
Страница 215: ...215 External Dimensions Appendix External Dimensions BKDF 901 1M E Control Panel Unit mm inches ...
Страница 216: ...216 External Dimensions Appendix BKDF 902 1 5M E Control Panel Unit mm inches ...
Страница 217: ...217 External Dimensions Appendix DFS 900M Processor Unit Unit mm inches ...


