


1-27
DCR-TRV240/TRV340
110
Icon/item
*
DELETE ALL
FORMAT
*
9PIC PRINT
DATE/TIME
Mode
z
RETURN
OK
z
RETURN
OK
z
RETURN
SAME
MULTI
MARKED
z
OFF
DATE
DAY&TIME
Meaning
To cancel deleting all images
To delete all unprotected images
To cancel formatting
To format an inserted “Memory Stick”
1. Select FORMAT with the SEL/PUSH EXEL
dial, then press the dial.
2. Select OK with the SEL/PUSH EXEC dial,
then press the dial.
3. After EXECUTE appears, press the
SEL/PUSH EXEC dial. FORMATTING
flashes during formatting. COMPLETE
appears when formatting is finished.
To cancel prints of split screens
To make prints of the same split screen (p. 174)
To make prints of different split screens
To make prints of images with print marks in
recording order
To make prints without the recording date and
time
To make prints with the recording date
To make prints with the recording date and time
(p. 174)
POWER
switch
MEMORY
MEMORY
MEMORY
MEMORY
Notes on formatting *
• Supplied “Memory Stick”s have been formatted at factory. Formatting “Memory
Stick”s on your camcorder is not required.
• Do not turn the POWER switch or press any button while the display shows
FORMATTING.
• You cannot format the “Memory Stick” if the write-protect tab on the “Memory Stick”
is set to LOCK.
• Format the “Memory Stick” when “
FORMAT ERROR” is displayed.
Formatting erases all information on the “Memory Stick” *
Check the contents of the “Memory Stick” before formatting.
• Formatting erases sample images on the “Memory Stick.”
• Formatting erases protected image data on the “Memory Stick.”
Note on PRINT SET *
9PIC PRINT and DATE/TIME are displayed only when an external printer (optional) is
connected to the intelligent accessory shoe.
* DCR-TRV340 only
Changing the menu settings
111
Customizing Your Camcorder
Icon/item
REC MODE
AUDIO MODE
q
REMAIN
Mode
z
SP
LP
z
12BIT
16BIT
z
AUTO
ON
Meaning
To record in the SP (Standard Play) mode
To increase the recording time to 1.5 times the
SP mode
To record in the 12-bit mode (two stereo sounds)
To record in the 16-bit mode (one stereo sound
with high quality)
To display the remaining tape bar:
• For about eight seconds after your camcorder
is turned on and calculates the remaining
amount of tape
• For about eight seconds after a cassette is
inserted and your camcorder calculates the
remaining amount of tape
• For about eight seconds after
N
is pressed in
VCR mode
• For about eight seconds after DISPLAY is
pressed to display the screen indicators
• For the period of tape rewinding, forwarding
or picture search in VCR mode
To always display the remaining tape bar
POWER
switch
CAMERA
VCR
CAMERA
VCR*
CAMERA
VCR
Notes on the LP mode
•When you record a tape in the LP mode on your camcorder, we recommend playing
back the tape on your camcorder. When you play back the tape on other camcorders
or VCRs, noise may occur in pictures or sound.
•When you record in the LP mode, we recommend using a Sony cassette so that you
can get the most out of your camcorder.
•When you record in the SP and LP modes on one tape or you record some scenes in
the LP mode, the playback picture may be distorted or the time code may not be
written properly between scenes.
Note on AUDIO MODE
When playing back a tape recorded in the 16-bit mode, you cannot adjust the balance in
AUDIO MIX.
*To dub a tape to another VCR
You cannot select AUDIO MODE for tapes recorded in the Digital8 system. You,
however, can select AUDIO MODE when you dub tapes recorded in the Hi8/standard
8 system to another VCR using the i.LINK cable.
(continued on the following page)
Changing the menu settings
112
Notes on DEMO MODE
• You cannot select DEMO MODE when a cassette is inserted in your camcorder.
• The DEMO MODE default setting is STBY (Standby), and the demonstration starts
about 10 minutes after you have set the POWER switch to CAMERA without a
cassette inserted.
To cancel the demonstration, insert a cassette, set the POWER switch to other than
CAMERA, or set DEMO MODE to OFF. To set to STBY (Standby) again, leave the
DEMO MODE at ON in the menu settings, turn the POWER switch to OFF (CHG),
and return the POWER switch to CAMERA.
• When NIGHTSHOT is set to ON, the “NIGHTSHOT” indicator appears on the screen
and you cannot select DEMO MODE in the menu settings.
Changing the menu settings
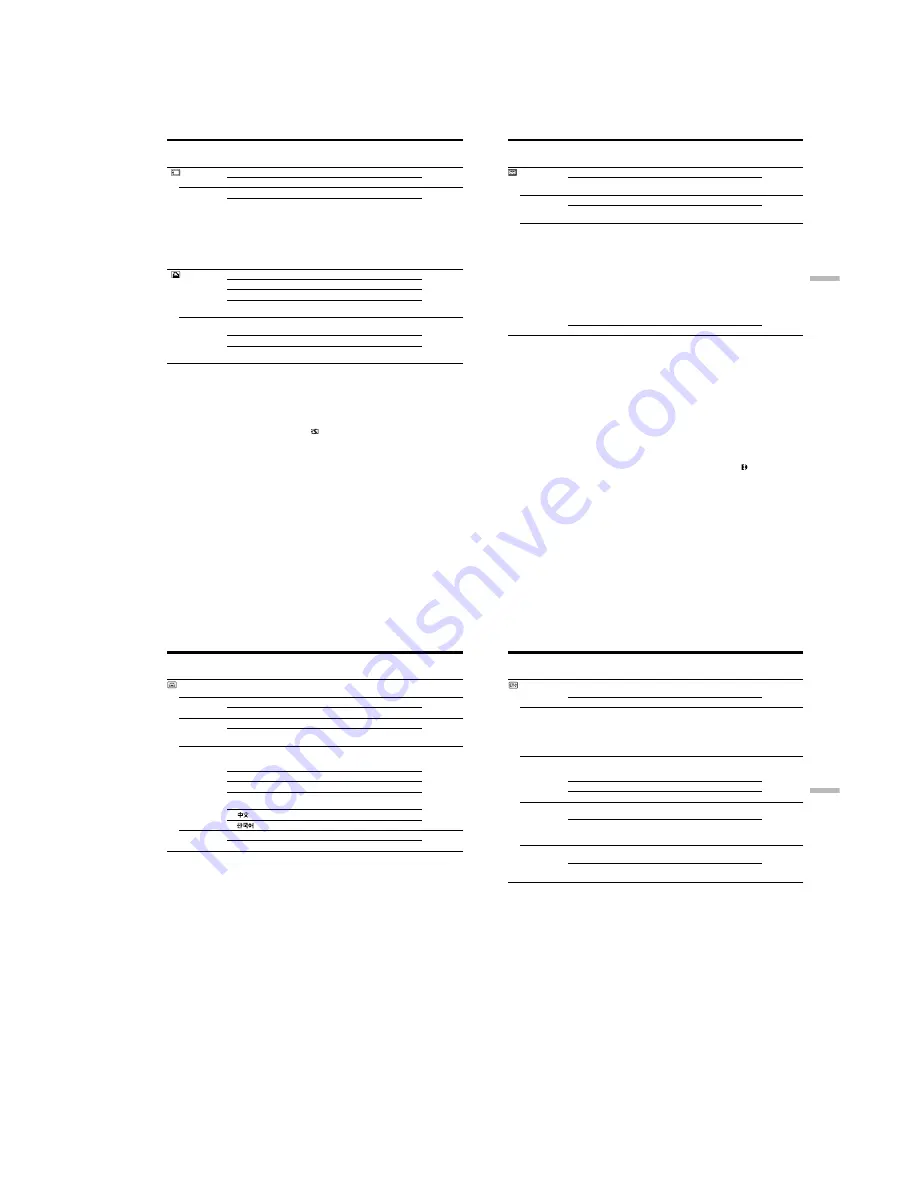
Icon/item
CLOCK SET
USB STREAM
LTR SIZE
LANGUAGE
DEMO MODE
Mode
—
z
OFF
ON
z
NORMAL
2
×
z
ENGLISH
FRANÇAIS
ESPAÑOL
PORTUGUÊS
z
ON
OFF
Meaning
To set the date or time (p. 17)
To deactivate the USB Streaming function
To activate the USB Streaming function
To display selected menu items in normal size
To display selected menu items at twice the
normal size
To display the following information indicators
in English: REC, STBY, min, CAPTURE, END
SEARCH and VOL, etc.
To display the information indicators in French
To display the information indicators in Spanish
To display the information indicators in
Portuguese
To display the information indicators in Chinese
To display the information indicators in Korean
To make the demonstration appear
To cancel the demonstration mode
POWER
switch
CAMERA
MEMORY
CAMERA
VCR
MEMORY
CAMERA
VCR
MEMORY
CAMERA
CAMERA
VCR
113
Customizing Your Camcorder
Changing the menu settings
Icon/item
DATA CODE
WORLD TIME
BEEP
COMMANDER
DISPLAY
Mode
z
DATE/CAM
DATE
—
z
MELODY
NORMAL
OFF
z
ON
OFF
z
LCD
V-OUT/LCD
Meaning
To display date, time and recording data during
playback
To display date and time during playback
To set the clock to the local time
Turn the SEL/PUSH EXEC dial to set a time
difference. The clock changes by the time
difference you set here. If you set the time
difference to 0, the clock returns to the originally
set time.
To output the melody when you start/stop
recording or when an unusual condition occurs
on your camcorder
To output the beep instead of the melody
To cancel all sound including shutter sound
To activate the Remote Commander supplied
with your camcorder
To deactivate the Remote Commander to avoid
erroneous remote control operation caused by
other VCR’s remote control
To show the display on the LCD screen and in
the viewfinder
To show the display on the TV screen, LCD
screen and in the viewfinder
POWER
switch
VCR
MEMORY
CAMERA
MEMORY
CAMERA
VCR
MEMORY
CAMERA
VCR
MEMORY
CAMERA
VCR
MEMORY
Note
If you press DISPLAY with DISPLAY set to V-OUT/LCD in the menu settings, the
picture from a TV or VCR will not appear on the screen even when your camcorder is
connected to outputs on the TV or VCR. (Except when your camcorder is connected
with the i.LINK cable)
In more than five minutes after removing the power source
The AUDIO MIX, FLASH LVL, COMMANDER and HiFi SOUND settings are returned
to their default settings.
Other menu settings are held in memory even when the battery is removed.
(continued on the following page)
Содержание DCR-TRV240
Страница 102: ...5 1 DCR TRV240 TRV340 SECTION 5 ADJUSTMENTS ...
Страница 177: ... Take a copy of OPTICAL AXIS FRAME with a clear sheet for use 206 OPTICAL AXIS FRAME DCR TRV240 TRV340 ...
Страница 179: ...DCR TRV240 TRV340 208 Sony EMCS Co 2002A1600 1 2002 1 Published by DI Customer Center 9 929 932 31 ...
Страница 180: ...Revision History Ver 1 0 Date 2002 01 History Official Release Contents S M Rev issued 992993231 pdf Reverse ...


