Ge
tting Star
te
d
17
GB
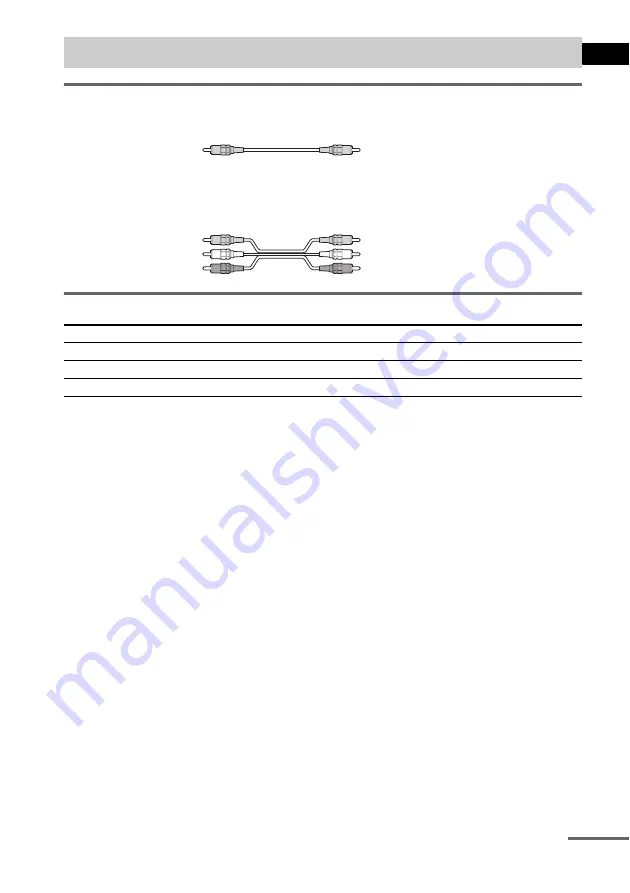
Required cords
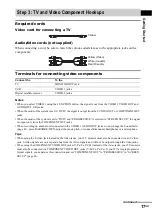
Video cord for connecting a TV
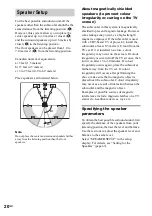
Audio/video cords (not supplied)
When connecting a cord, be sure to match the colour-coded sleeves to the appropriate jacks on the
components.
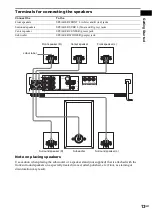
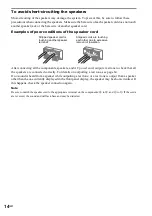
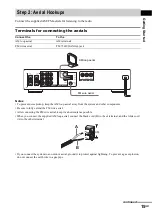
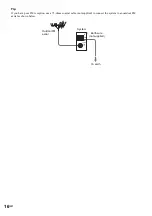
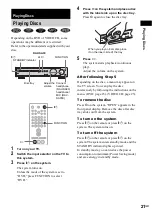
Terminals for connecting video components
Notes
• When you select VIDEO 1 using the FUNCTION button, the signal is not from the VIDEO 1 VIDEO OUT and
AUDIO OUT L/R jacks.
• When the mode of the system is set to “DVD,” the signal is output from the S VIDEO OUT or COMPONENT OUT
jacks.
• When the mode of the system is set to “DVD” and “PROGRESSIVE” is selected in “SCREEN SETUP,” the signal
is output only from the COMPONENT OUT jacks.
• When recording on another unit connected to the VIDEO 1 AUDIO OUT jacks, do not change the Sound Field
(page 41), press KARAOKE/MPX, adjust the music pitch, or connect/disconnect headphones or a microphone.
Tips
• When using the S video jack instead of the video jacks, your TV monitor must also be connected via an S video
jack. S video signals are on a separate bus from the video signals and will not be output through the video jacks.
• When using the COMPONENT VIDEO OUT jacks (Y, P
B
/C
B
, P
R
/C
R
) instead of the video jacks, your TV monitor
must also be connected via COMPONENT VIDEO OUT jacks (Y,P
B
/C
B
, P
R
/C
R
). If your TV accepts progressive
format signals, you must use this connection and set “COMPONENT OUT” to “PROGRESSIVE” in “SCREEN
SETUP” (page 61).
Step 3: TV and Video Component Hookups
Connect the
To the
TV
MONITOR OUT jack
VCR
VIDEO 1 jacks
Digital satellite receiver
VIDEO 2 jacks
Yellow
Yellow (Video)
White (L/audio)
Red (R/audio)
continued

