24
Control Panel
Chap
te
r 2
Lo
c
a
ti
ons
a
nd F
unc
tion
s
of
P
a
rt
s
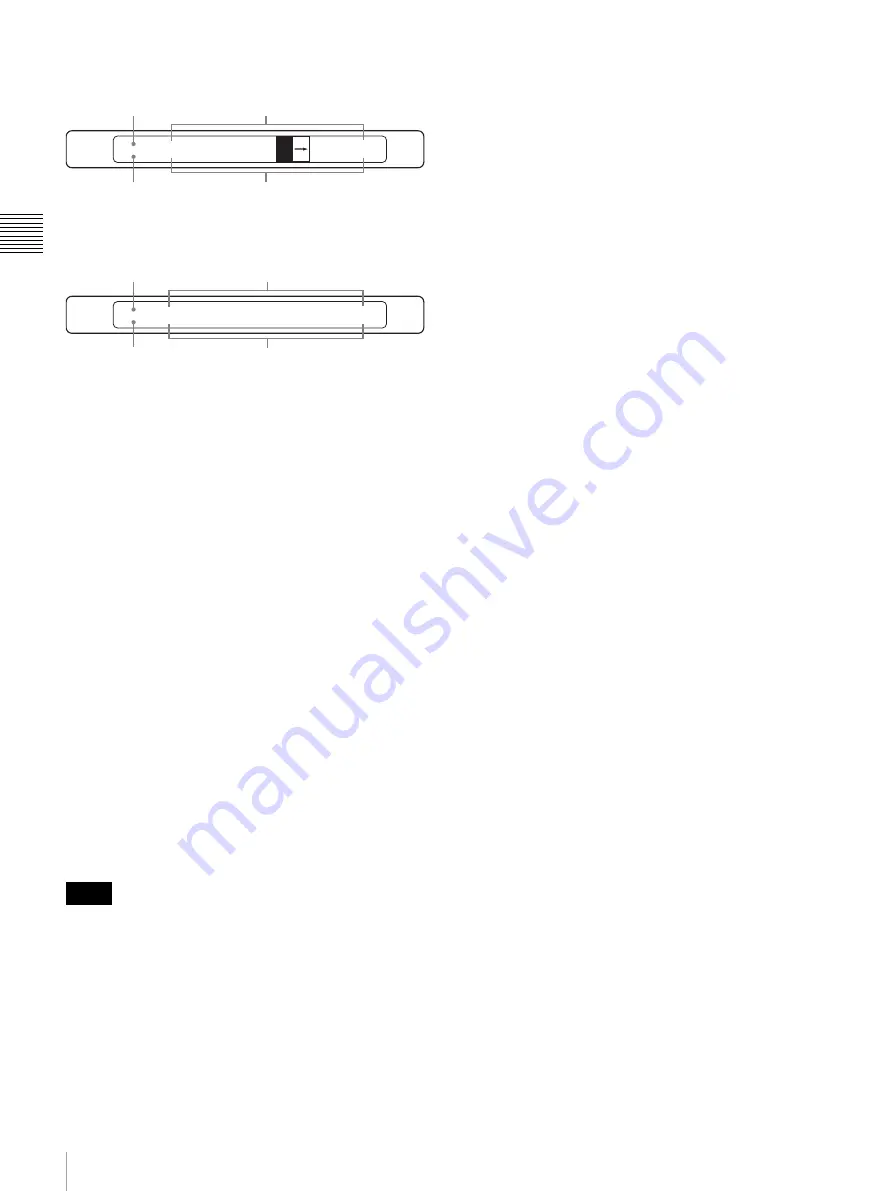
Setting status in SW mode
Setting status in CAM mode
b
Adjustment controls (F1/FOCUS, F2/BRIGHT,
F3/ZOOM, F4/PAN/TILT)
The function of the controls differ among menu mode,
CAM mode and SW mode.
x
When menu mode is selected
You can change the setting of four groups of each menu
display, using the F1 to F4 controls located below each
menu display.
To move to a lower layer
There are lower layers when the menu name is followed by
“..”
Turn the adjustment control (F1 to F4) located below the
menu name you with to operate to highlight it then press
the corresponding adjustment control. The display
switches to the next lower layer of the menu.
To change a setting item
When the setting item can be changed, press the
corresponding adjustment control (F1 to F4) to display
another setting item.
To change a setting value
Turn the corresponding adjustment control (F1 to F4) to
change the setting value. To enable the settings that have
been changed, executing “Exec” may be required.
• The default setting can be obtained by holding the
corresponding adjustment control (F1 to F4) pressed if
the default setting is preset at the factory.
Depending on the setting items, turning the control while
holding it pressed enables the setting value to change
roughly.
• You can display a lower layer of the menu by specifying
the three-digit menu page with numeric buttons 0 to 9
and the . (dot) button in the menu/snapshot/camera
position section.
x
When SW mode is selected
You can use the adjustment controls for the following
operations and adjustments:
F1 control
You can select the type of multi-viewer.
F2 control
You can select whether to reflect the setting registered for
the snapshot number for the assigned select button in the
cross-point bus section, DSK source, or PIP source when
that setting is recalled.
Press the F2 control to select “XPT HOLD,” “DSK
HOLD” or “PIP HOLD” then turn the F2 control to set the
selected item to “On” or “Off.” When set to “On,” the
setting registered for the snapshot number is not reflected.
F3 control
You can select a wipe pattern or direct select mode.
Pressing the F3 control displays a wipe pattern or
“DIRECT” on the display panel.
If you turn the F3 control while a wipe pattern is displayed,
you can change the wipe pattern.
If you turn the F3 control while “DIRECT” is displayed,
you can select a snapshot number (“SS”), direct wipe
(“Wipe”), or direct PIP (“PIP”), in sequence. After
selecting direct select mode, enter the register number with
numeric buttons 0 to 9 then press the RECALL button. The
setting of a snapshot, direct wipe, or direct PIP stored in
the selected register number is recalled.
F4 control
You can change the transition time in units of frames for
executing a transition by pressing the AUTO TRANS
button.
Press the F4 control to select “ME AUTO,” “DSK
AUTO,” or “PIP AUTO” then turn the F4 control to
change the value.
To change the transition time for a mix or wipe effect,
select “ME AUTO.” For DSK AUTO select “DSK
AUTO,” and for PIP AUTO select “PIP AUTO.”
x
When CAM mode is selected
You can set or adjust the following using the F1 to F4
adjustment controls:
FOCUS control
You can adjust the focus manually when the AUTO/
MANUAL button in the CAMERA/DSK/AUX bus
section is not lit (manual focus mode) and “MANUAL” or
“ASSIST” is displayed under “FOCUS.”
BRIGHT (brightness) control
You can adjust the brightness when the exposure mode is
set to SHUTTER Pri, IRIS Pri, GAIN Pri, or MANUAL on
the camera. You can also adjust the exposure
compensation level when EX-COMP (exposure
compensation) is set to ON on the camera.
Notes
SW MODE
SNAP:80
MV TYPE
4
XPT HOLD
On
ME AUTO
30
Snapshot number
Setting values
Switcher mode
Setting items
SIG:CAM1
POS:12
FOCUS
MANUAL
SPEED
1/1000
CONSTANT
1/8
CONSTANT
15/24
Camera position number
Setting values
Input signal
Setting items
Содержание BRS-200
Страница 32: ...32 Processor Unit Chapter 2 Locations and Functions of Parts ...
Страница 62: ...62 Basic Setups for the Switcher Chapter 3 Preparations ...
Страница 100: ...100 Storing the Settings of a Wipe PIP and Setting Menu Items Chapter 4 Switching Operation ...
Страница 118: ...118 Setting the Illumination of the Tally Lamp on the Camera Chapter 5 VISCA Camera Operations ...
Страница 130: ...130 Transferring Data between the Switcher and a Computer Chapter 6 Control Using External Devices ...


