KT-560M
– USER MANUAL
48
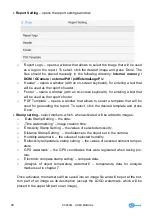
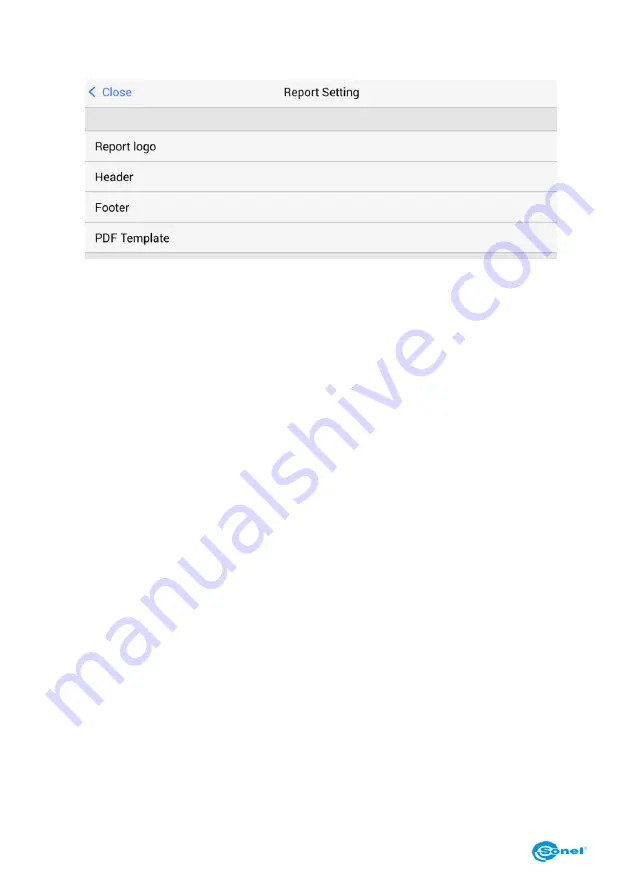
Report Setting
– opens the report settings window:
o
‘Report Logo’ – opens a window that allows to select the image that will be used
as a logo in the report.
To select, click the desired image and press ‘Done’. The
files should be placed manually in the following directory:
Internal memory \
DCIM \ GCamera \ externalPdf \ pdfExternalLogoPic
o
‘Header’ – opens a window (with an on-screen keyboard), for entering a text that
will be used as the report’s header.
o
‘Footer’ – opens a window (with an on-screen keyboard), for entering a text that
will be used as the report’s footer.
o
‘PDF Template’ – opens a window that allows to select a template that will be
used for generating the report. To select, click the desired template and press
’Done’.
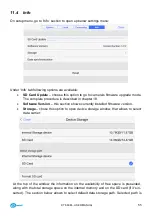
Stamp setting
– select markers, which, when activated, will be added to images:
o
‘Date Stamp Setting’ – the date.
o
„Time watermarking” – image creation time.
o
‘Emissivity Stamp Setting’ – the values of selected emissivity.
o
‘Distance Stamp Setting’ – the distance to the object set in the camera.
o
‘Humidity watermark’ – the values of selected humidity.
o
‘Reflectivity temperature stamp setting’ – the values of selected ambient temper-
ature.
o
‘GPS watermark’ – the GPS coordinates that were registered when taking pic-
ture.
o
‘Electronic compass stamp setting’ – compass data.
o
„Analysis of object temperaturę watermark” – temperaturę data for analysis
markers set in chapter 7.
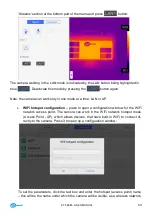
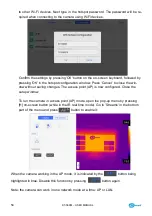
Once activated, the markers will be saved into an image file and will be put at the bot-
tom part of an image as its description (except the LOGO watermark, which will be
placed in the upper left part on an image).
Содержание KT-560M
Страница 1: ...USER MANUAL THERMAL IMAGER KT 560M...
Страница 2: ......
Страница 69: ...KT 560M USER MANUAL 67 Select Change adapter settings in the Network and Sharing Center window...
Страница 83: ......


