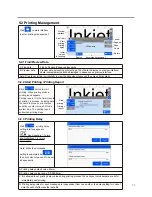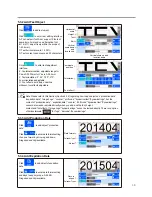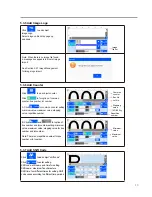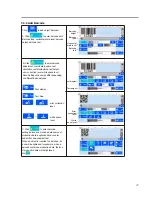
13
4.1 How to Use the Printer
Chapter Four: How to Use the Printer and
the Check Work before/after Use
In this Chapter, you will learn how to use the printer, including check work before and after use.
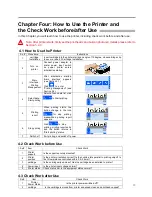
Sq # Procedure
Instructions
1
cartridge
Installation
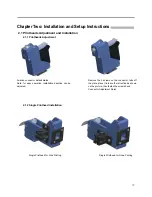
Insert cartridge into the printer stall by an angle of 15 degree, close cartridge clip
to secure.
(
see 2.3
C
artridge Installation
)
2
Turn on
printer
Co
nnect power adapter to
printer power input, switch
on power, printer enters
initiali
z
ation startup.
3
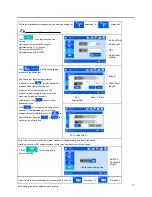
Main
Interface -
Printing
Management
A
fter initiali
z
ation startup,
“main interface” appears
(
see Section 5.1
).
Cl
ick
to enter
“Printing Management”
(
see
Section 5.2
)
.
4
Select data -
Start printing
Select a file on data list, click
to Start printing.
5
Printing
report
When printing starts, the
button change to the icon
for stop printing,
meanwhile a printing report
appears.
6
Stop printing
Cl
ick
to stop
printing, printing report exits,
and the button returns to
“Start printing” status.
7
Switch off
Exit printing, and switch off power.
4.2 Check Work before Use
Sq # Item
Ch
eck Work
1
Printer
support
Is the support securely mounted?
2
Printer
position
Is the printer orientation correct? Is the no
zz
le plate parallel to printing object? Is
the throw distance controlled within 0.5-2.5mm?
3
cartridge
Is the cartridge wiped clean? Has the cartridge been installed to printer?
4
Power input
Is the printer input voltage normal?
5
Printer status
Ch
eck status bar, is the equipment status normal?
4.3 Check Work after Use
Sq #
Item
Ch
eck Work
1
Printer
Power Status
Is the printer power switched off?
2
cartridge
Is the cartridge removed from printer and wiped clean and printhead capped?
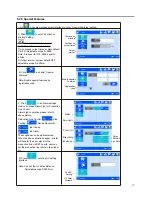
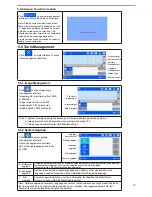
Note: After printer starts, firstly set the printheads and build-in photocell, details please refer to
Section 5.4.3

