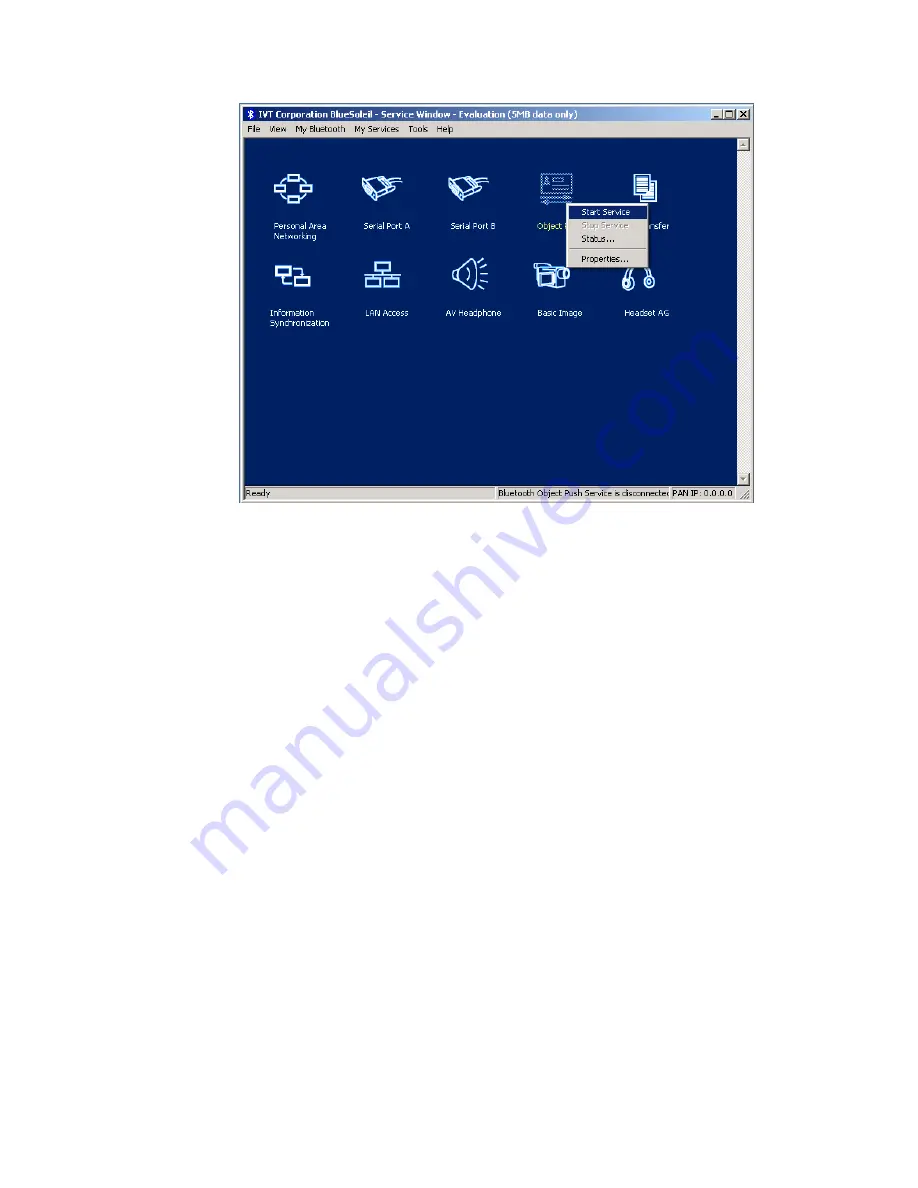
Figure 8.10: Select the Start Service
Step 5:
Discover and pair Computer A on the T68.
♦
Select
Menu | Connect | Bluetooth | Discover
on the T68. A
list of the surrounding devices appears. Select ‘Computer A’.
♦
When the
Add to paired device devices?
message appears,
press the
Yes
key and enter a passkey, for example “1”. Use
the same passkey on BlueSoleil
™
as used on the T68
.
If you
have never created a shortcut
DUN
, the following dialog pops
up asking you whether
Create a Shortcut on the windows
desktop
. If you choose
yes
, a shortcut icon called
DUN
will
occur on the desktop, otherwise the icon will not occur. For
details, please refer to the related part of DUN.
Step 6:
Start the OPP operation.
♦
Select Menu | Phone book | Business cards on the T68.
♦
To send “my card” from the T68.
From the
Business cards
menu, select
Send my own
and
then select
Via Bluetooth.
The T68 searches the surrounding
Bluetooth devices. To send the business card from the T68 to
Computer A, select ‘Computer A’ on the T68 screen.
♦
To select an object and send it.
From the
Business cards
menu, select
Send contact
and then
select
Via Bluetooth
. The T68 asks you to select the object
that you want to send. Select an object and send it as specified
above.
♦
To receive a business card.
From the
Business cards
menu, select
Receive
and then
select
Via Bluetooth
. The T68 is now in discoverable status,
Содержание -BT10 - annexe 1
Страница 1: ......
Страница 16: ...Figure 2 4 BlueSoleil Service Window Main Elements My Service Icons...
Страница 33: ...Figure 4 2 BlueSoleil DUN Connection Status window...
Страница 45: ...Figure 6 9 Download files from Computer A...
Страница 67: ...Figure 9 2 Select Properties on the Information Synchronization icon Figure 9 3 Service Configuration...
Страница 73: ...Figure 10 3 Disconnect from the Bluetooth Printer...
Страница 82: ...Figure 12 4 Click OK on Bluetooth Shortcuts Step 8 Start to use the PAN service provided by Computer A...


