11
STEP 5
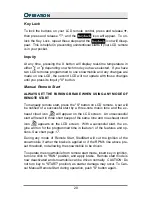
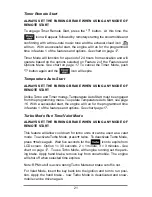
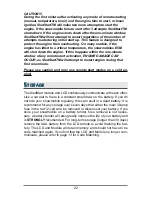
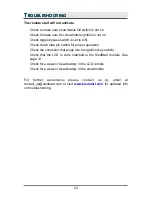
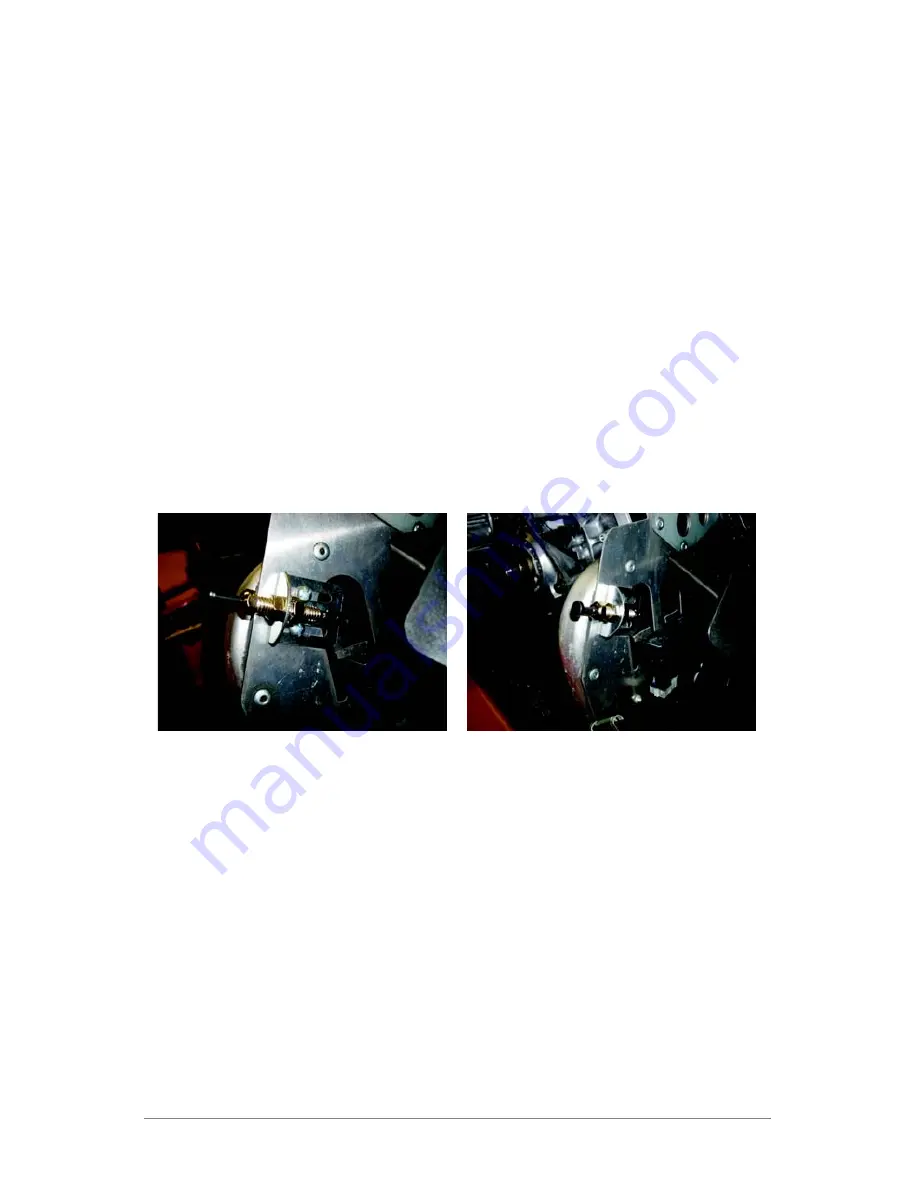
Install the pin switch bracket on the clutch side of the snowmobile. The
bracket must be mounted to aluminum allowing the pin switch to ground
out. This will stop the engine if the clutch cover is removed during remote
start operation. Use the pin switch bracket to mark the location of the two
holes to be drilled. The bracket should have the threaded end facing to-
ward the outside of the snowmobile. Be sure NOT to mount bracket flush
with edge of the aluminum. There needs to be room for the pin switch
itself. Both the pin switch and the bracket have ample adjustment to bring
the movement of the switch to the appropriate position so it is best to back
the bracket off about 5/8" from the edge. For further detailed mounting
information and detailed pictures for various models please visit our
website at
www.sledstart.com
. Drill holes using a 3/16" drill bit. Using
the two supplied #10 screws and matching Nylock nuts, attach the pin
bracket to the snowmobile. Slide bracket back a little less than half the
total distance of the slots in the bracket and tighten the Nylock nuts.
See
images below.
STEP 6
Thread the pin switch into the pin switch bracket. Check the adjustment
by installing the side body panel making sure the switch will push in from
the grounded position. Lock the pin switch to the bracket using the two
lock nuts. Attach the two gray/black wires (one from the SledStart module
and one from the bypass toggle switch) with the female connector to the
rear of the pin switch. Find a suitable location for the toggle switch and
ground it with the black wire attached to the toggle switch. The switch
should be mounted or zip-tied in a location that will stay dry but has easy
access.
THE SWITCH MUST ALWAYS BE IN THE OFF POSITION
WHEN WORKING ON THE SNOWMOBILE. THIS WILL DISABLE THE
SledStart MODULE.


