Programming and Operating Manual (Milling)
176
6FC5398-4DP10-0BA1, 01/2014
4.
Press one of the following two softkeys . The program automatically jumps to the program editor
screen form.
If you desire to edit and store the contour in a subroutine, press this softkey.
If you desire to edit and store the contour as a section of a main program, press
this softkey.
5.
Press this softkey to open the contour editor. Parameterize the contour elements step by step.
Initially you define a contour starting point and select how to approach the starting point.
Note:
Steps 5 to 10 below describe basic steps for contour element edits. For more information about
programming in the contour editor, refer to Section "Free contour programming (Page 238)".
6.
Press this softkey to confirm the settings.
7.
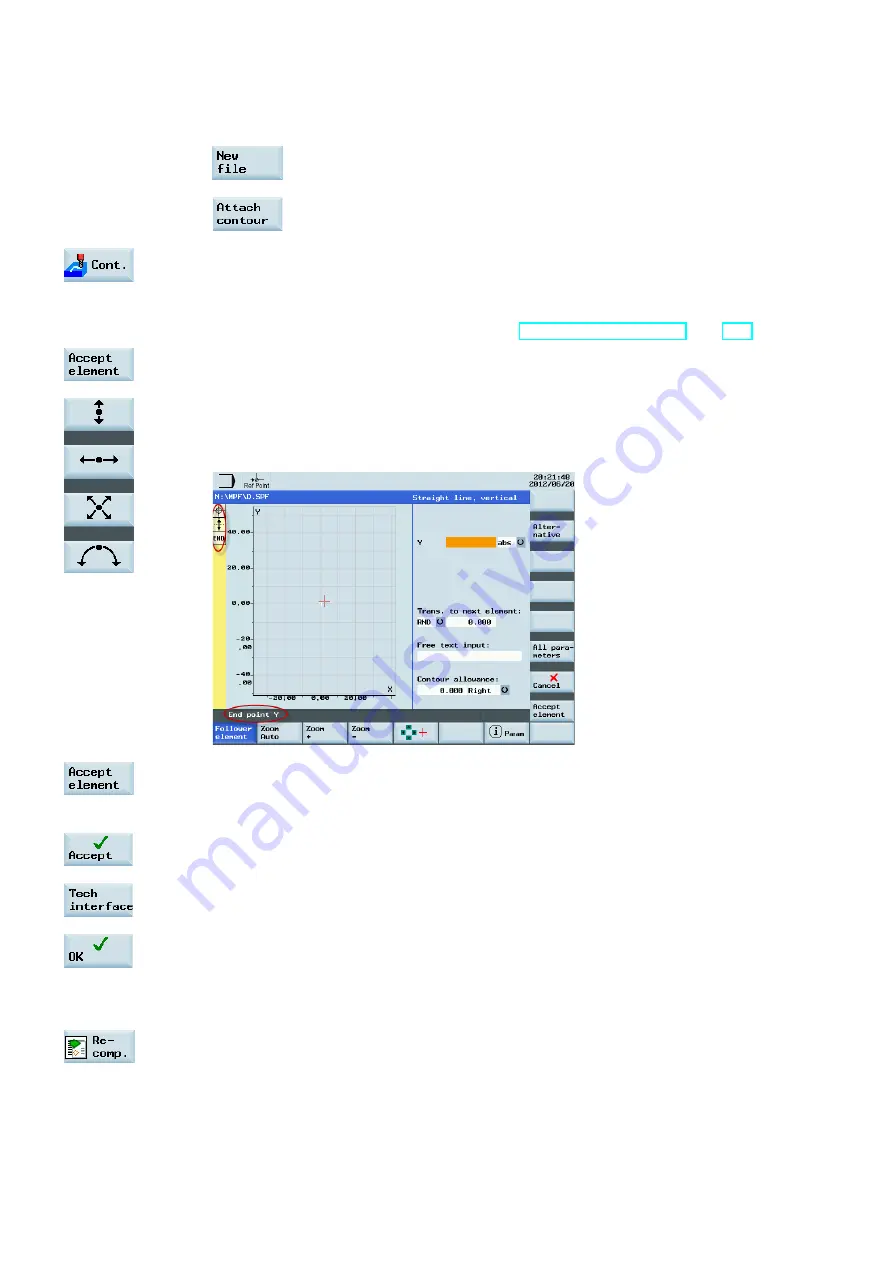
Select a desired machining direction and shape with the corresponding softkey. Specify the
corresponding coordinates according to the drawings.
The selected direction appears on the top left of the screen and the corresponding descriptive text
is given in the information line at the bottom of the screen.
8.
Press this softkey to confirm the settings.
9.
Select different elements to define the contour until you complete the contour programming.
10. Press this softkey to store the contour information.
11. Press this softkey to return to the screen form for CYCLE72. Parameterize the cycle technology
data as desired.
12. Confirm your settings with this softkey. The cycle is then automatically transferred to the program
editor.
Note:
The cycle program created as a section of the main program must be stored after the M30
command.
13. If you desire to recompile the cycle, press this softkey.


