5-17
ET 200U Distributed I/O Station
EWA 4NEB 812 6087–02b
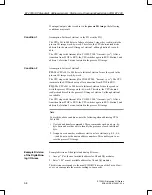
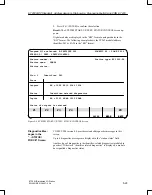
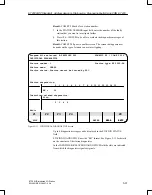
After you have defined the parameters, configuration is completed:
1. Press <F6> (ENTER) to confirm the configuration for each configured
station.
Result: The configuration is stored in the file that has been preset.
COM ET 200 automatically guarantees that areas that must be transferred
consistently are also marked as consistent areas (e.g. that each analog value
is transferred separately in one message frame, i.e. consistently over an area
of two bytes).
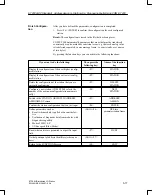
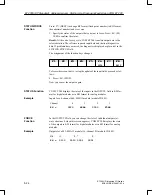
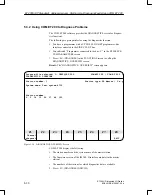
By pressing the function keys you can activate the following functions:
If you want to do the following:
Then press the
following key:
Name of the function
key
Display the configuration of the next higher (config-
ured) station
<F1>
STATION
+
Display the configuration of the next lower (config-
ured) station
<F2>
STATION
–
Delete the configuration of the station that you are
currently configuring
<F3>
DELETE
STATION
Configure a new station (COM ET 200 selects the
number of the next nonconfigured station automati-
cally)
<F4>
NEW
STATION
Switch to the STATION–ORIENTED ADDRESS
ASSIGNMENT screen
<F5>
ADDRESS
ASSIGN.
Confirm the station configuration that you just input
<F6>
ENTER
Define parameters such as
Result when module is pulled or bus unit defec-
tive
Evaluation of diagnostic data from modules with
diagnostics capability
Mode of IM 318–C
I/O bus speed (Slow Mode).
(Shift) <F6>
DP Slave
parameterization frame
Know what entries are permitted in a specific input
field
<F7>
HELP
Get help on input of address identifiers (order num-
bers)
(Shift) <F7>
–
Return to the FUNCTIONS screen
<F8>
EXIT
Finish Configura-
tion
ET 200U(DP Standard): Address Assignm.,Starting–Up, Diagnosing Faults Using COM ET 200

