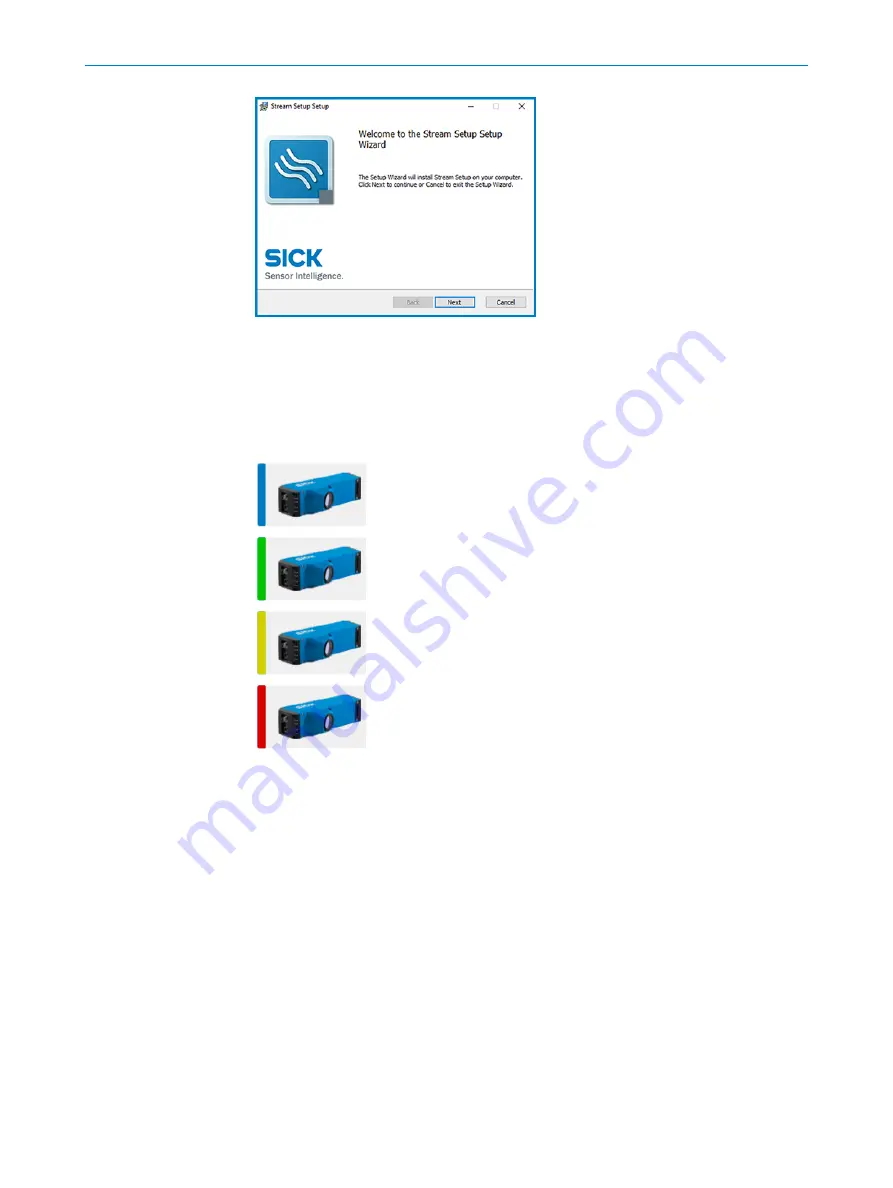
Figure 23: Setup wizard, Stream Setup.
8.2
Connecting the camera
The last connected device is displayed at start-up together with a color bar indicating
the device status:
Device is available, but not connected.
Device is available and already connected.
Device is available, but cannot be connected unless the IP set‐
tings on the device or the local NIC are modified.
Device is already in use.
1.
If the suggested device is correct and available, click
Connect
.
2.
If the suggested device is not correct or if the IP settings need to be modified,
a)
Click
Camera search
to see all devices that are available on the network.
b)
Select the correct device.
c)
If needed, click the three dots to the right and select
IP settings
to edit the IP
settings of the device,
see "Editing IP settings", page 65
.
d)
Click
Connect
.
✓
When the device is connected, select
2D Image
to continue the workflow.
3.
In the
2D Image
tab, click the play button to view the 2D image and the laser line.
8.3
Configuring Ruler3000
The Ruler3000 is designed to deliver good measurement data for both dark and bright
objects by default.
Before the camera can be used in the system, it has to be configured. This is usually
done by setting up the camera in a production-like environment and evaluate different
parameter settings until the result is satisfactory. The Ruler3000 can be configured to
fit many different applications.
8
CONFIGURATION
40
O P E R A T I N G I N S T R U C T I O N S | Ruler3000
8026049//2021-04 | SICK
Subject to change without notice


