4
GETTING STARTED
42
8024172/V3-0/2021-01|SICK
Oper at i ng i ns t r uc t i ons | LABEL CHECKER P6XX
Subject to change without prior notice.
4.6.6
How to adjust and save the reference image
Please be informed that you must be a “Service” level user in order to access the
Reference image settings.
Please be informed that any changes applied will only be saved, if you have re-activated
the
button.
All inspection regions will be displayed after image processing is finished with a short
delay.
Proceed as follows:
1.
Click the continuous acquisition
button and focus the camera
lens. You should be able to see the edges on the target object.
2.
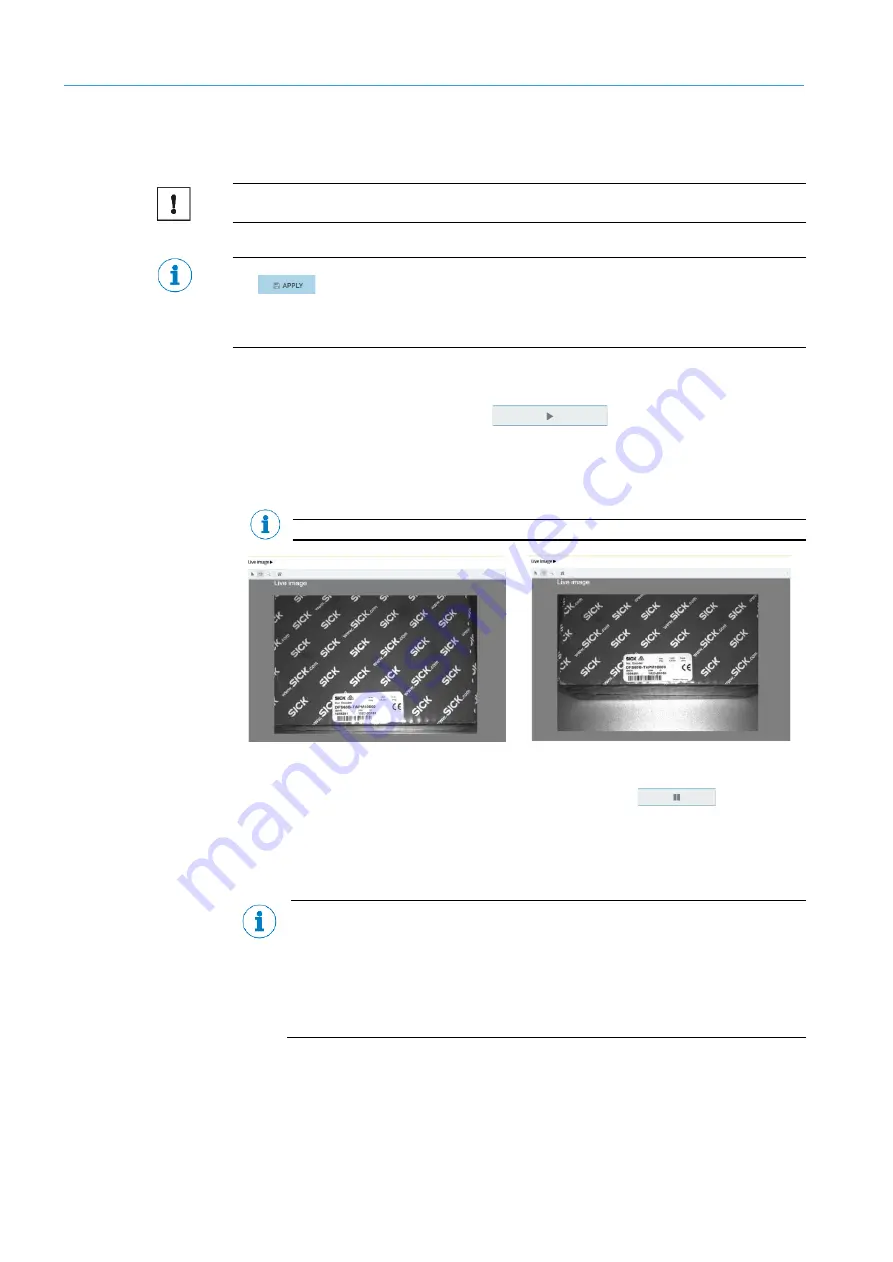
Set the camera or the label sample to the correct position. The target sample has
to be in the center of the image.
We recommend to zoom-in the image for better focus results.
Off-center
Center position
3.
When the desired image has been achieved, select the
button to
stop/pause the continuous acquisition.
4.
Now, adjust the Exposure time. Set the lens aperture manually, as well as the
exposure time via the UI to achieve the target object with higher contrast.
We recommend overexposing the image, so the background is densely white,
with no gray artifacts visible on the background (if possible).
Or underexpose the image for white characters on dark background.
Exposure and Gain affects the brightness of the image (these values are trade-
off), while increasing Gain adds unwanted noise to the image, exposure time
extends the time of shutter and can cause blur, if the sample is moving during
image acquisition.


