SJGF60XT
50
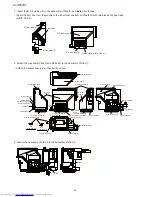
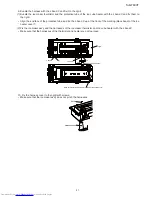
Get the harness of the ice make thermistor in the assembly Step 5 through the holes in front of and at the back
6.
of the I-grill.
Make sure to keep the end face of the protective tube next to the ice cube tray covered with the ice heater cover T.
•
(Do not pull the harness strongly.)
I-grill
Ice cube tray AT
harness(heater)
harness(heater)
Ice maker ass’y harness
hole A (front side hole)
hole B (back side hole)
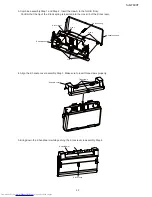
Set the assembly Step 6 to I-grill.
7.
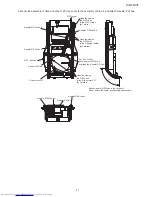
Put the axis of the ice cube tray slightly into the hole of the I-grill. While releasing the front stopper, turn around
•
the front side of the harness of the ice maker ass'y so that it can be inserted into the hole of the I-grill.
After it is inserted, make sure to con
fi
rm that the stopper is securely in place.
•
Con
fi
rm that the tip of the ice sensor is in the release hole.
•
Make sure that there is at least 2.5mm space between the tip of the ice sensor and the release hole.
•
harness of
Ice maker ass’y
Legs of Ice
maker ass’y
axis of Ice cube tray AT,
hole C (I-grill)
hole E (to release Ice senser)
hole D
more than 2.5mm
back side
front side
Stopper
clearance
clearance
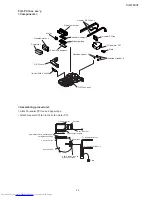
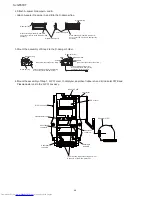
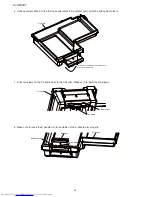
Connet socket contact of thermistor to Ice cube maker ass’y to connector housing.
8.
Check socket contact is securely inserted.
•
After inserting Socket contact, insert plate to Socket contact securely.
•
Plate
After inserting
Plate
Socket contact
Claw
Connector housing (white)
Hole No.5, No6


