SJGF60XT
28
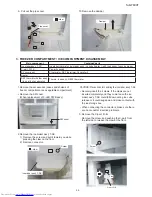
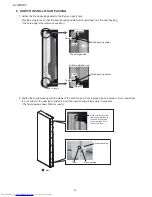
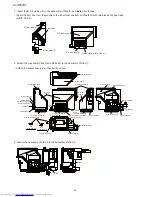
Remove duct RT rivet, and remove duct RT cover.
4.
Pull it downward to raise it. (If it is stuck, insert a
fl
athead screwdriver to raise it.)
Duct RT cover
Duct RT rivet
Remove the four locations of the inner protrusion.
When the protrusions are unhooked, pull it downward
to remove it.
: Protrusion
Remove R shower duct ass'y.
5.
While holding the top by hand, pull the duct to the
front. (Claws are located at 8 places.)
: claw
R shower duct ass’y
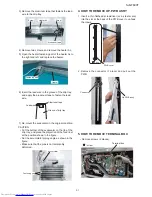
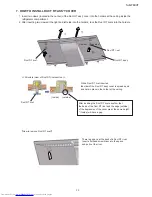
Remove the D-PCI box ass'y.
6.
Remove three screws.
Pull the box downward to release the claws at the
front (at 2 places).
(The claws are directly applied to the food liner.
Use caution not to damage the food liner.)
After the claws are released, pull the box
downward, and release the remaining claws.
Disconnect two connectors.
□
: claw
○
: screw
D-PCI box ass’y
Remove the connector cover R (Screw at 1 place,
7.
Claws at 2 places), and disconnect four connectors.
Connector cover R
□
: claw
○
: screw
Remove the RC box ass'y.
8.
Remove two screws, and pull the box to the front
while holding the top by hand.
Disconnect the joint pipe connected to the pipe
cover.
RC box ass’y
Joint pipe
Screw
Screw
CAUTION: Precaution for mounting the RC box ass'y
Make sure that the joint pipe is connected. Check for
twisting and lead wire entanglement.


