


2-112
For settings related to custom stamp and custom water mark, see the following table.
For custom stamp
For custom watermark
5
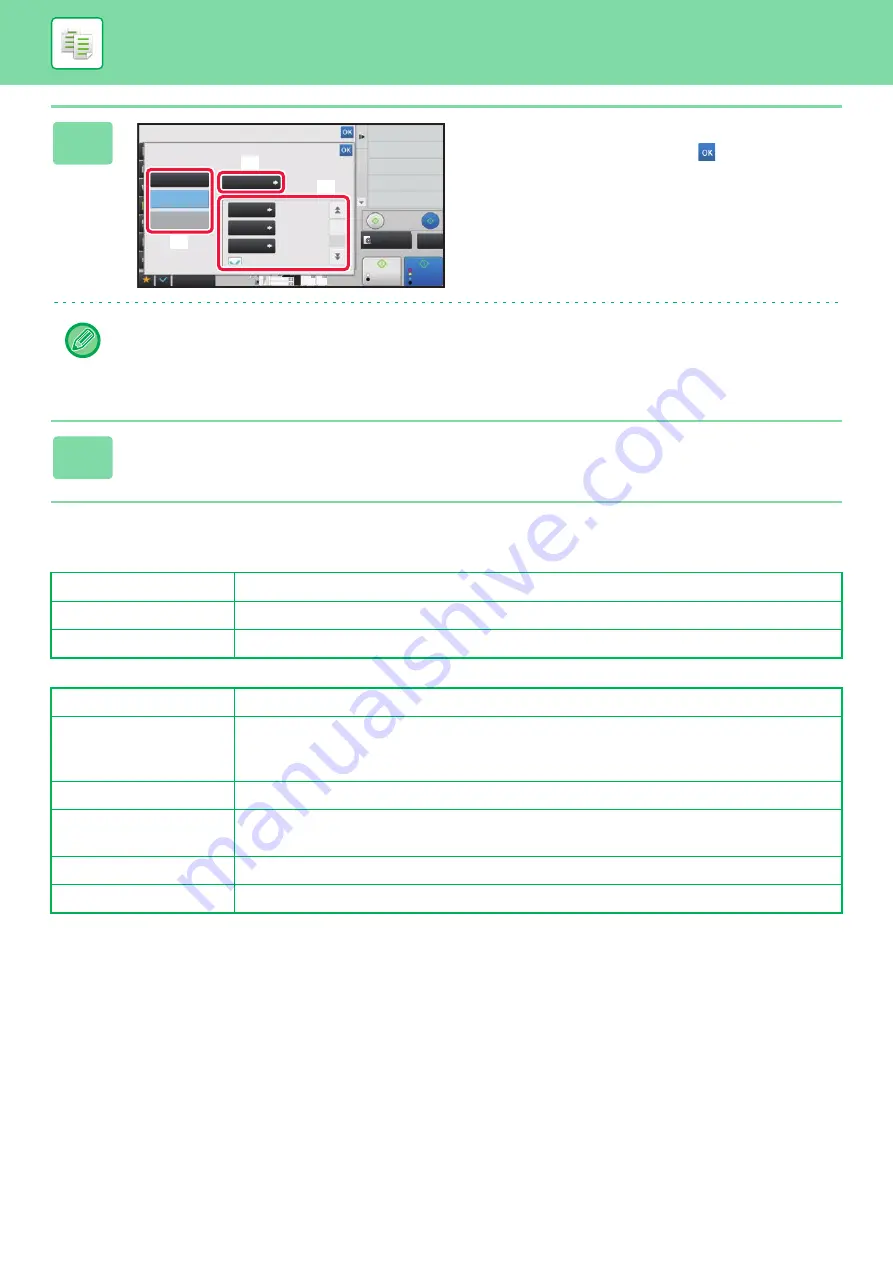
Set [Print Page] or [Print Position].
After the settings are completed, tap
twice.
•
To cancel the custom image setting:
Tap the [Off] key.
•
To cancel all settings:
Tap the [CA] key.
6
Tap the [Color Start] or [B/W Start] key to start copying.
Print Page
Specify a page(s) for stamp copy. First Page or All Pages
Print Position
Specify a position for stamp copy.
Print Angle
Specify the corner of the image. 0 degrees, -90 degrees, 90 degrees, or 180 degrees
Print Color
Specify the image watermark color. Black, red, green, blue, cyan, magenta or yellow.
Print Pattern
Specify the image watermark print pattern.
Transparent: Makes an original image transparent for stamp copy.
Overlap: Hides a watermark added to an original image for stamp copy.
Exposure
Select the exposure of a watermark from nine levels.
Print Page
Specify a page(s) for stamp copy.
First Page or All Pages
Print Position
Specify a position for stamp copy.
Print Angle
Specify the corner of the image. 0 degrees, -90 degrees, 90 degrees, or 180 degrees
6
8
4
3
Proof Copy
8½x11 8½x11
8½x14
11x17
Others
Custom Image
Select Image to Operate.
Preview
Start
Start
Off
Image
Print Page
Print Position
Angle
Custom
Stamp
Custom
Watermark
Original
Change Size/Direction.
Back
Print on cover/insert when
copy is made on cover/insert
0°
First Page
Not
X: 0 mm
Y: 0 mm
Print Date and Stamp
Stamp
Color Mode
2-Sided Copy
Put Multiple Pages in A Page
N-Up
CA
B/W
Color
(3)
(4)
(5)
Содержание MX-7090N
Страница 126: ...1 123 BEFORE USING THE MACHINE PERIPHERAL DEVICES 4 Close the front cover ...
Страница 135: ...1 132 BEFORE USING THE MACHINE PERIPHERAL DEVICES 3 Gently push the box back in 4 Close the front cover ...
Страница 137: ...1 134 BEFORE USING THE MACHINE PERIPHERAL DEVICES 3 Gently push the box back in 4 Close the front cover ...
Страница 147: ...1 144 BEFORE USING THE MACHINE MAINTENANCE 6 Replace the glass cleaner ...
Страница 331: ...3 19 PRINTER FREQUENTLY USED FUNCTIONS 1 Select Color 2 Select Color Mode Mac OS 2 1 ...
Страница 789: ...2017G US1 ...


