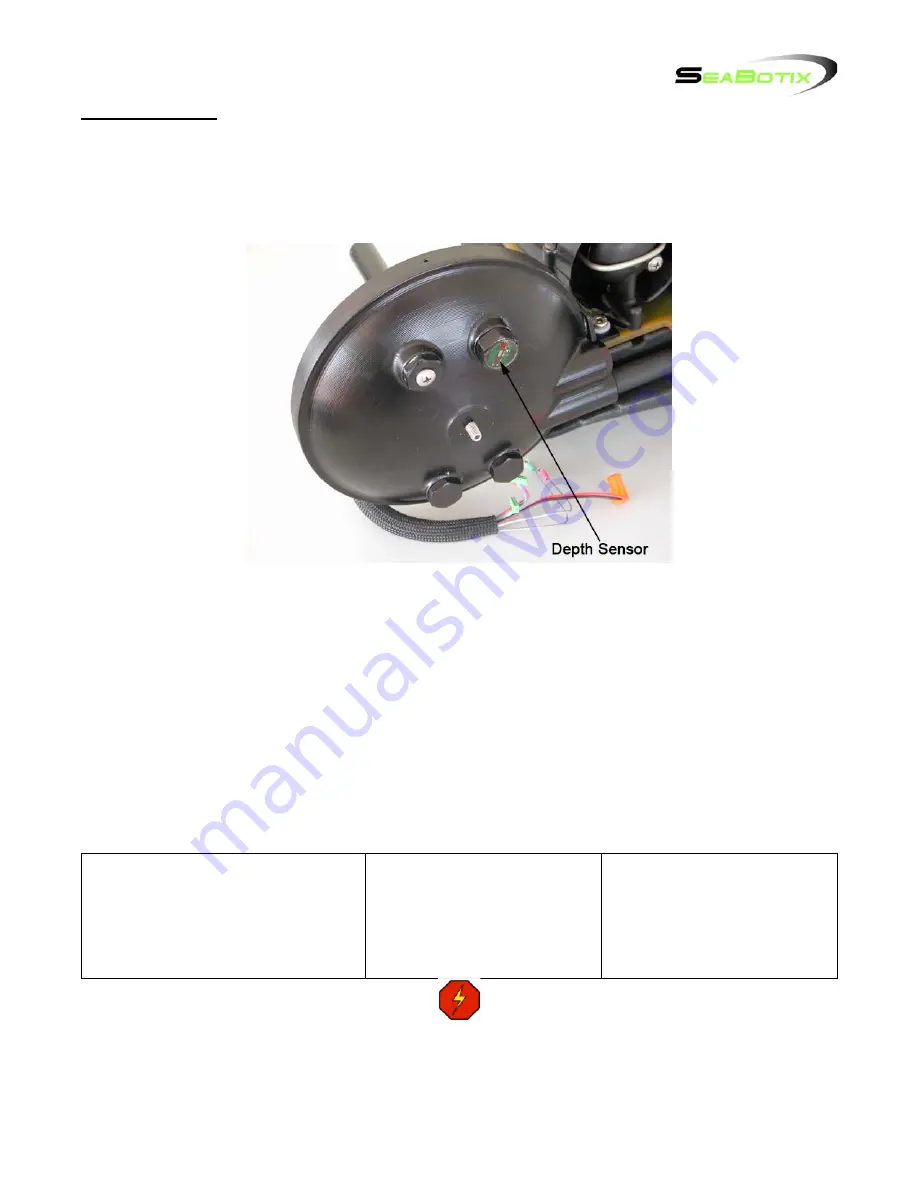
Depth Sensor
Introduction
The LBV
2
has an external depth and temperature sensor installed in the starboard camera
housing end cap. Housed in an aluminum casing and potted. The depth sensor
communicates with the sensor board.
Work Environment
Prior to beginning ensure you have a clean and dry workspace. Locate the required tools and
parts and have paper towels available. It is a good idea to have a container to keep fasteners
in as they are removed. Read through the instructions fully prior to beginning and make sure
you understand what they are asking you to do.
Be very careful when handling electronics. Use a grounding strap and avoid any static that
may damage the boards.
Reading Manual
Below is a list of the required tools, estimated time to complete and level of difficulty. Next to
each step where a tool is required the tool is listed. Some of the steps have special notes that
must be observed.
Tools Required
•
19mm Open End Wrench
•
Gel lube
Time to complete
•
3 minutes
•
30 minutes including
other procedures
Level of Difficulty
•
Easy
•
Electronics Care
Required
Prior to working on the LBV make sure the power is off
and the umbilical is DISCONNECTED.
Содержание Generation 2
Страница 1: ...Generation 2 Service Maintenance Procedures Manual ...
Страница 13: ...Once complete follow the procedures to Install Shell Bumper Frame ...
Страница 21: ...Once complete follow the procedures to Install flotation module Install Shell Bumper Frame ...
Страница 50: ...Once complete follow the procedures to Install view port ...
Страница 62: ...Once complete follow the procedures to Install view port ...
Страница 94: ...Step 11 Once programming is complete picture will come up and status will be finished on the computer ...
Страница 97: ...Step 6 1 Phillips Screwdriver Insert and tighten 4 x Phillips counter sunk screws securing back cover to top ...
Страница 101: ...Once complete follow the procedures to Install flotation module Install Shell Bumper frame ...


